IntroductionFrequently Asked Questions
Getting Started
Workflows
Workflow templates
Tasks
Positions
Users
Certifications
Videos
Businesses
Logging In
Xero Integration
Visa Checks
Billing
Advanced Use Cases
Client Identity Verification 🔎
These workflow templates identify organisations, individuals and their representatives by collecting the following information:
- Organisation details and appropriate documentation based on the type of entity (individual, sole-trader, partnership, company)
- Individual details and primary and secondary forms of identification
- Representative details and primary and secondary forms of identification
This page outlines the following steps to request and approve your first client identity identification:
- Create a Client Identity Verification workflow and Individual Identity Verification workflow from a template
- Assign the workflows to an individual
- Review the documentation provided by the individual
- Approve the documentation
- Complete the identification process
Note that once an identification workflow is approved / rejected the supplied documents will be deleted to reduce the risks associated with storing personally identifiable information.
Let's get started!
- Navigate to the Workflows menu and click the Template button.
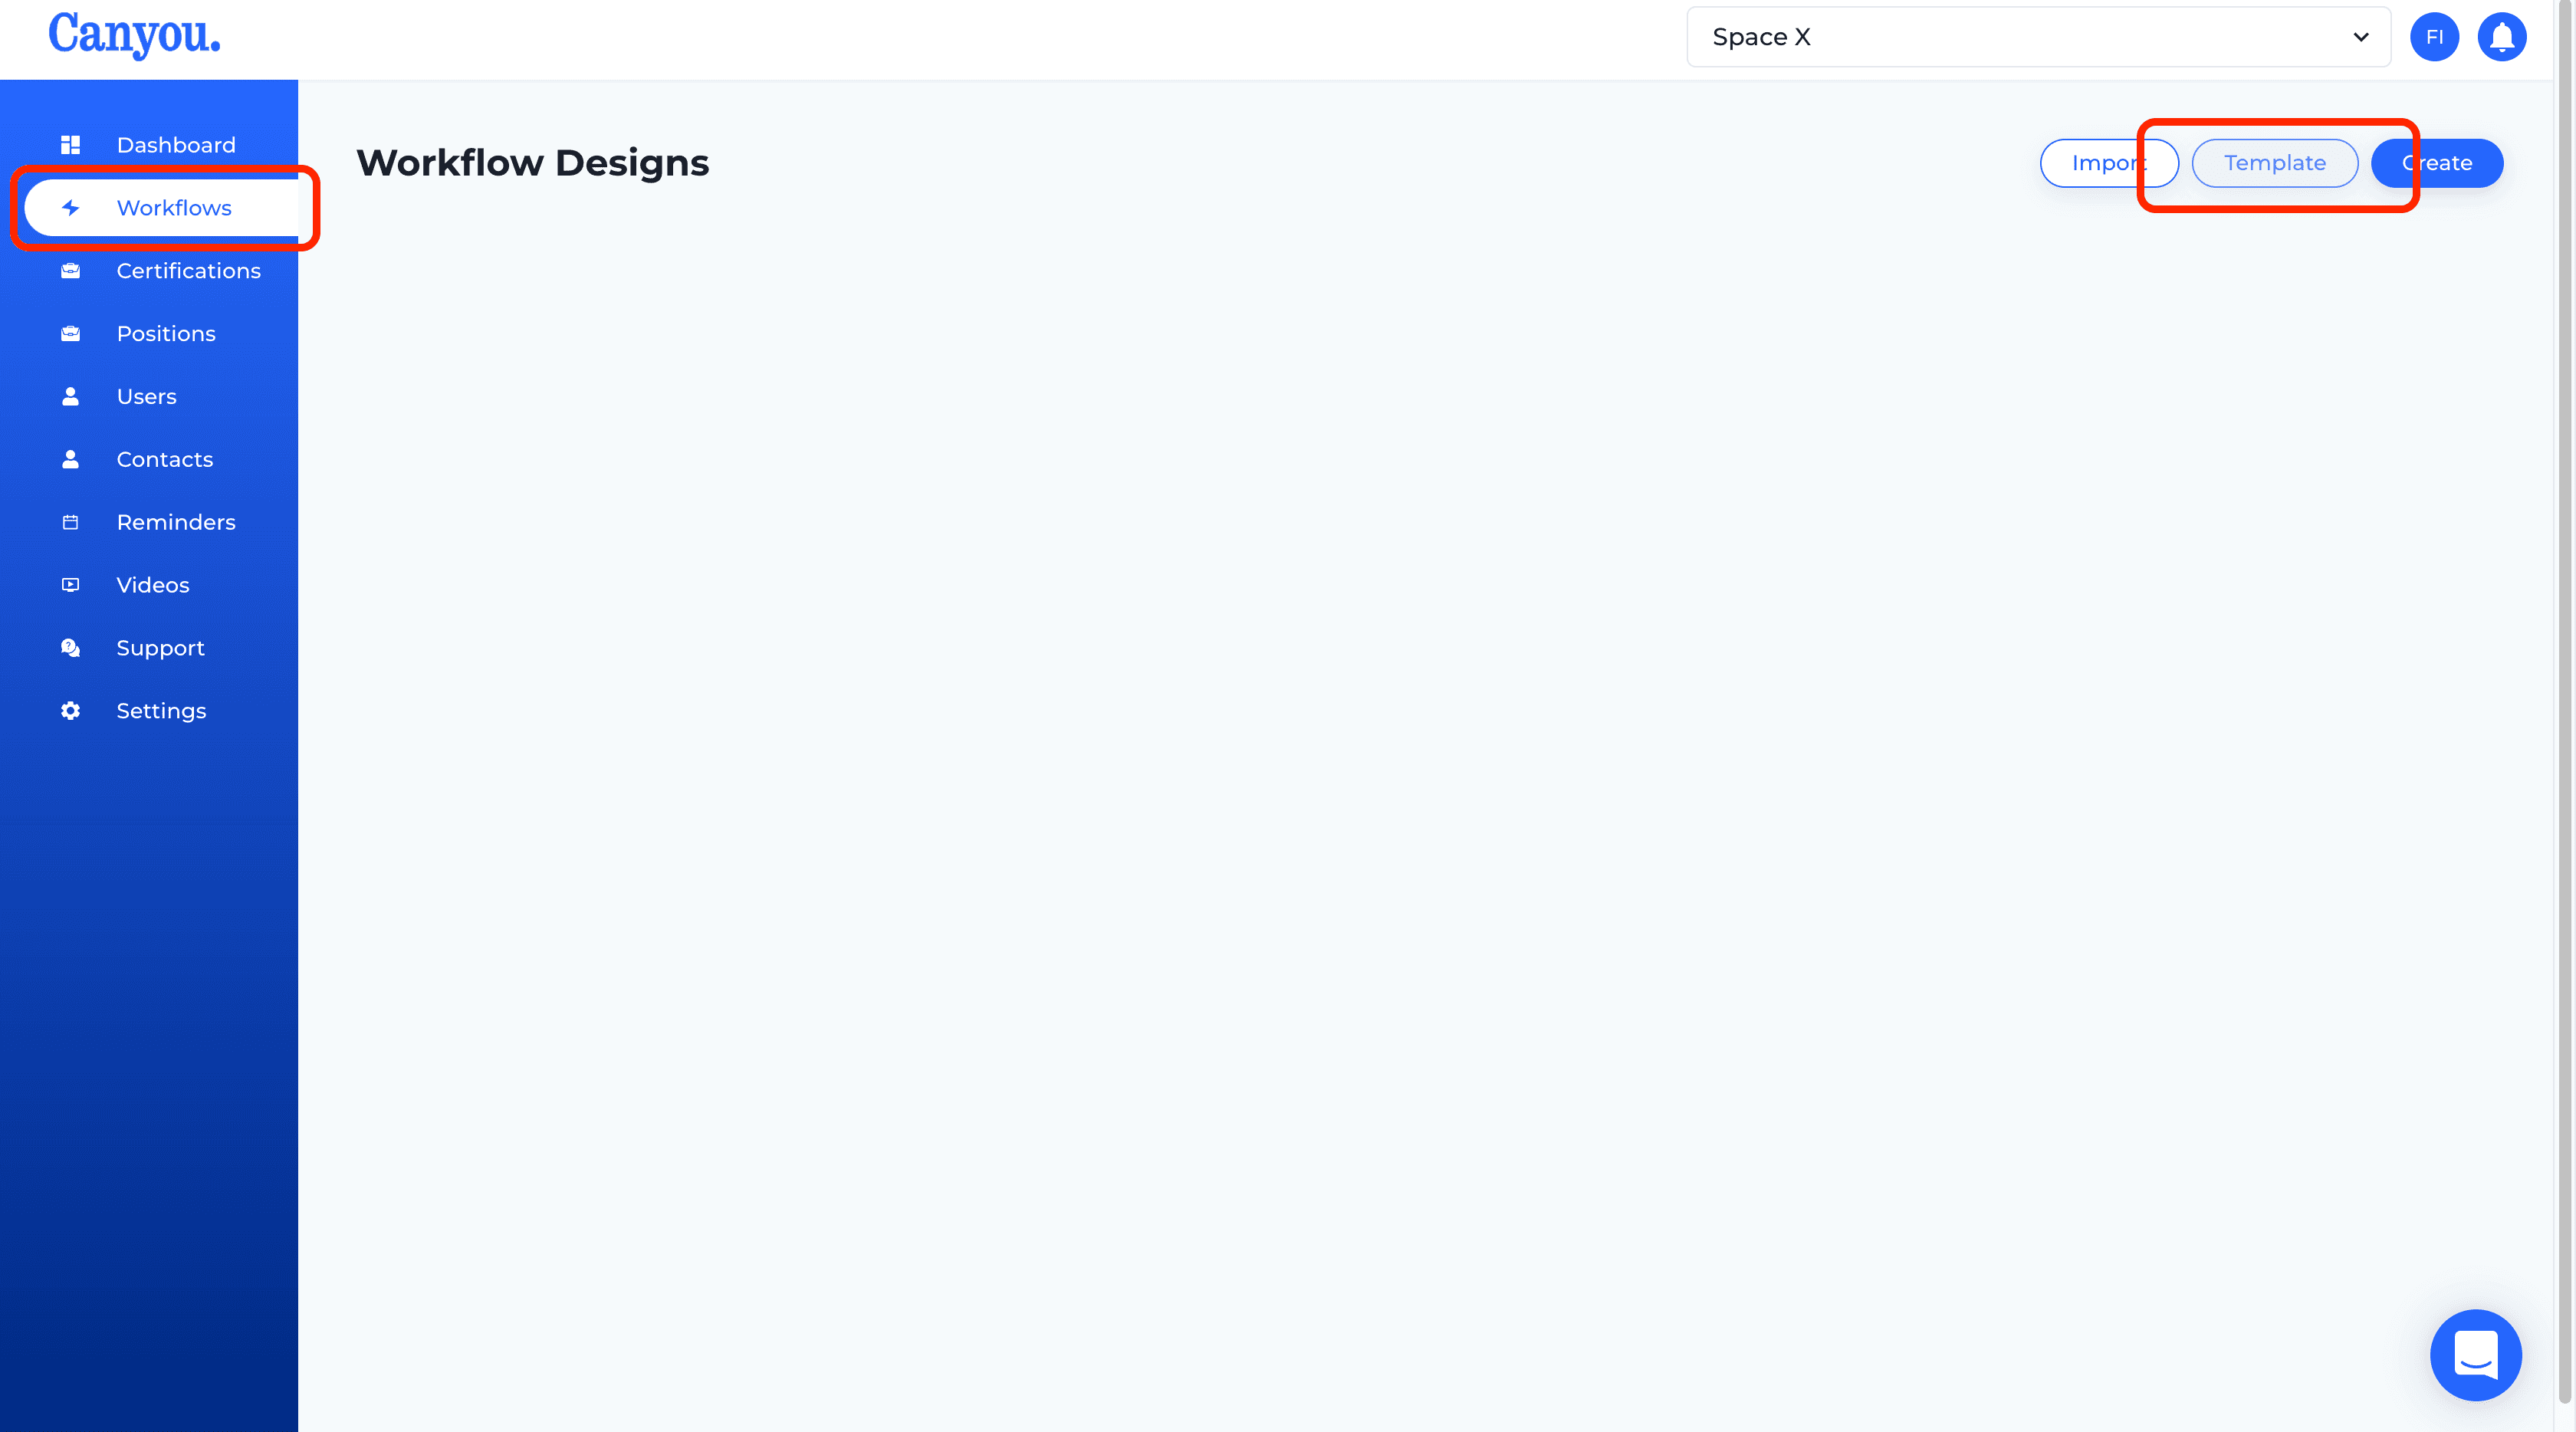
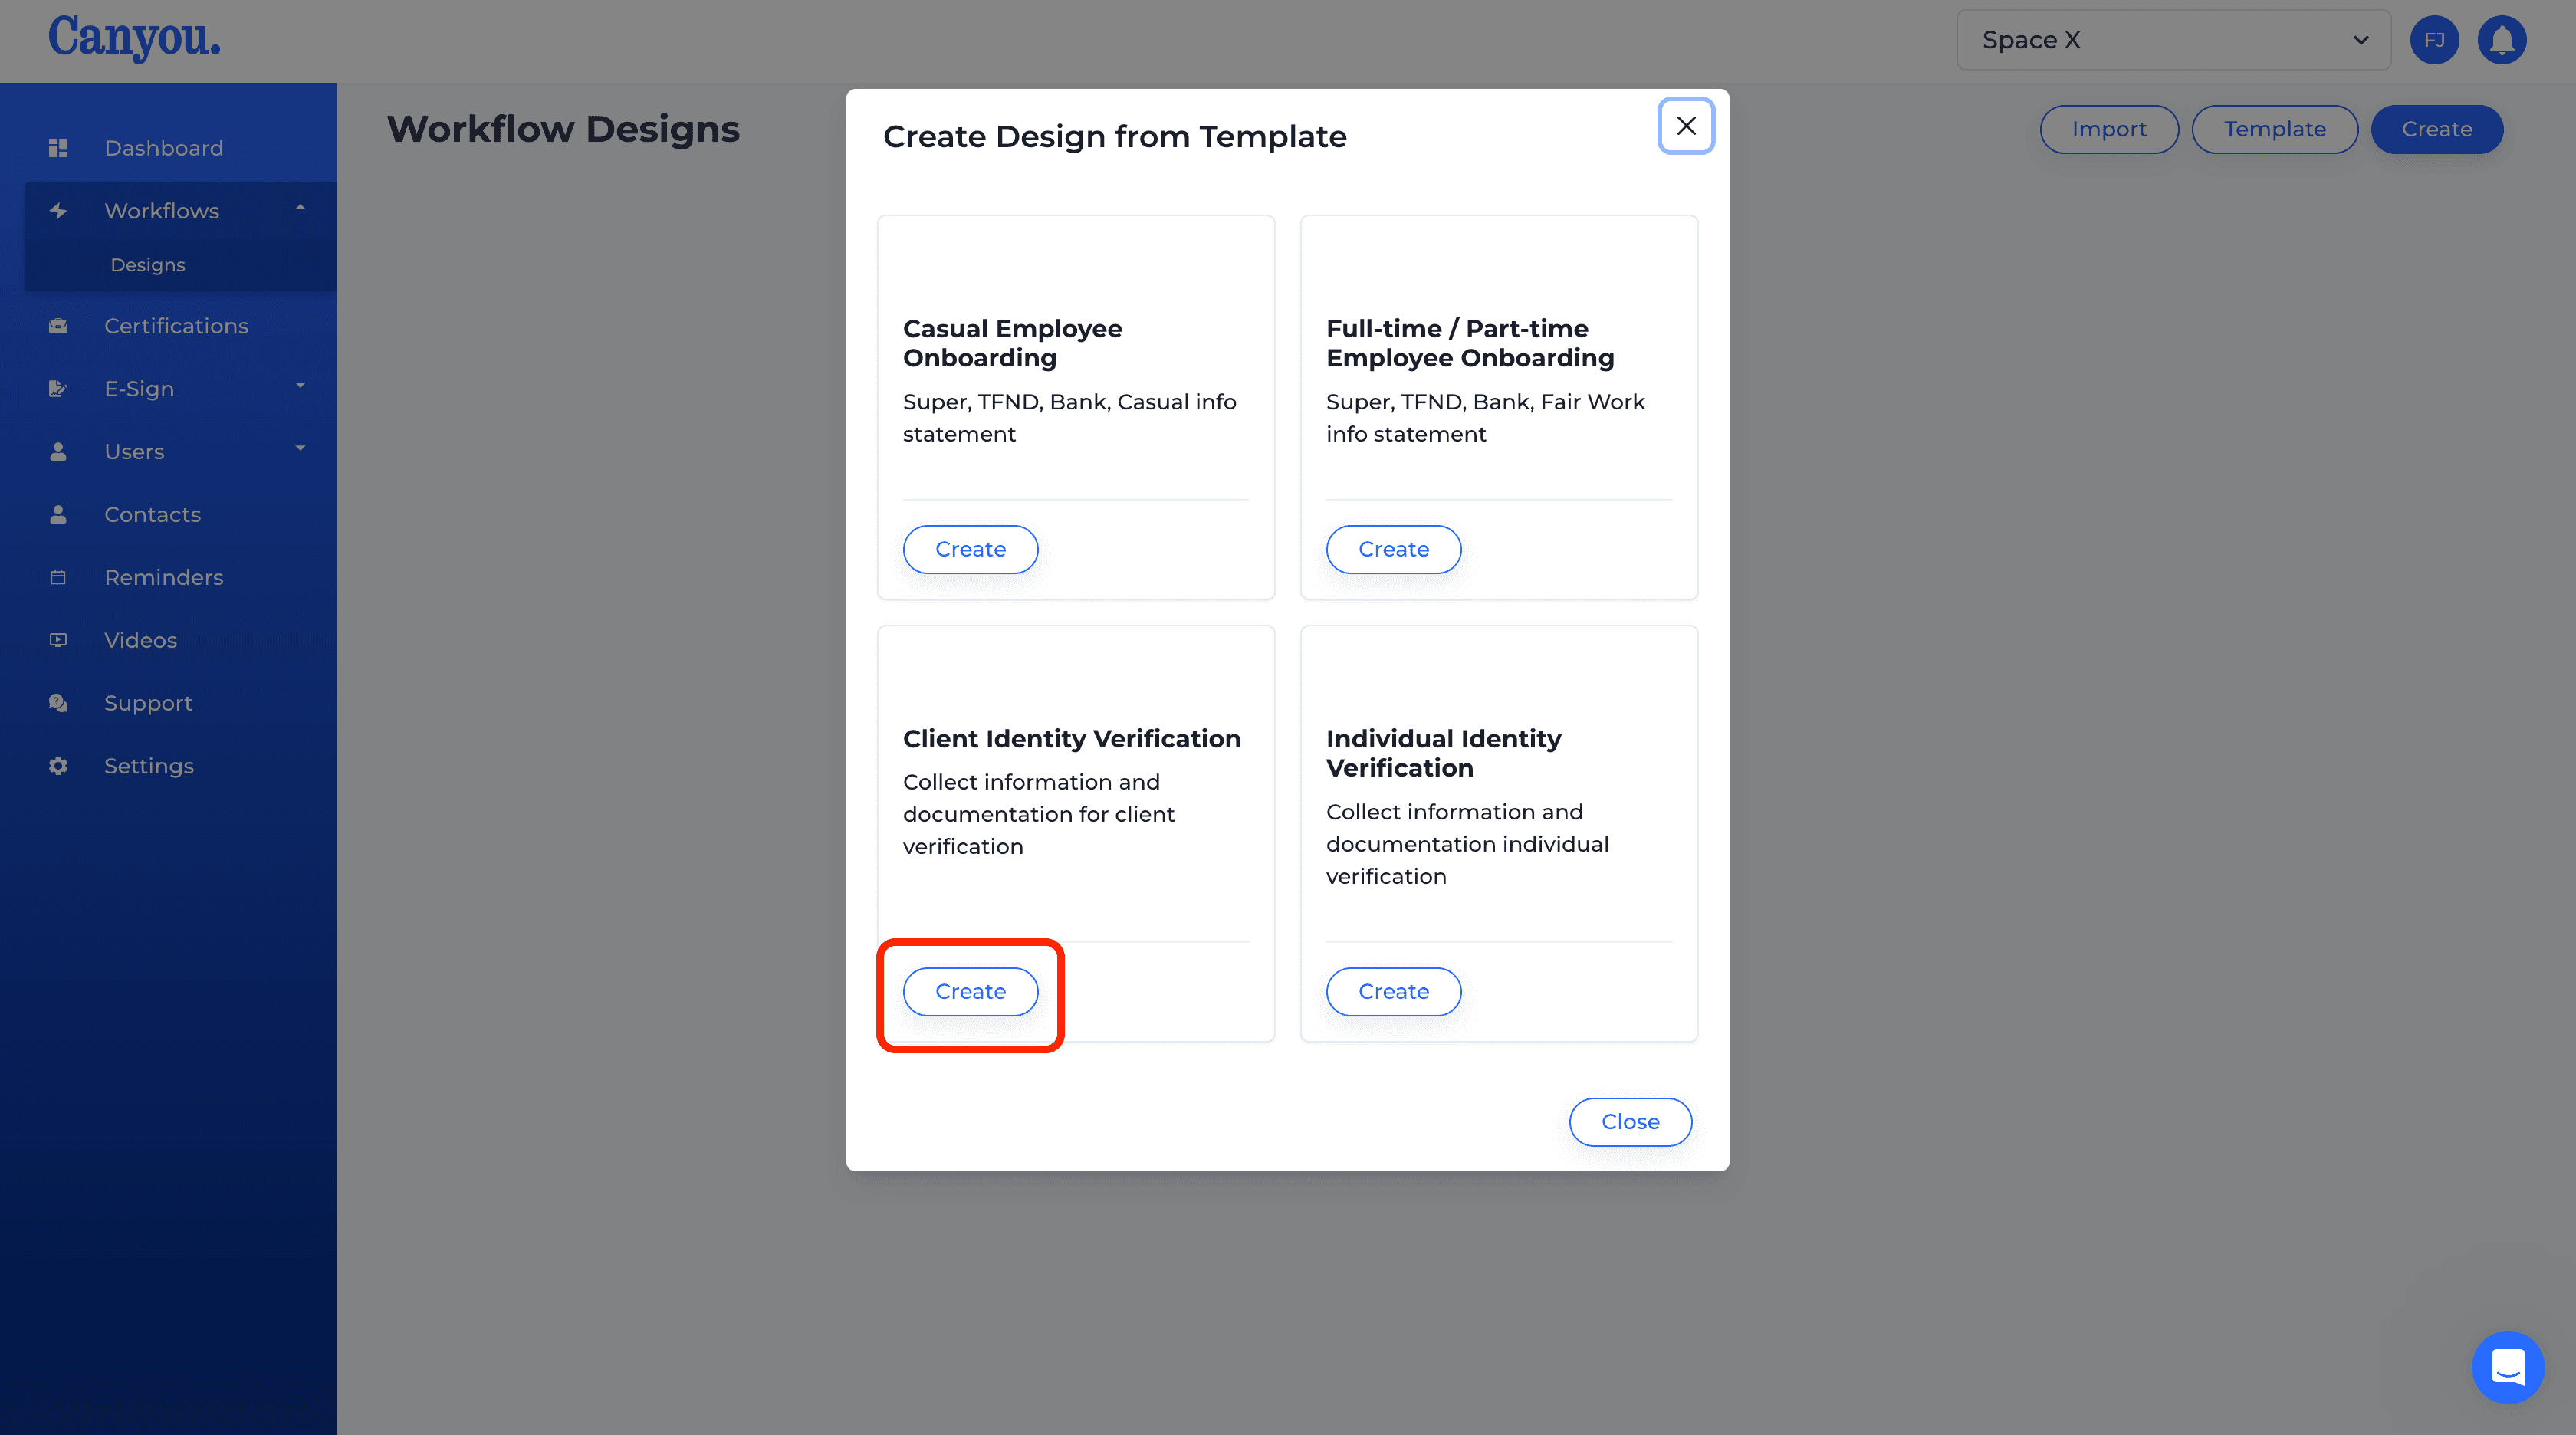
- Identification is seperated into 2 workflows, Client Identification and Individual Identification. The reason for this is that an organisation may have multiple individuals that need to be identified. Having 2 seperate workflows allows you to collect an Individual identification without the need for the Client identification. In this example we will do both:
Click the Create button on the Client Identity Verification template.
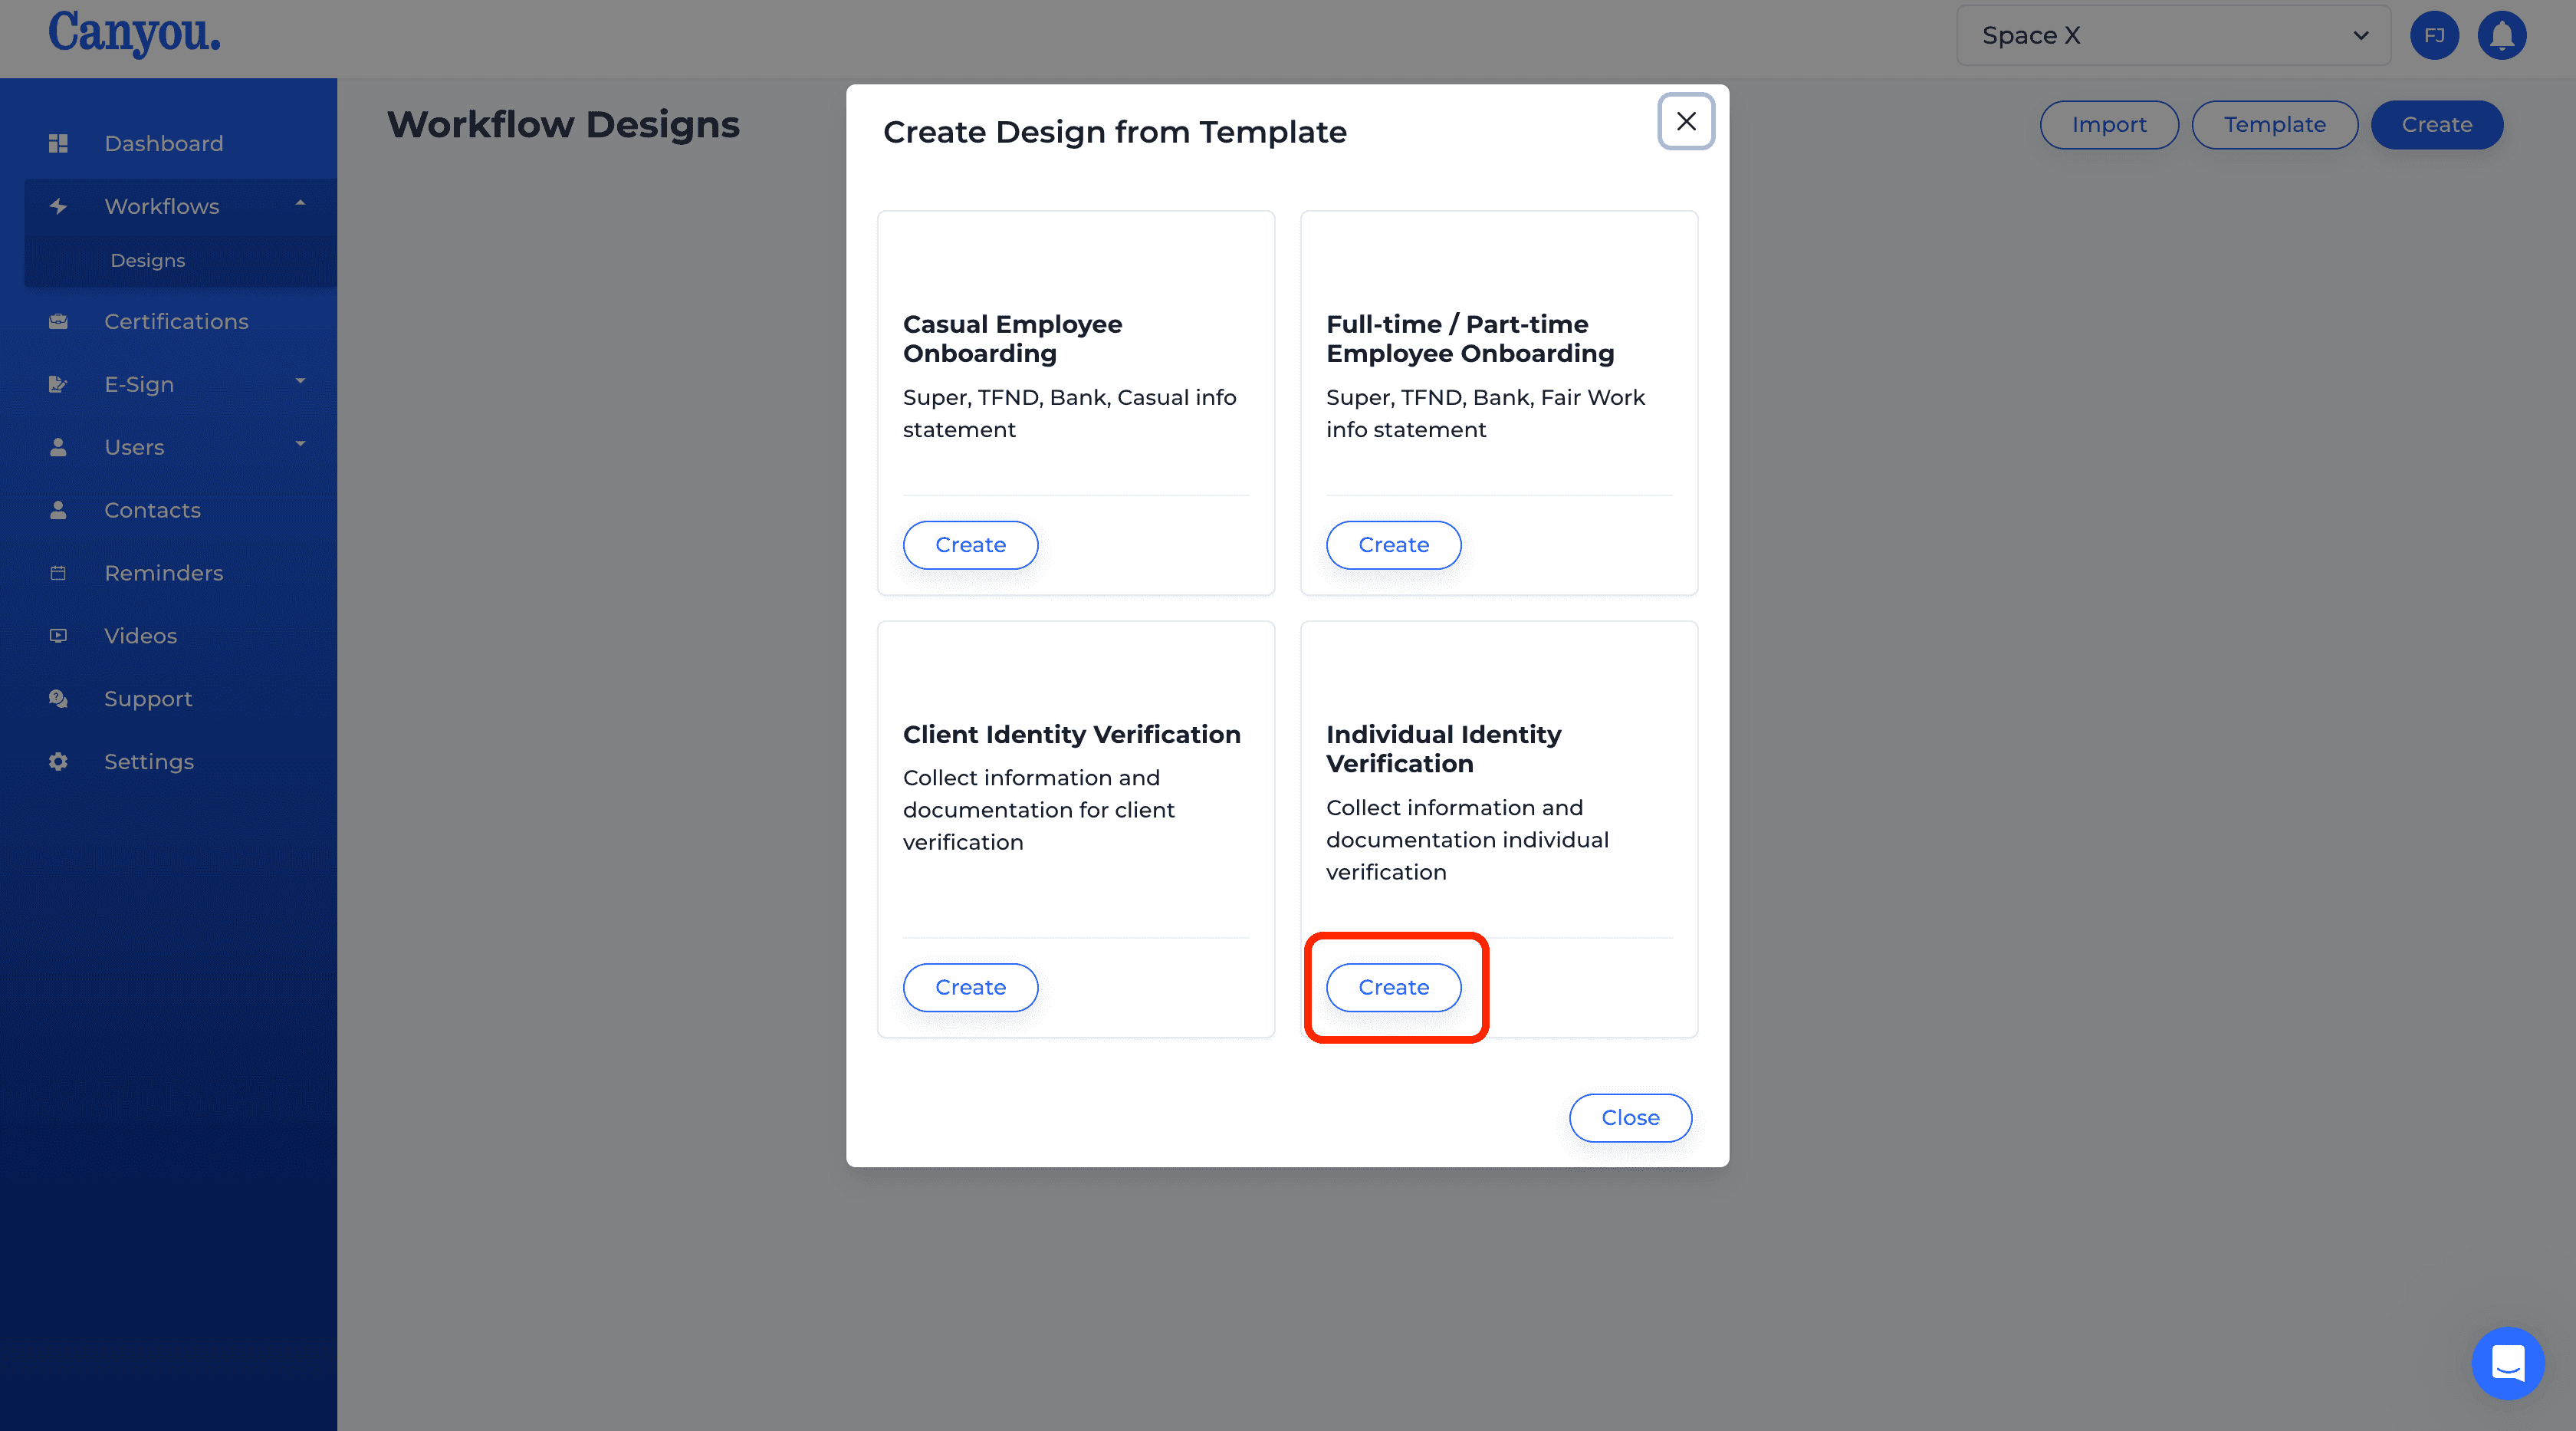
- Click the Create button on the Individual Identity Verification template.
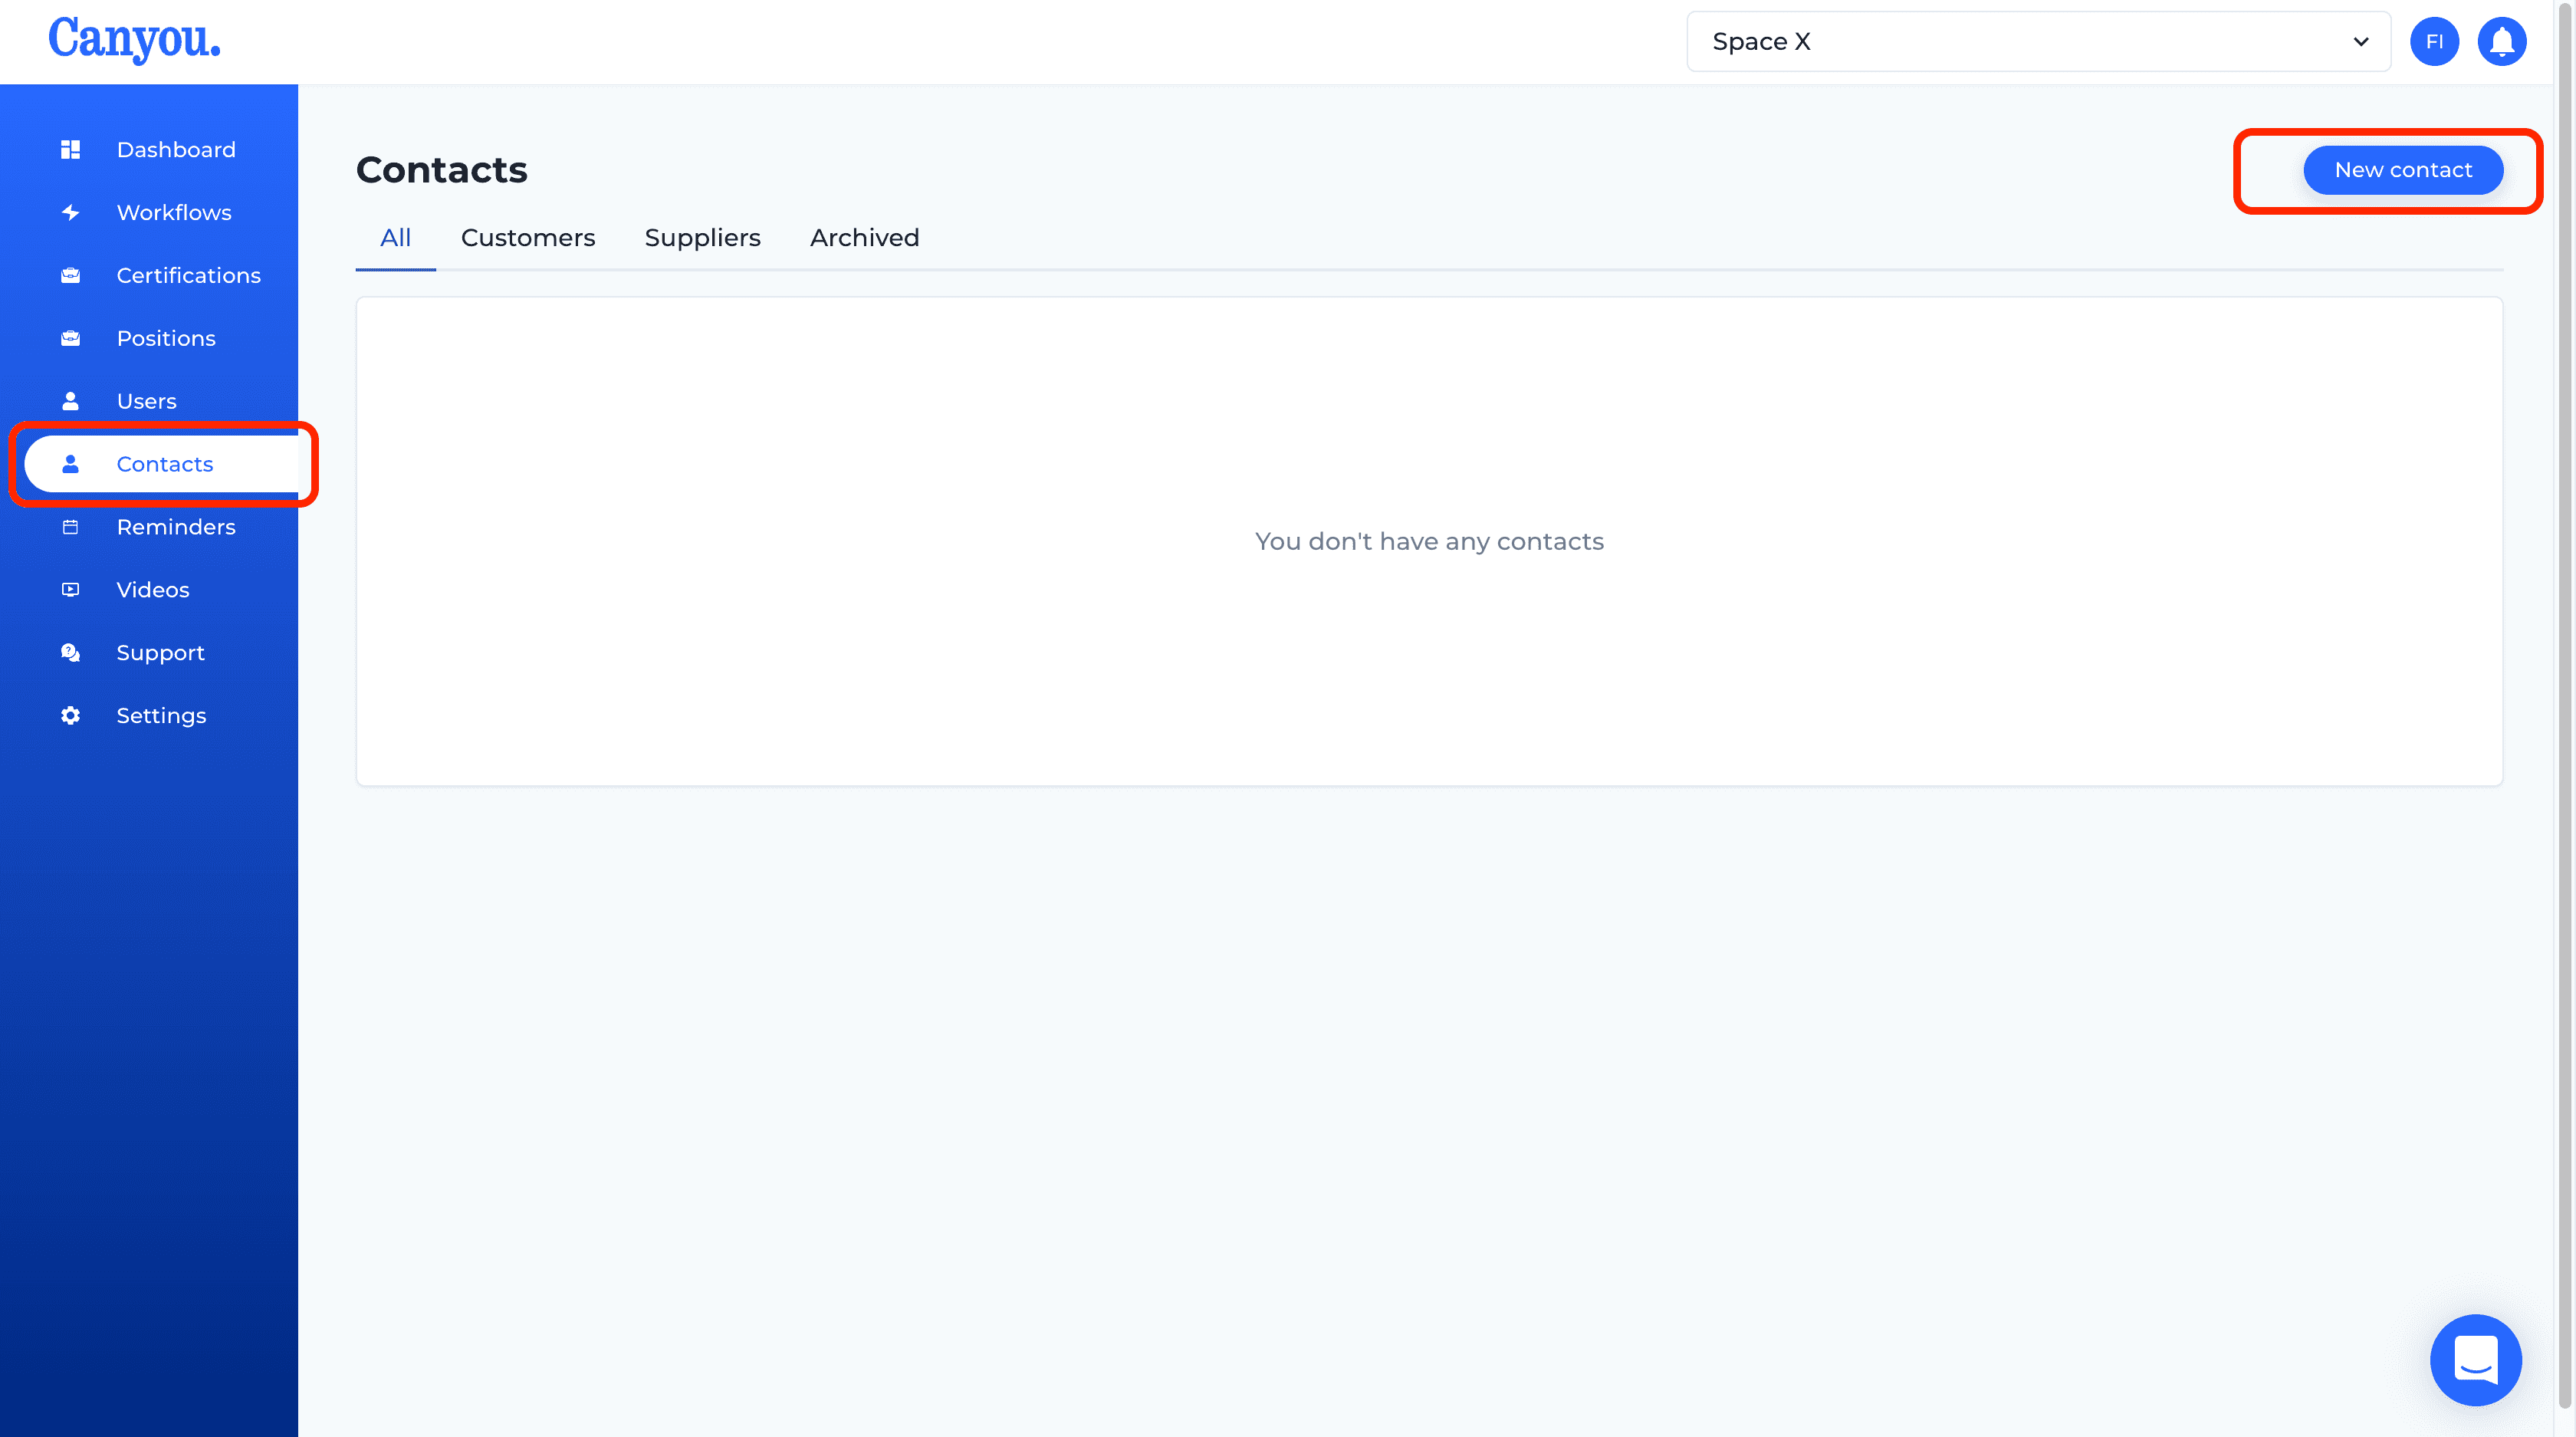
- Click into the Contacts menu and click New contact (you can skip this step if the contact is already created).
- Add the contact details and click create. A contact should be the business, organisation or individual we wish to identify.
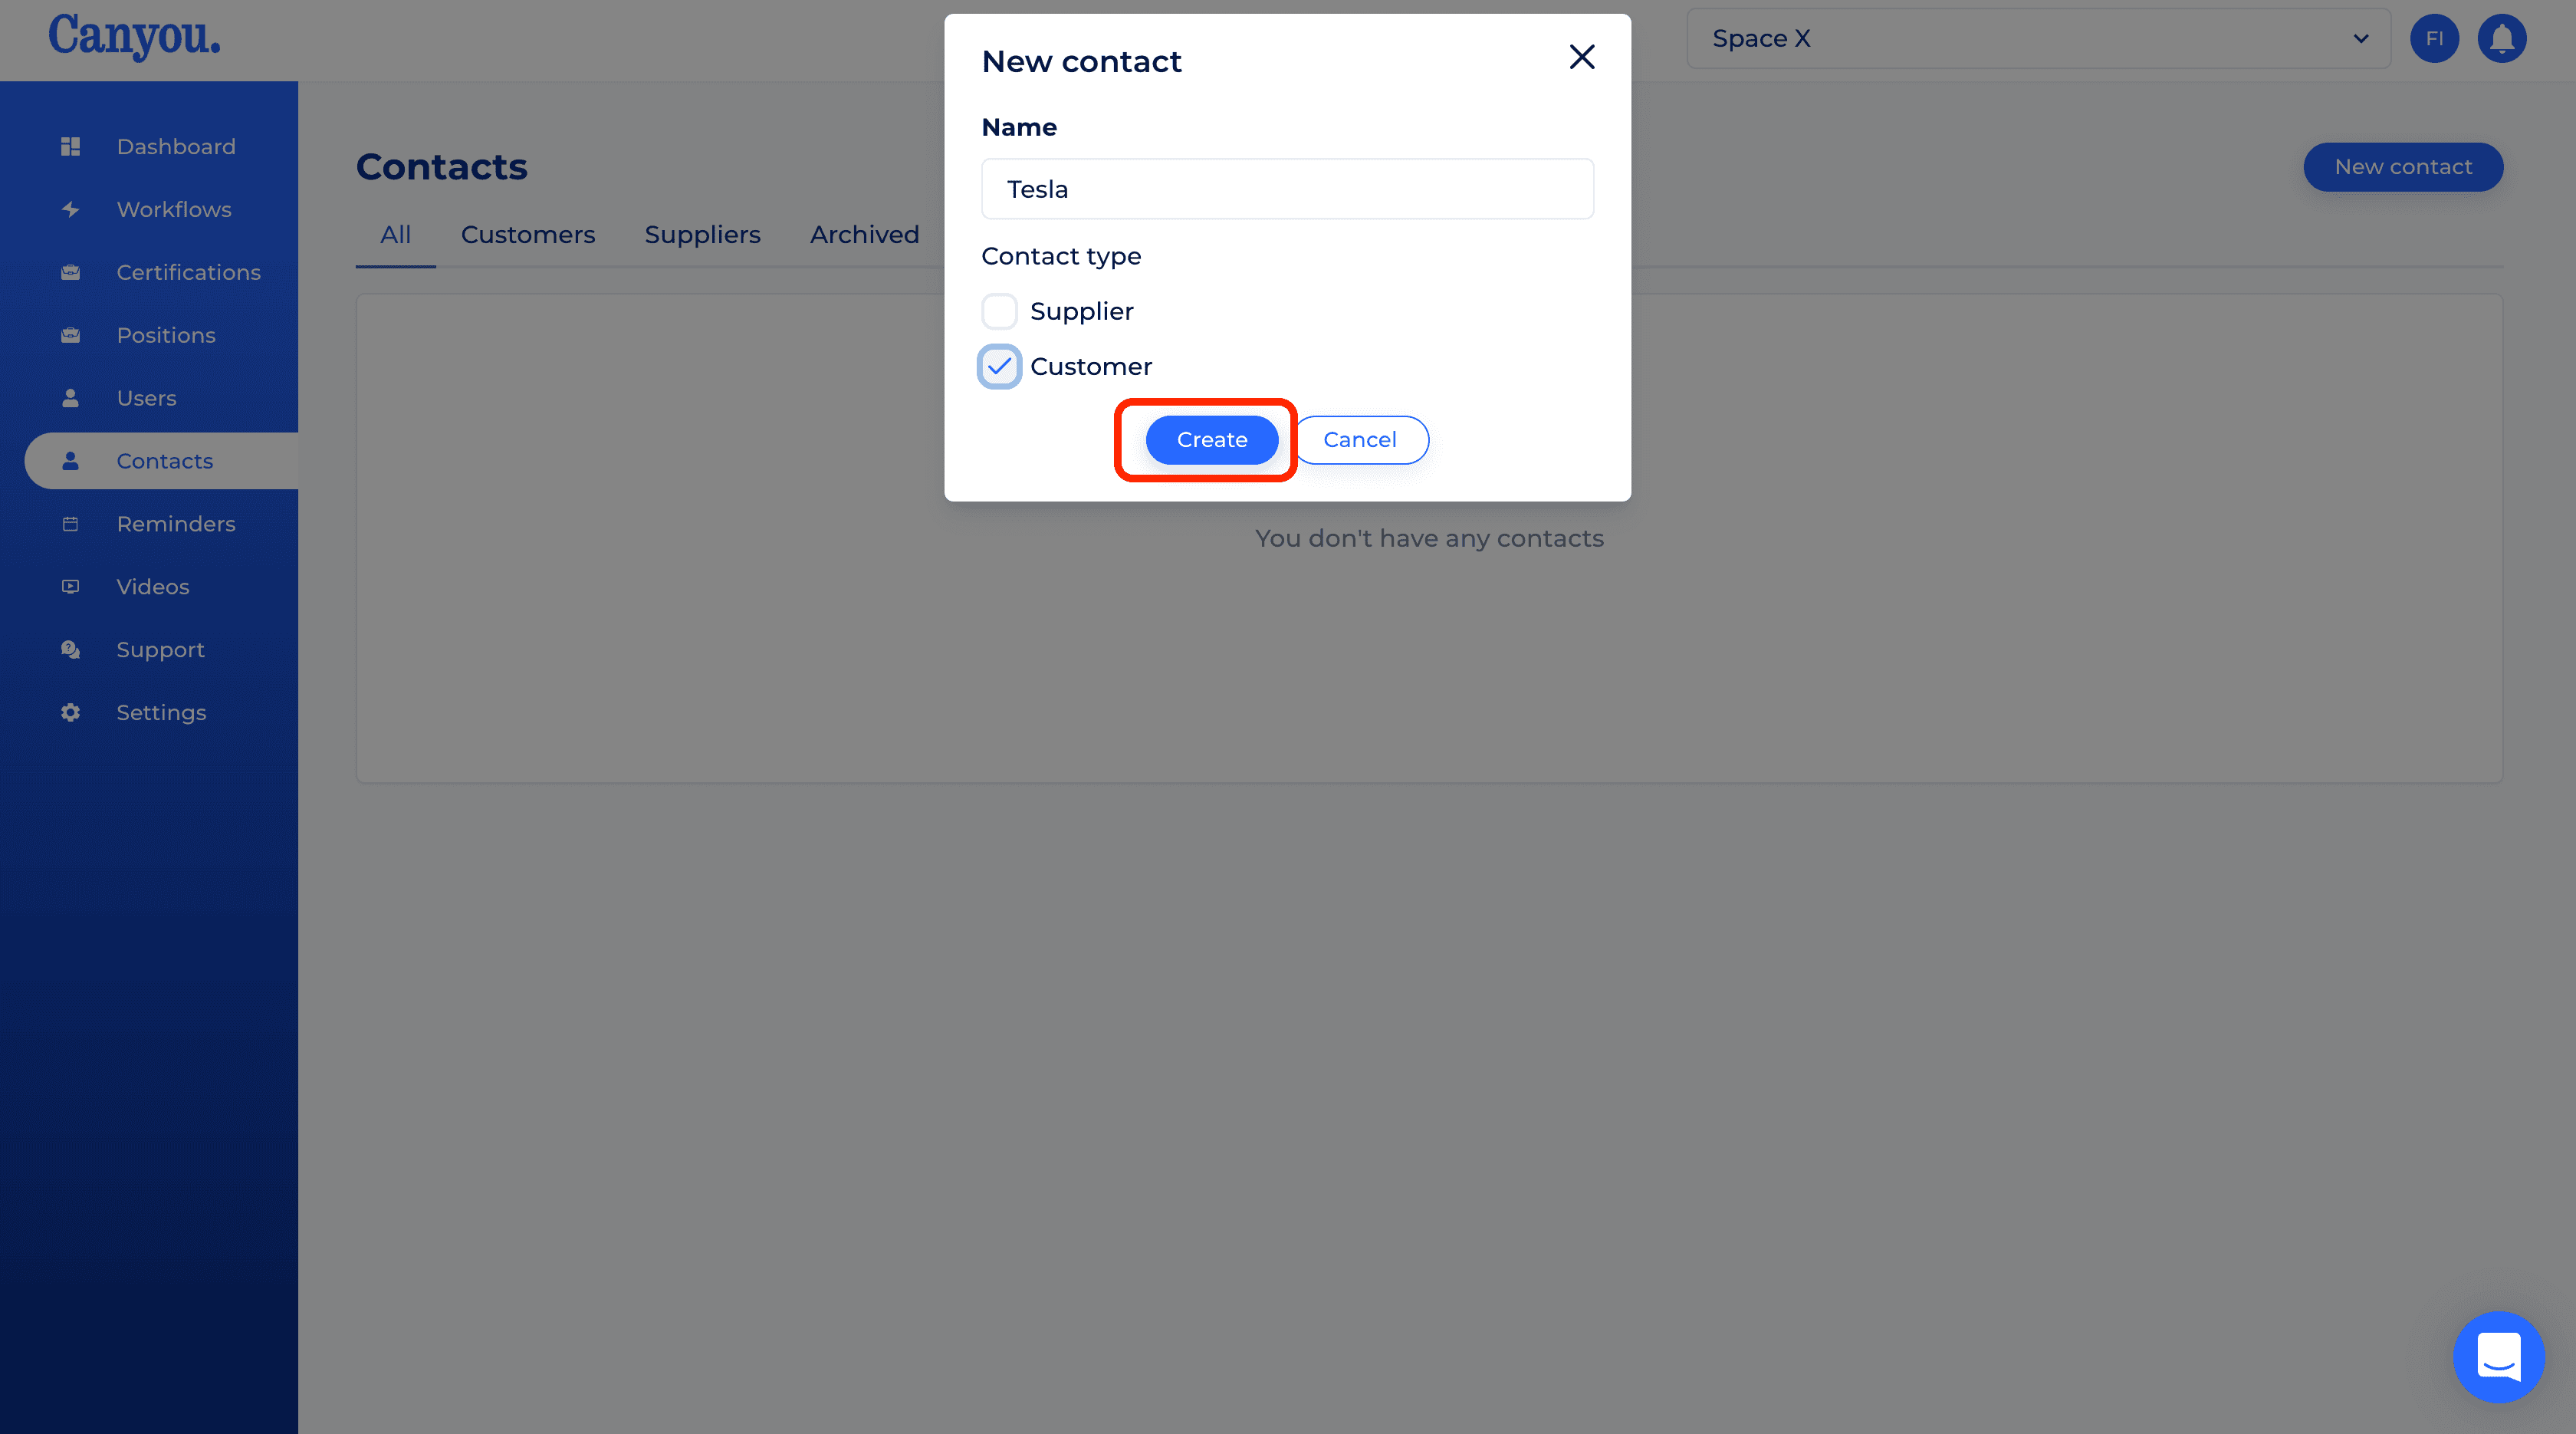
- Click into the relevant contact.
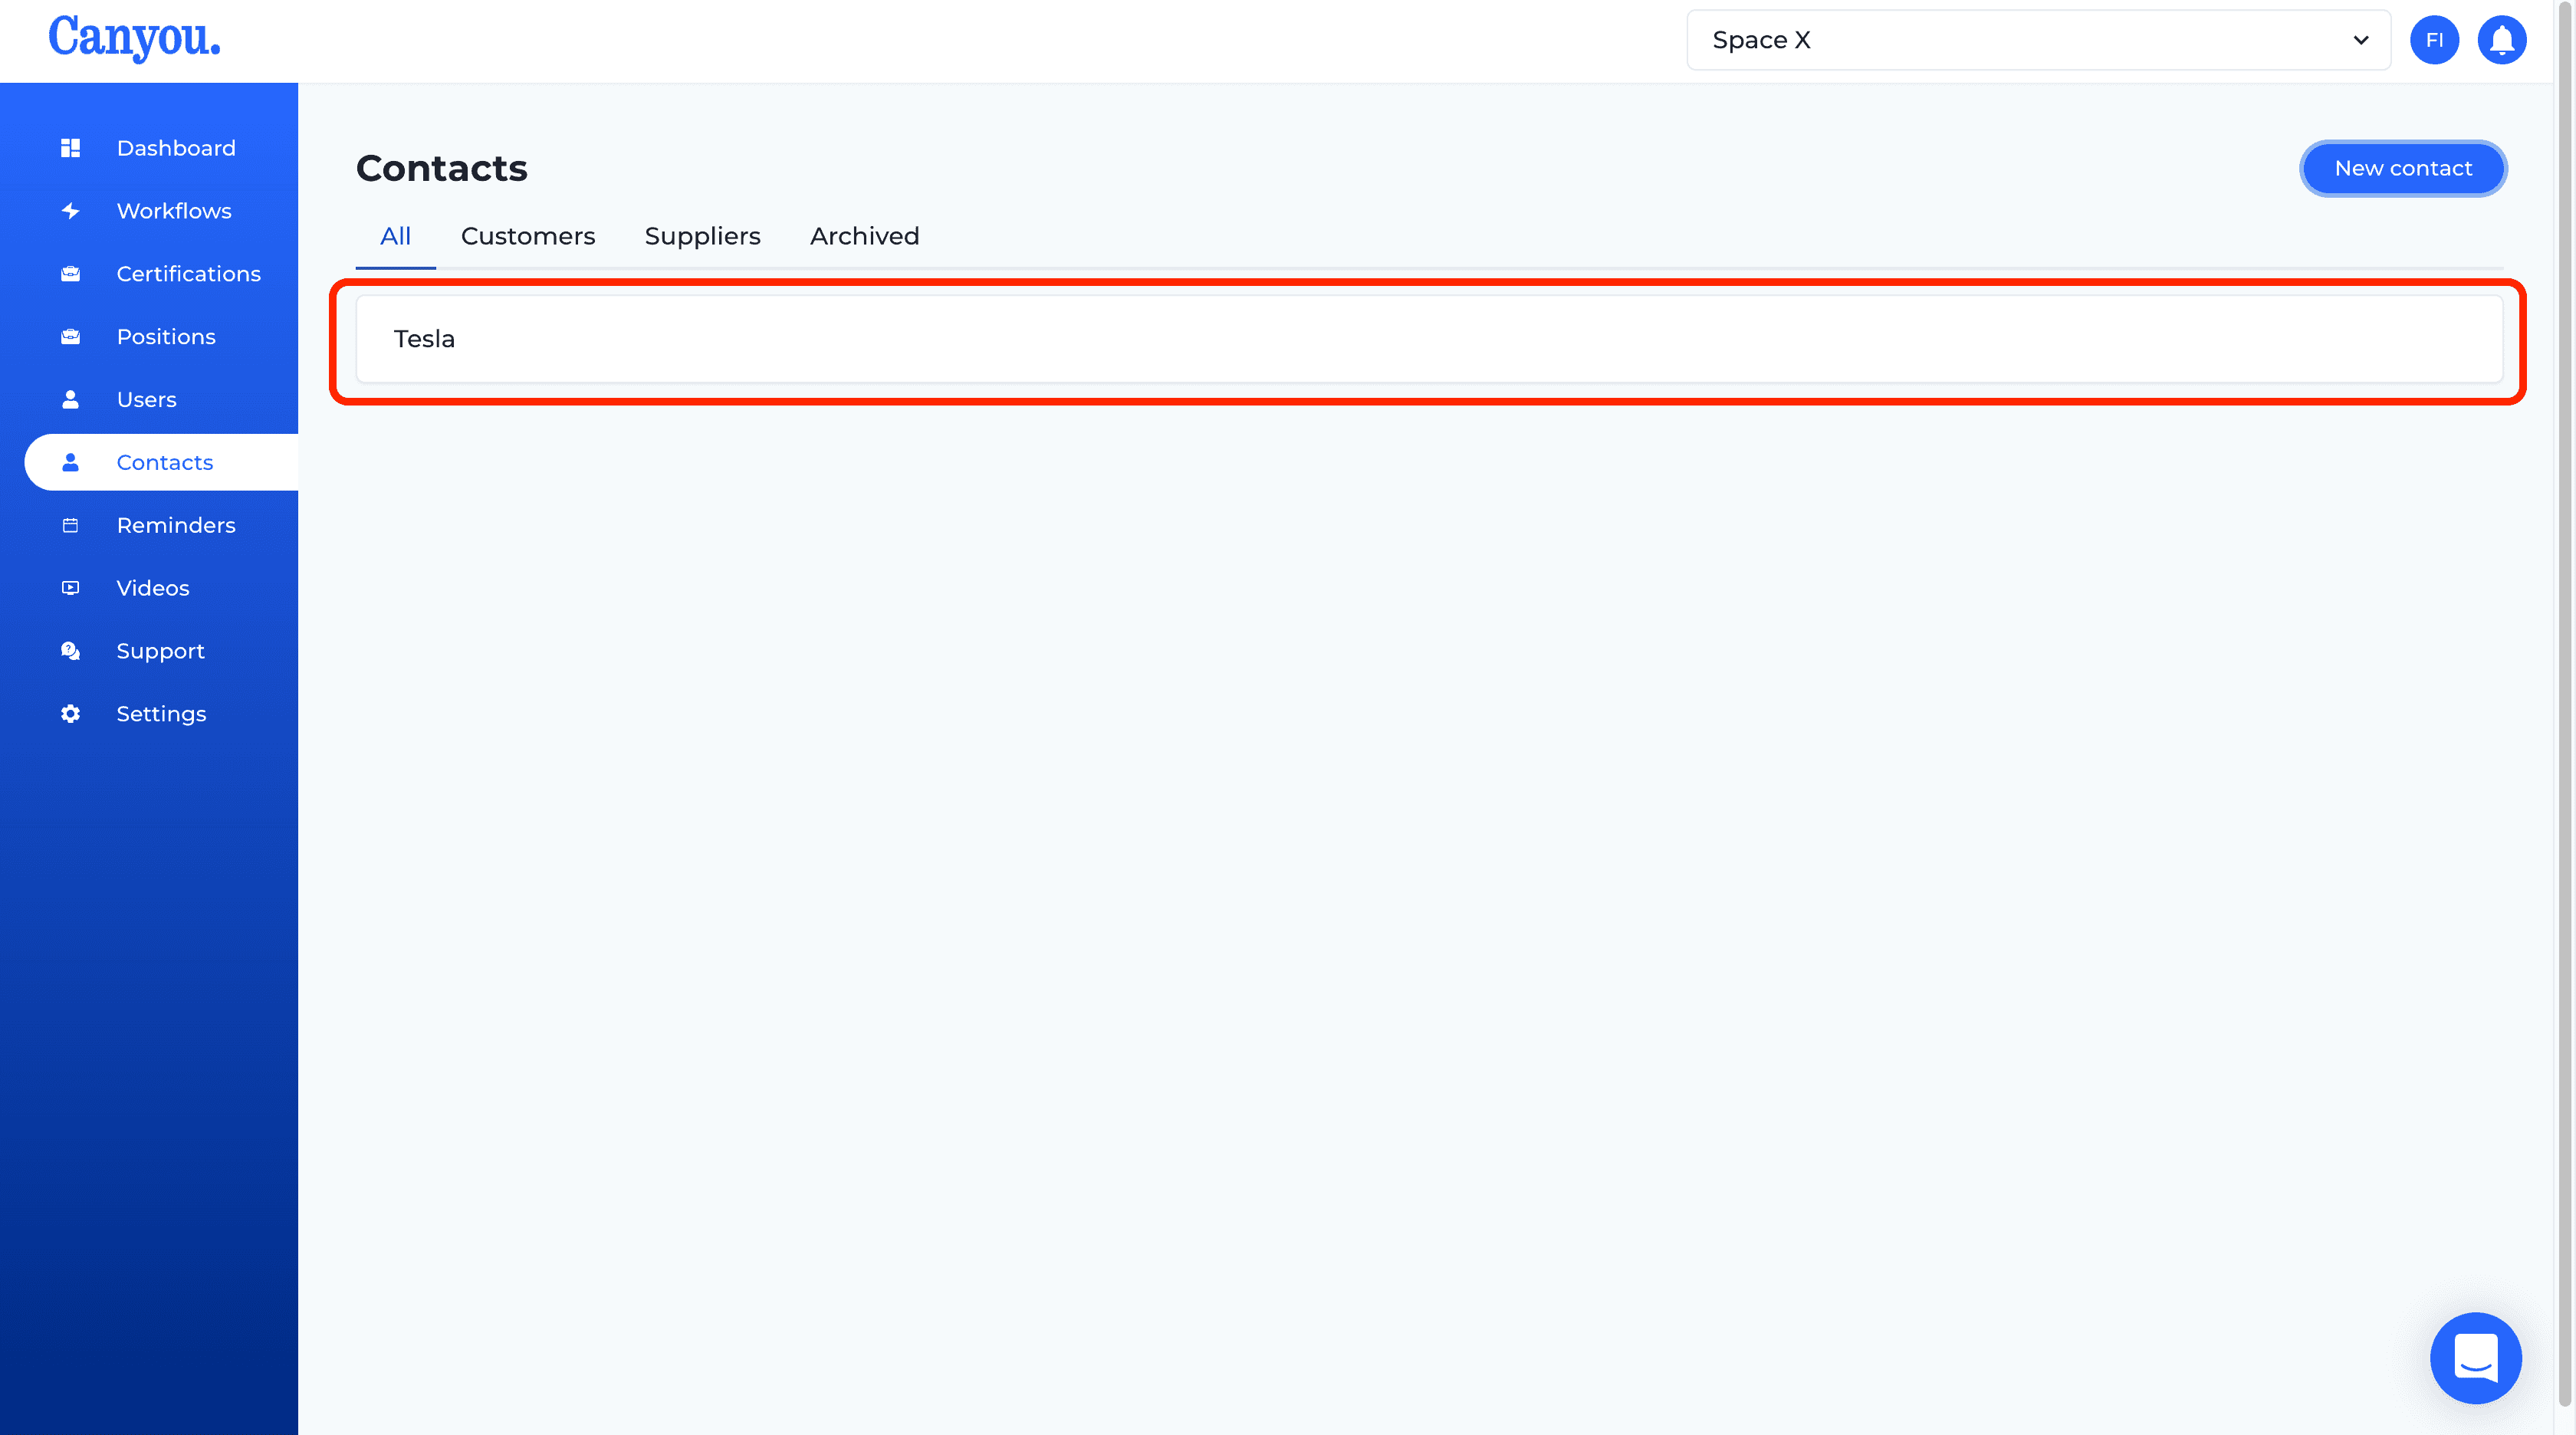
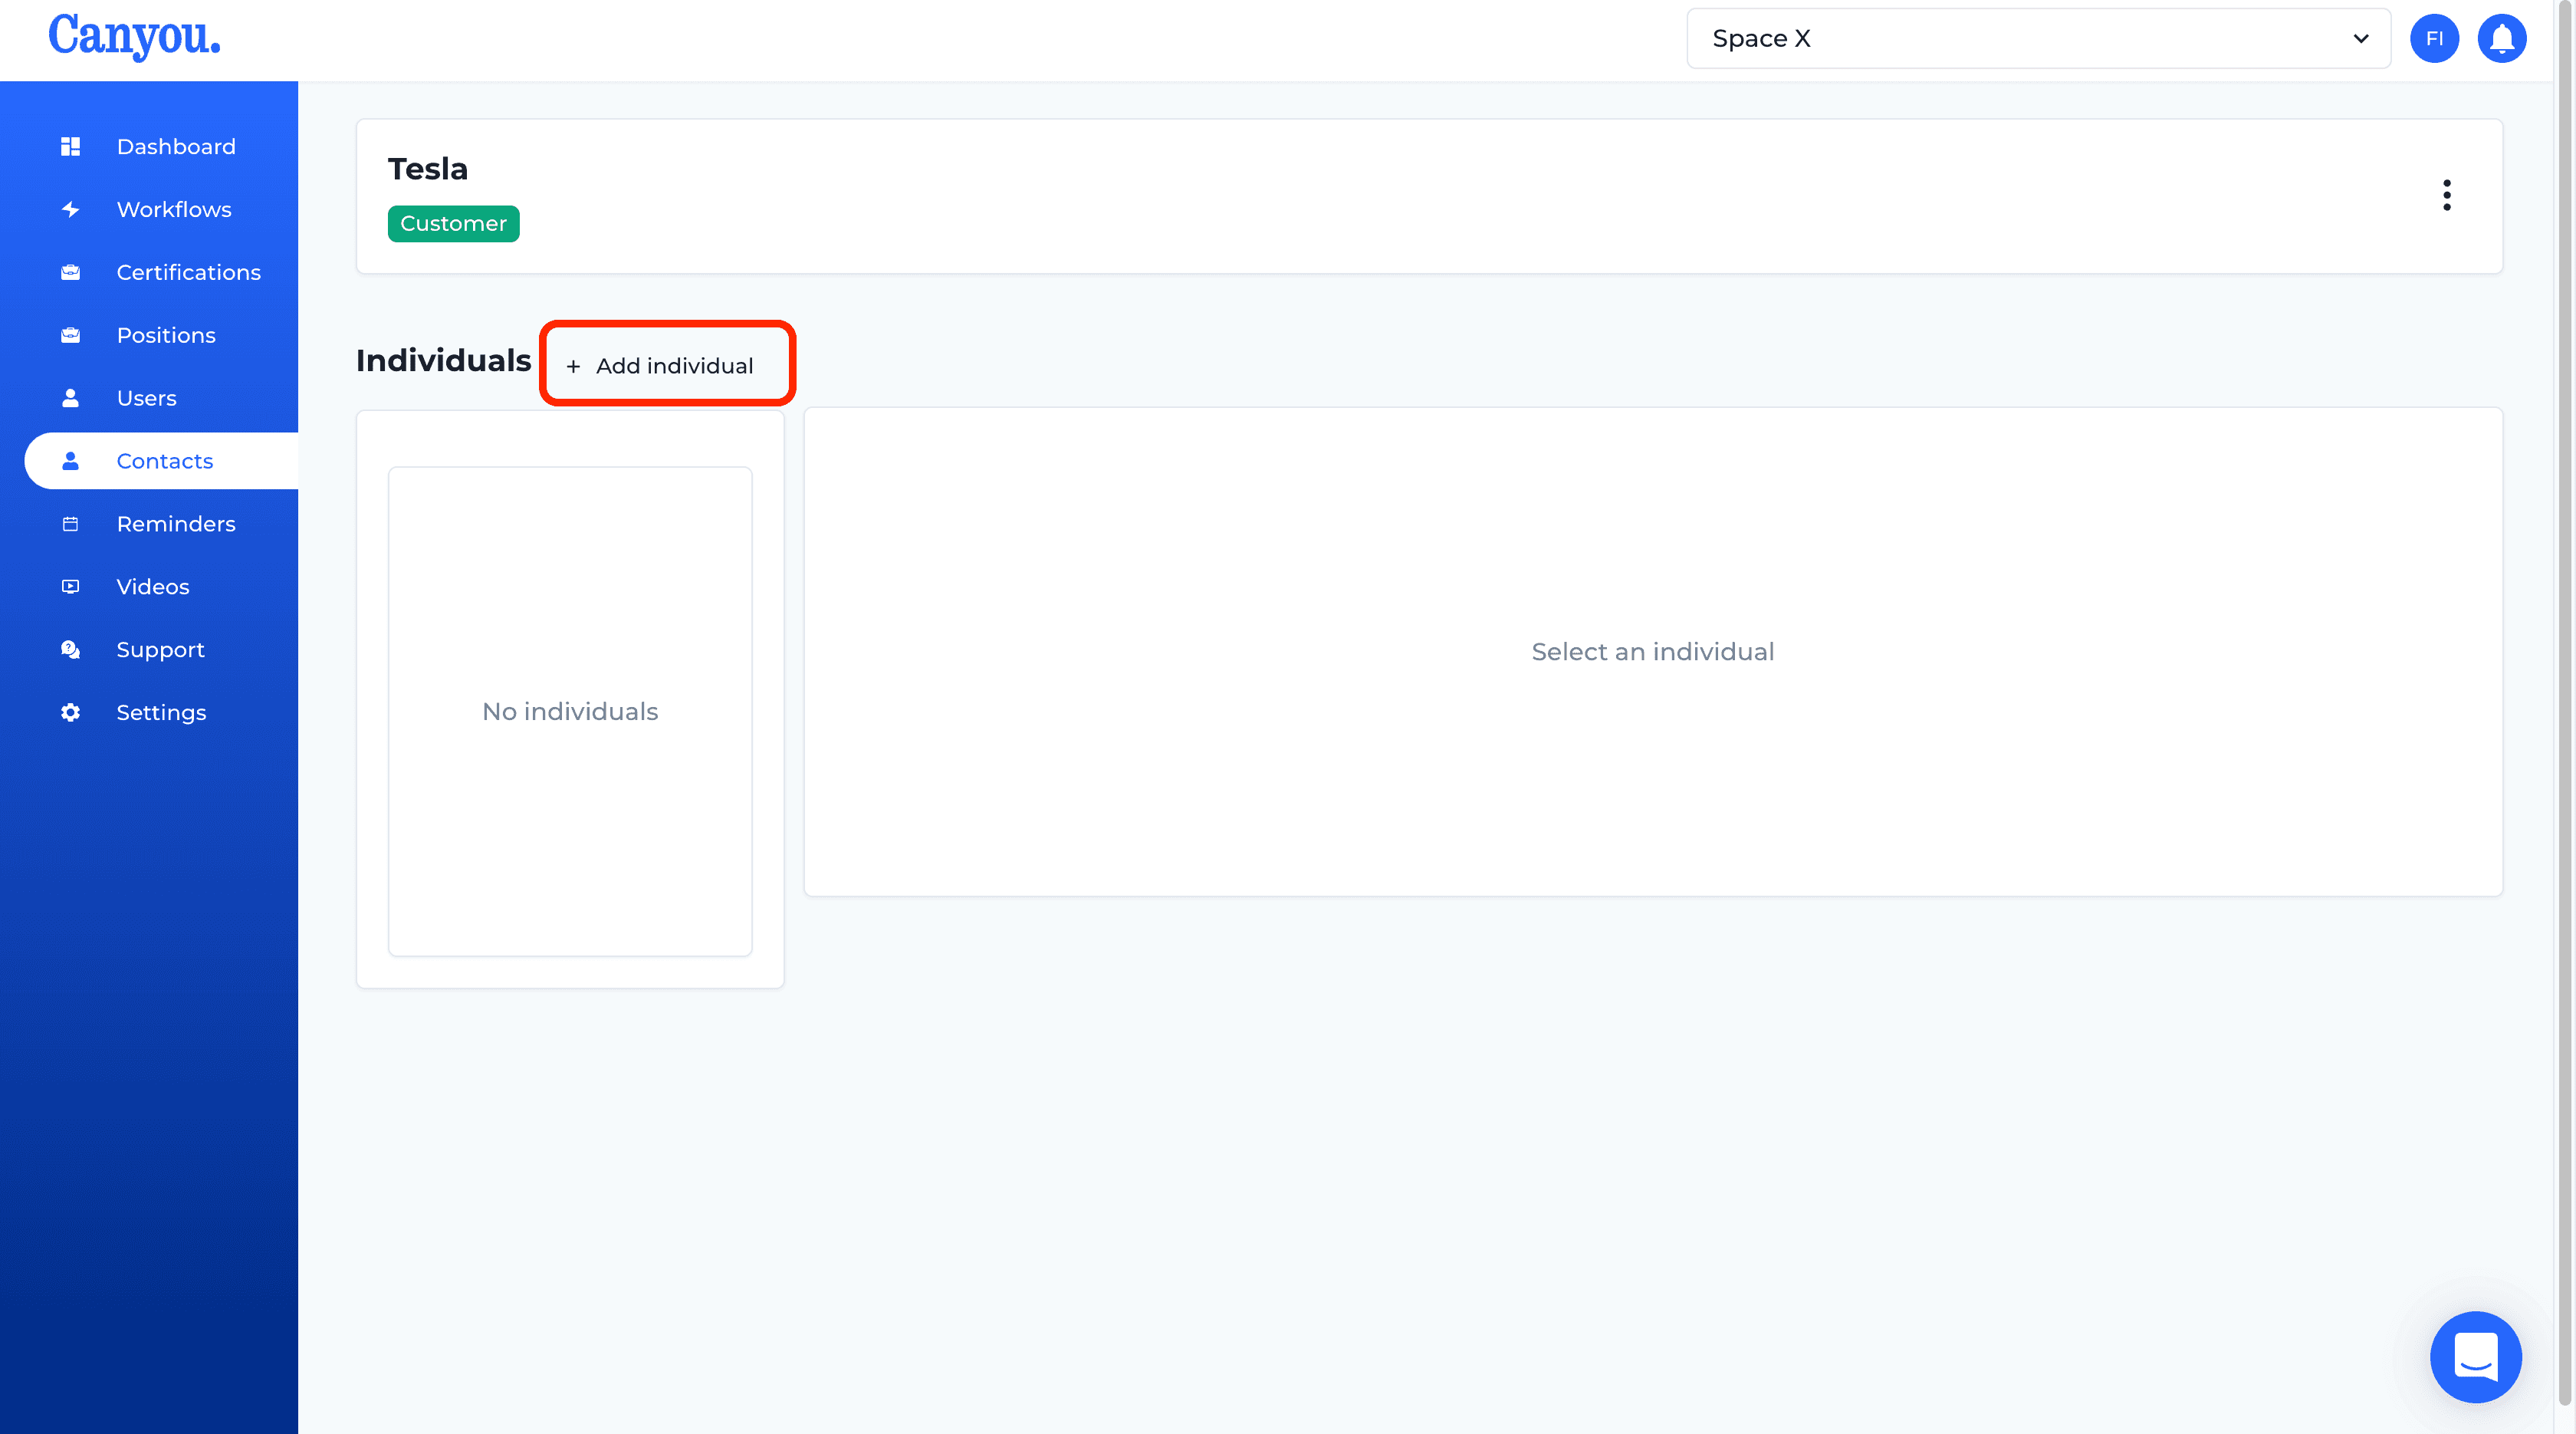
- Now we need to add the individual we want to identify. Click Add individual.
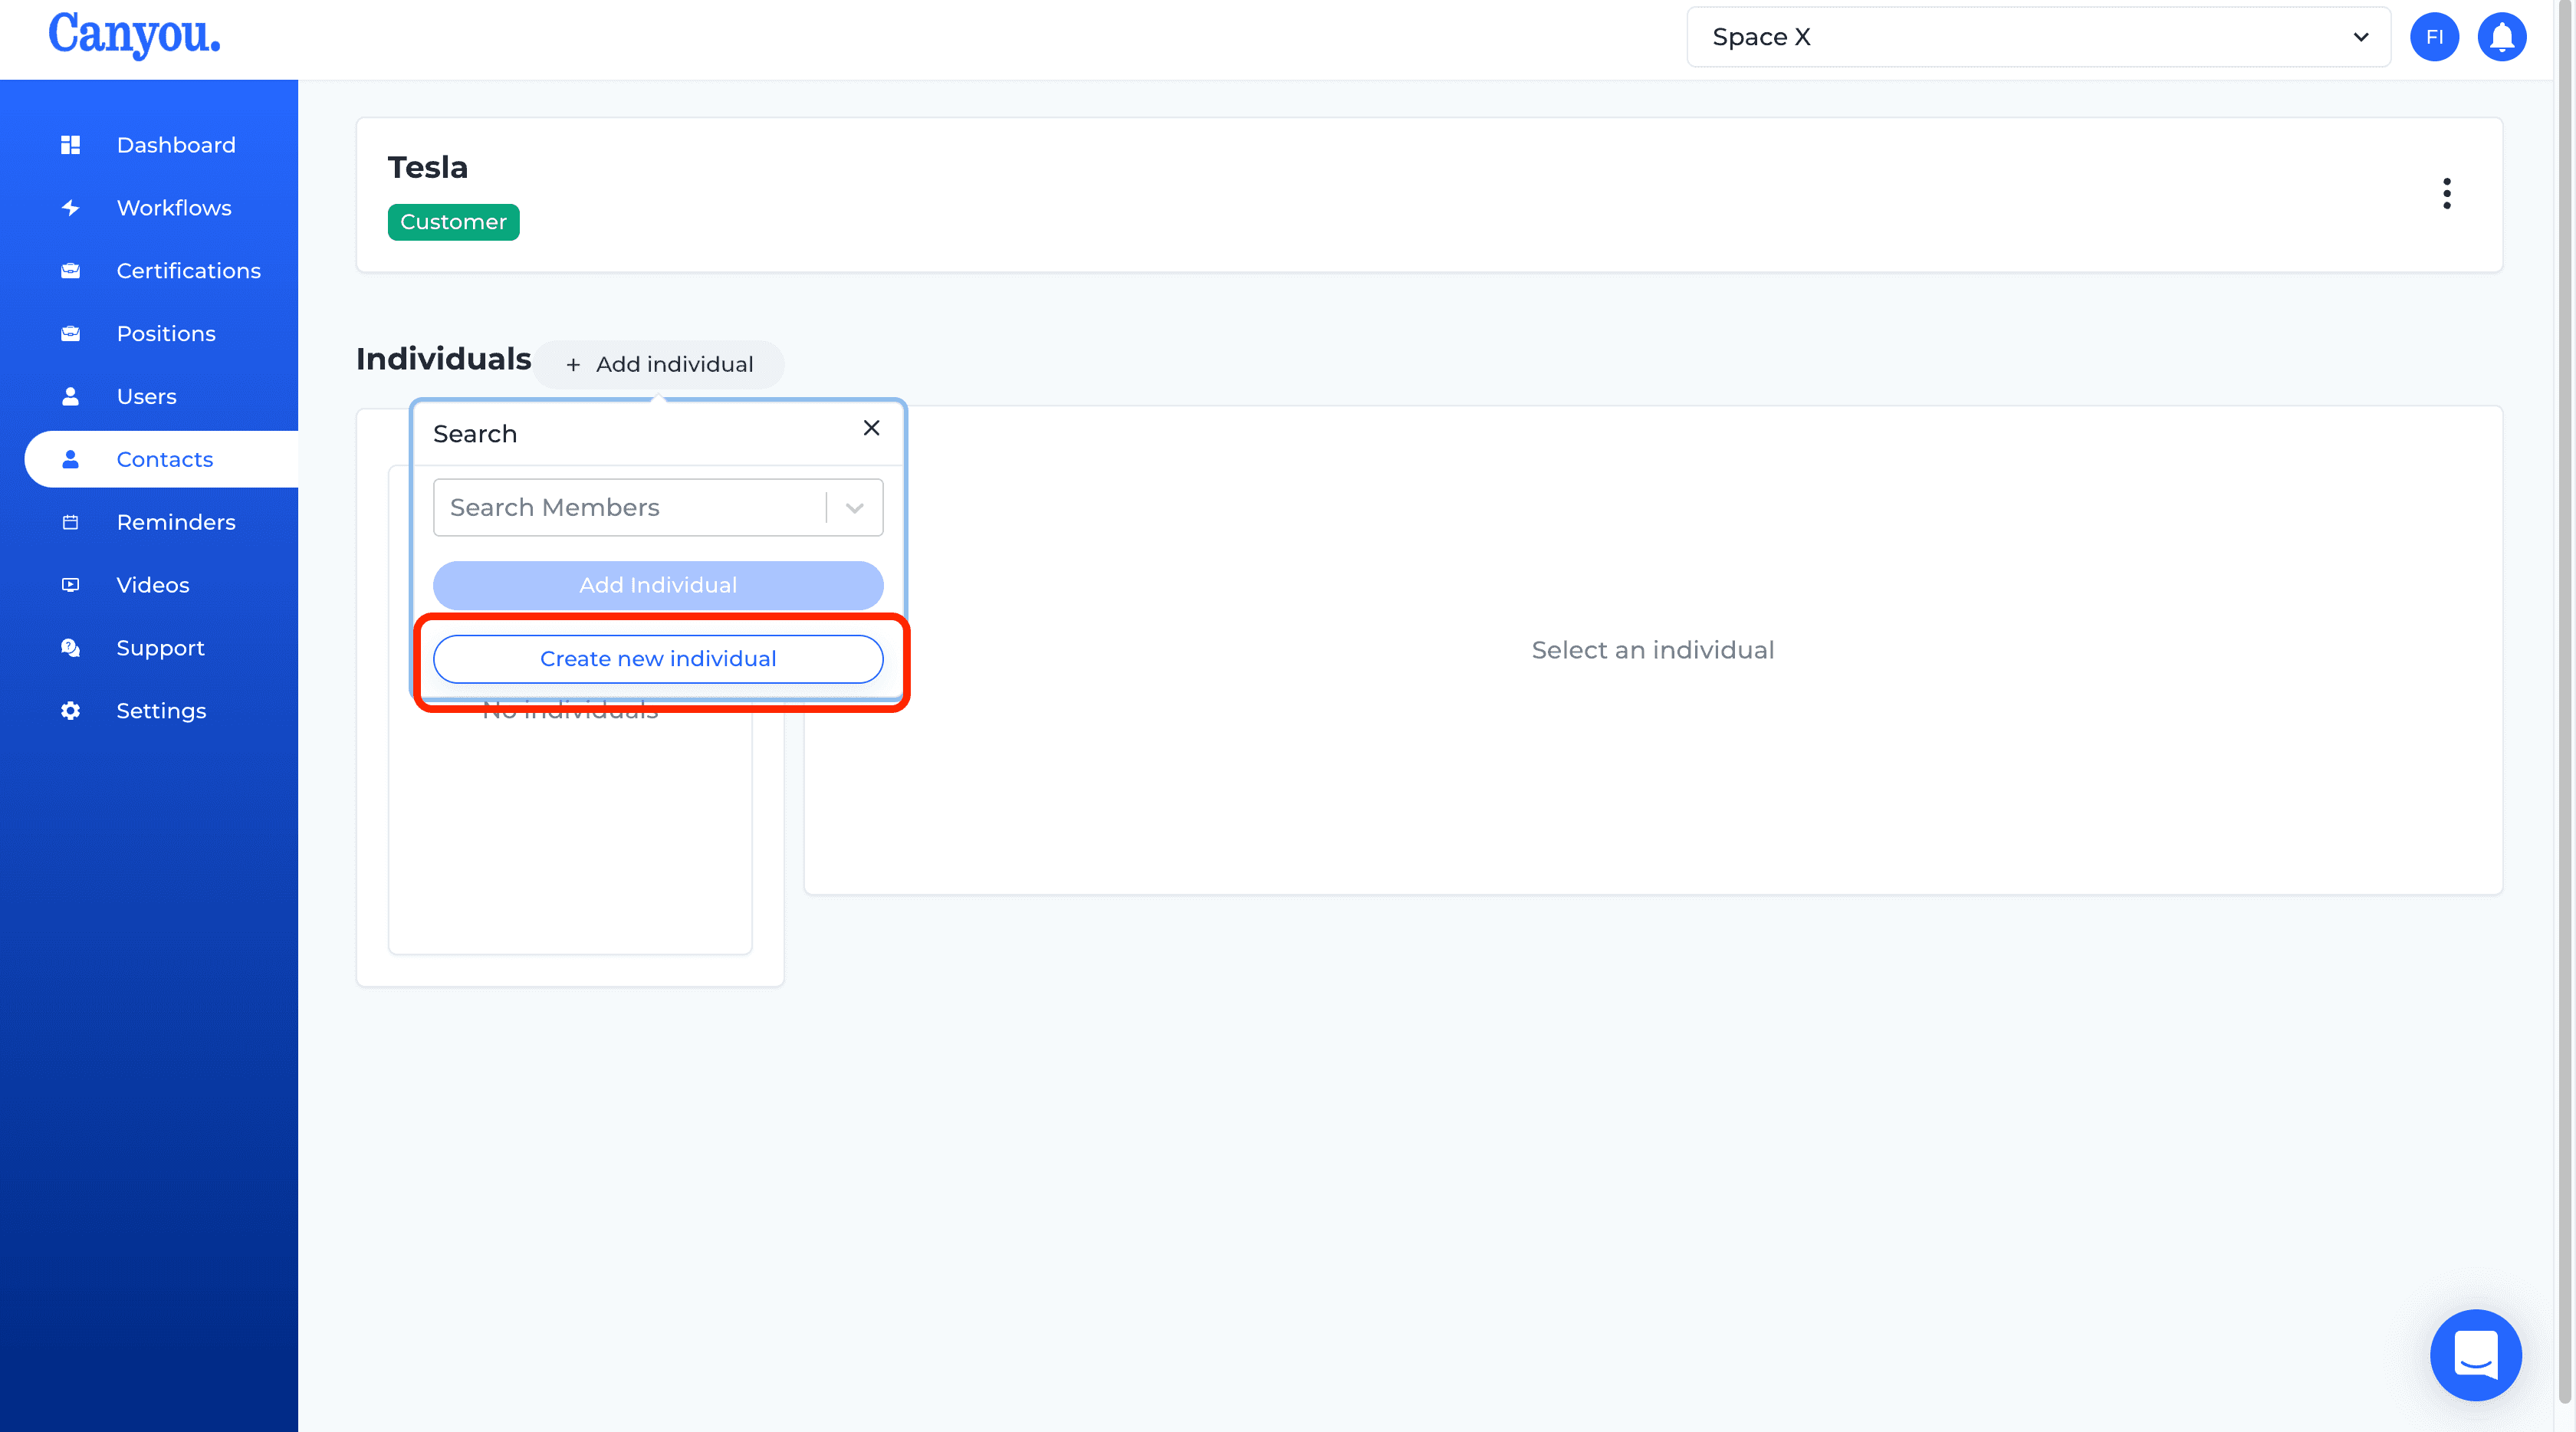
- Click Create new individual.
- Complete the individuals information and click Add.
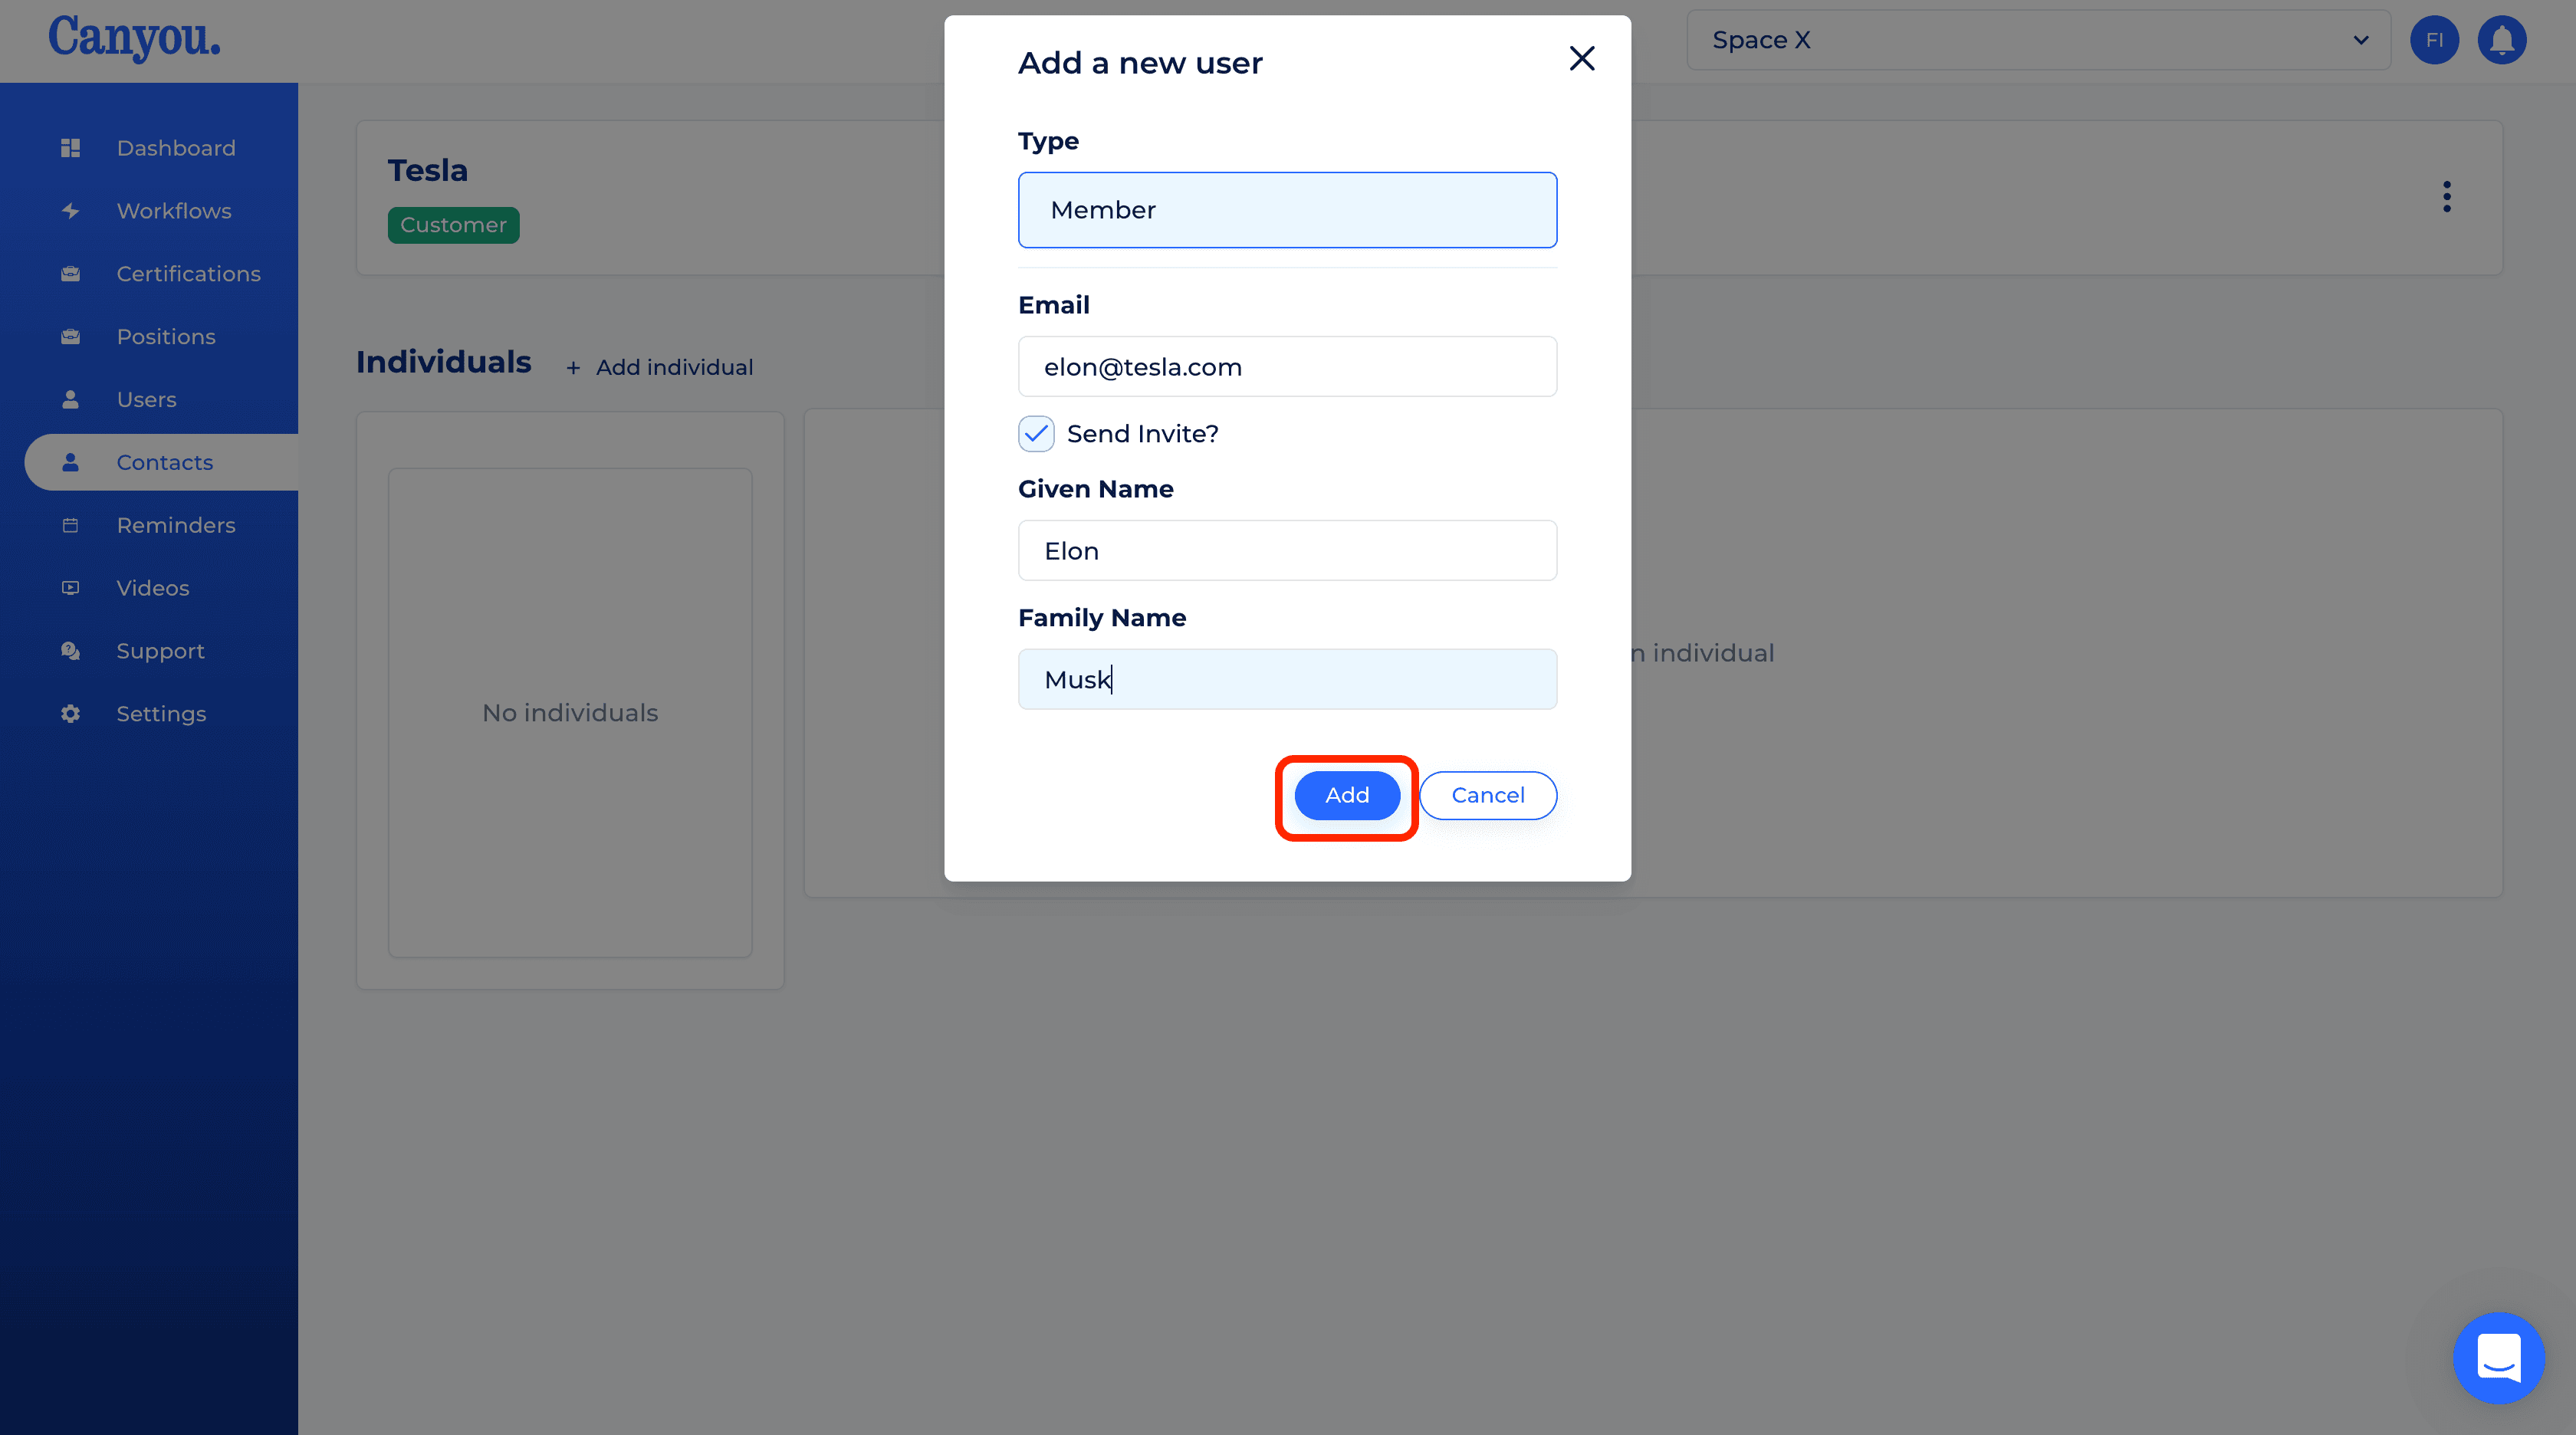
- The individual is now created. Next step is to assign them the two identification workflows. Click the Assign button.
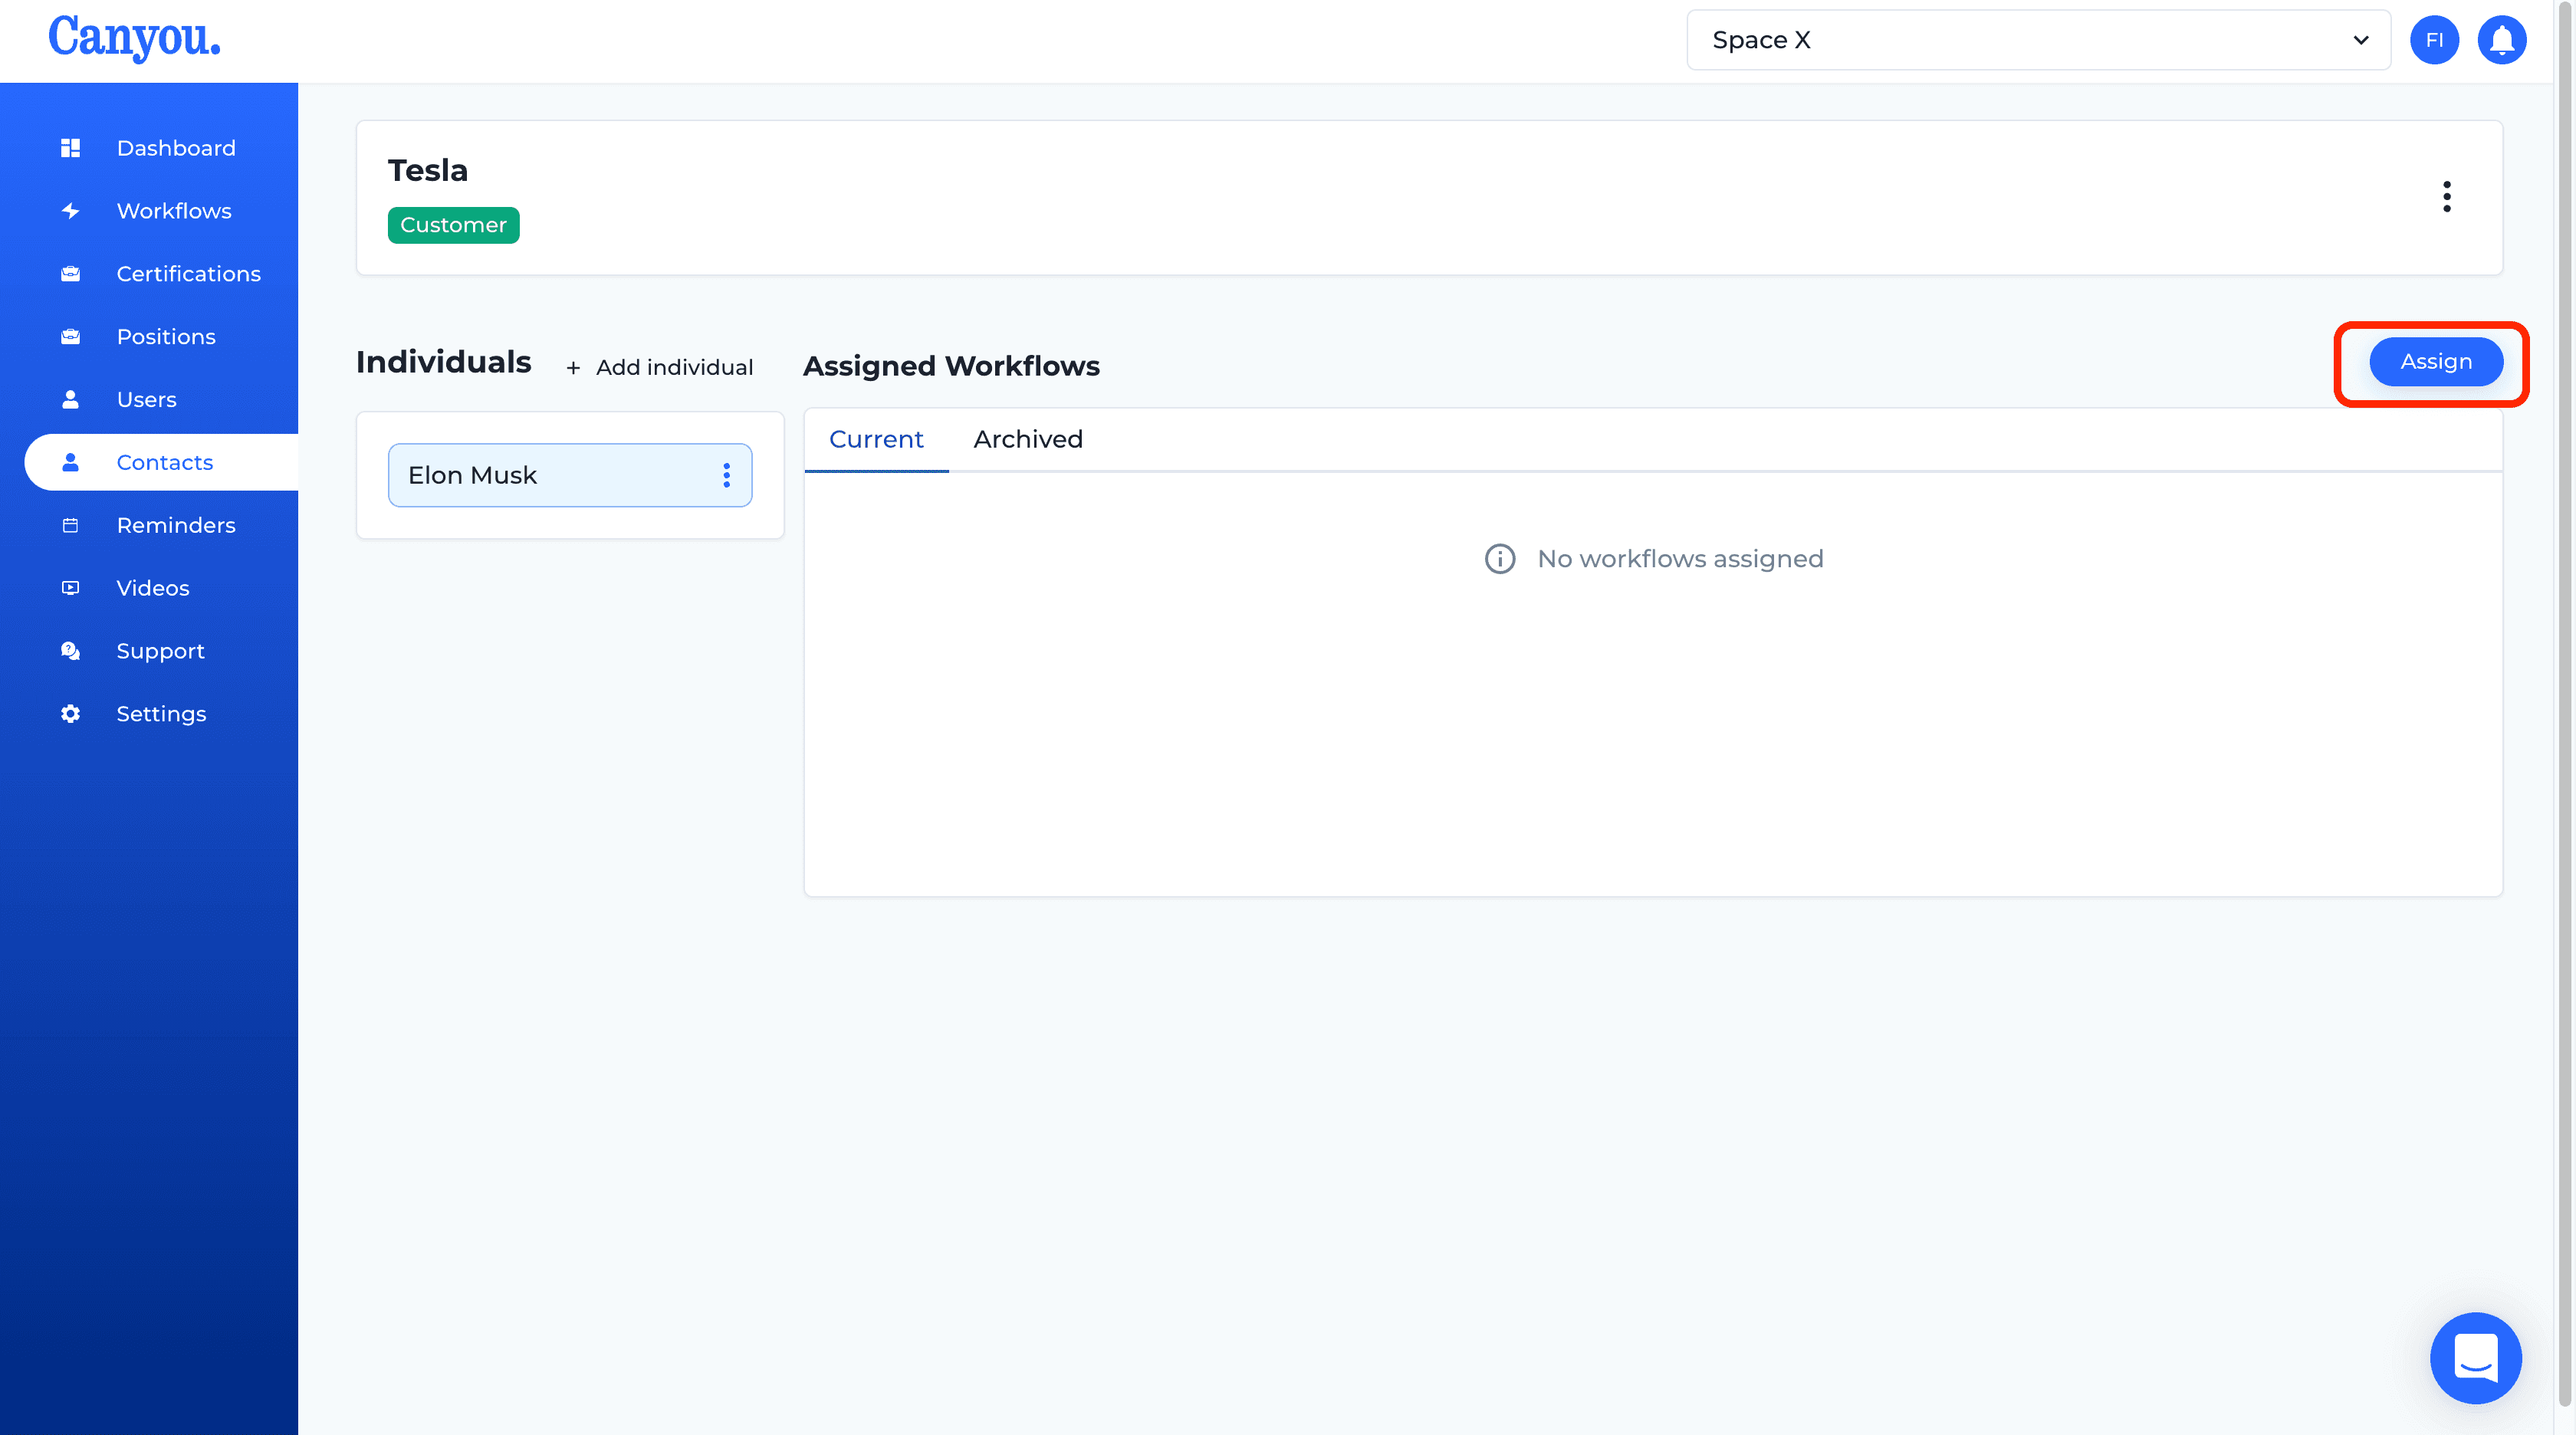
- Select the Client Identity Verification and the Individual Identity Verification workflow and click the Submit button. This will send an email to the individual requesting that they login and complete the workflows.
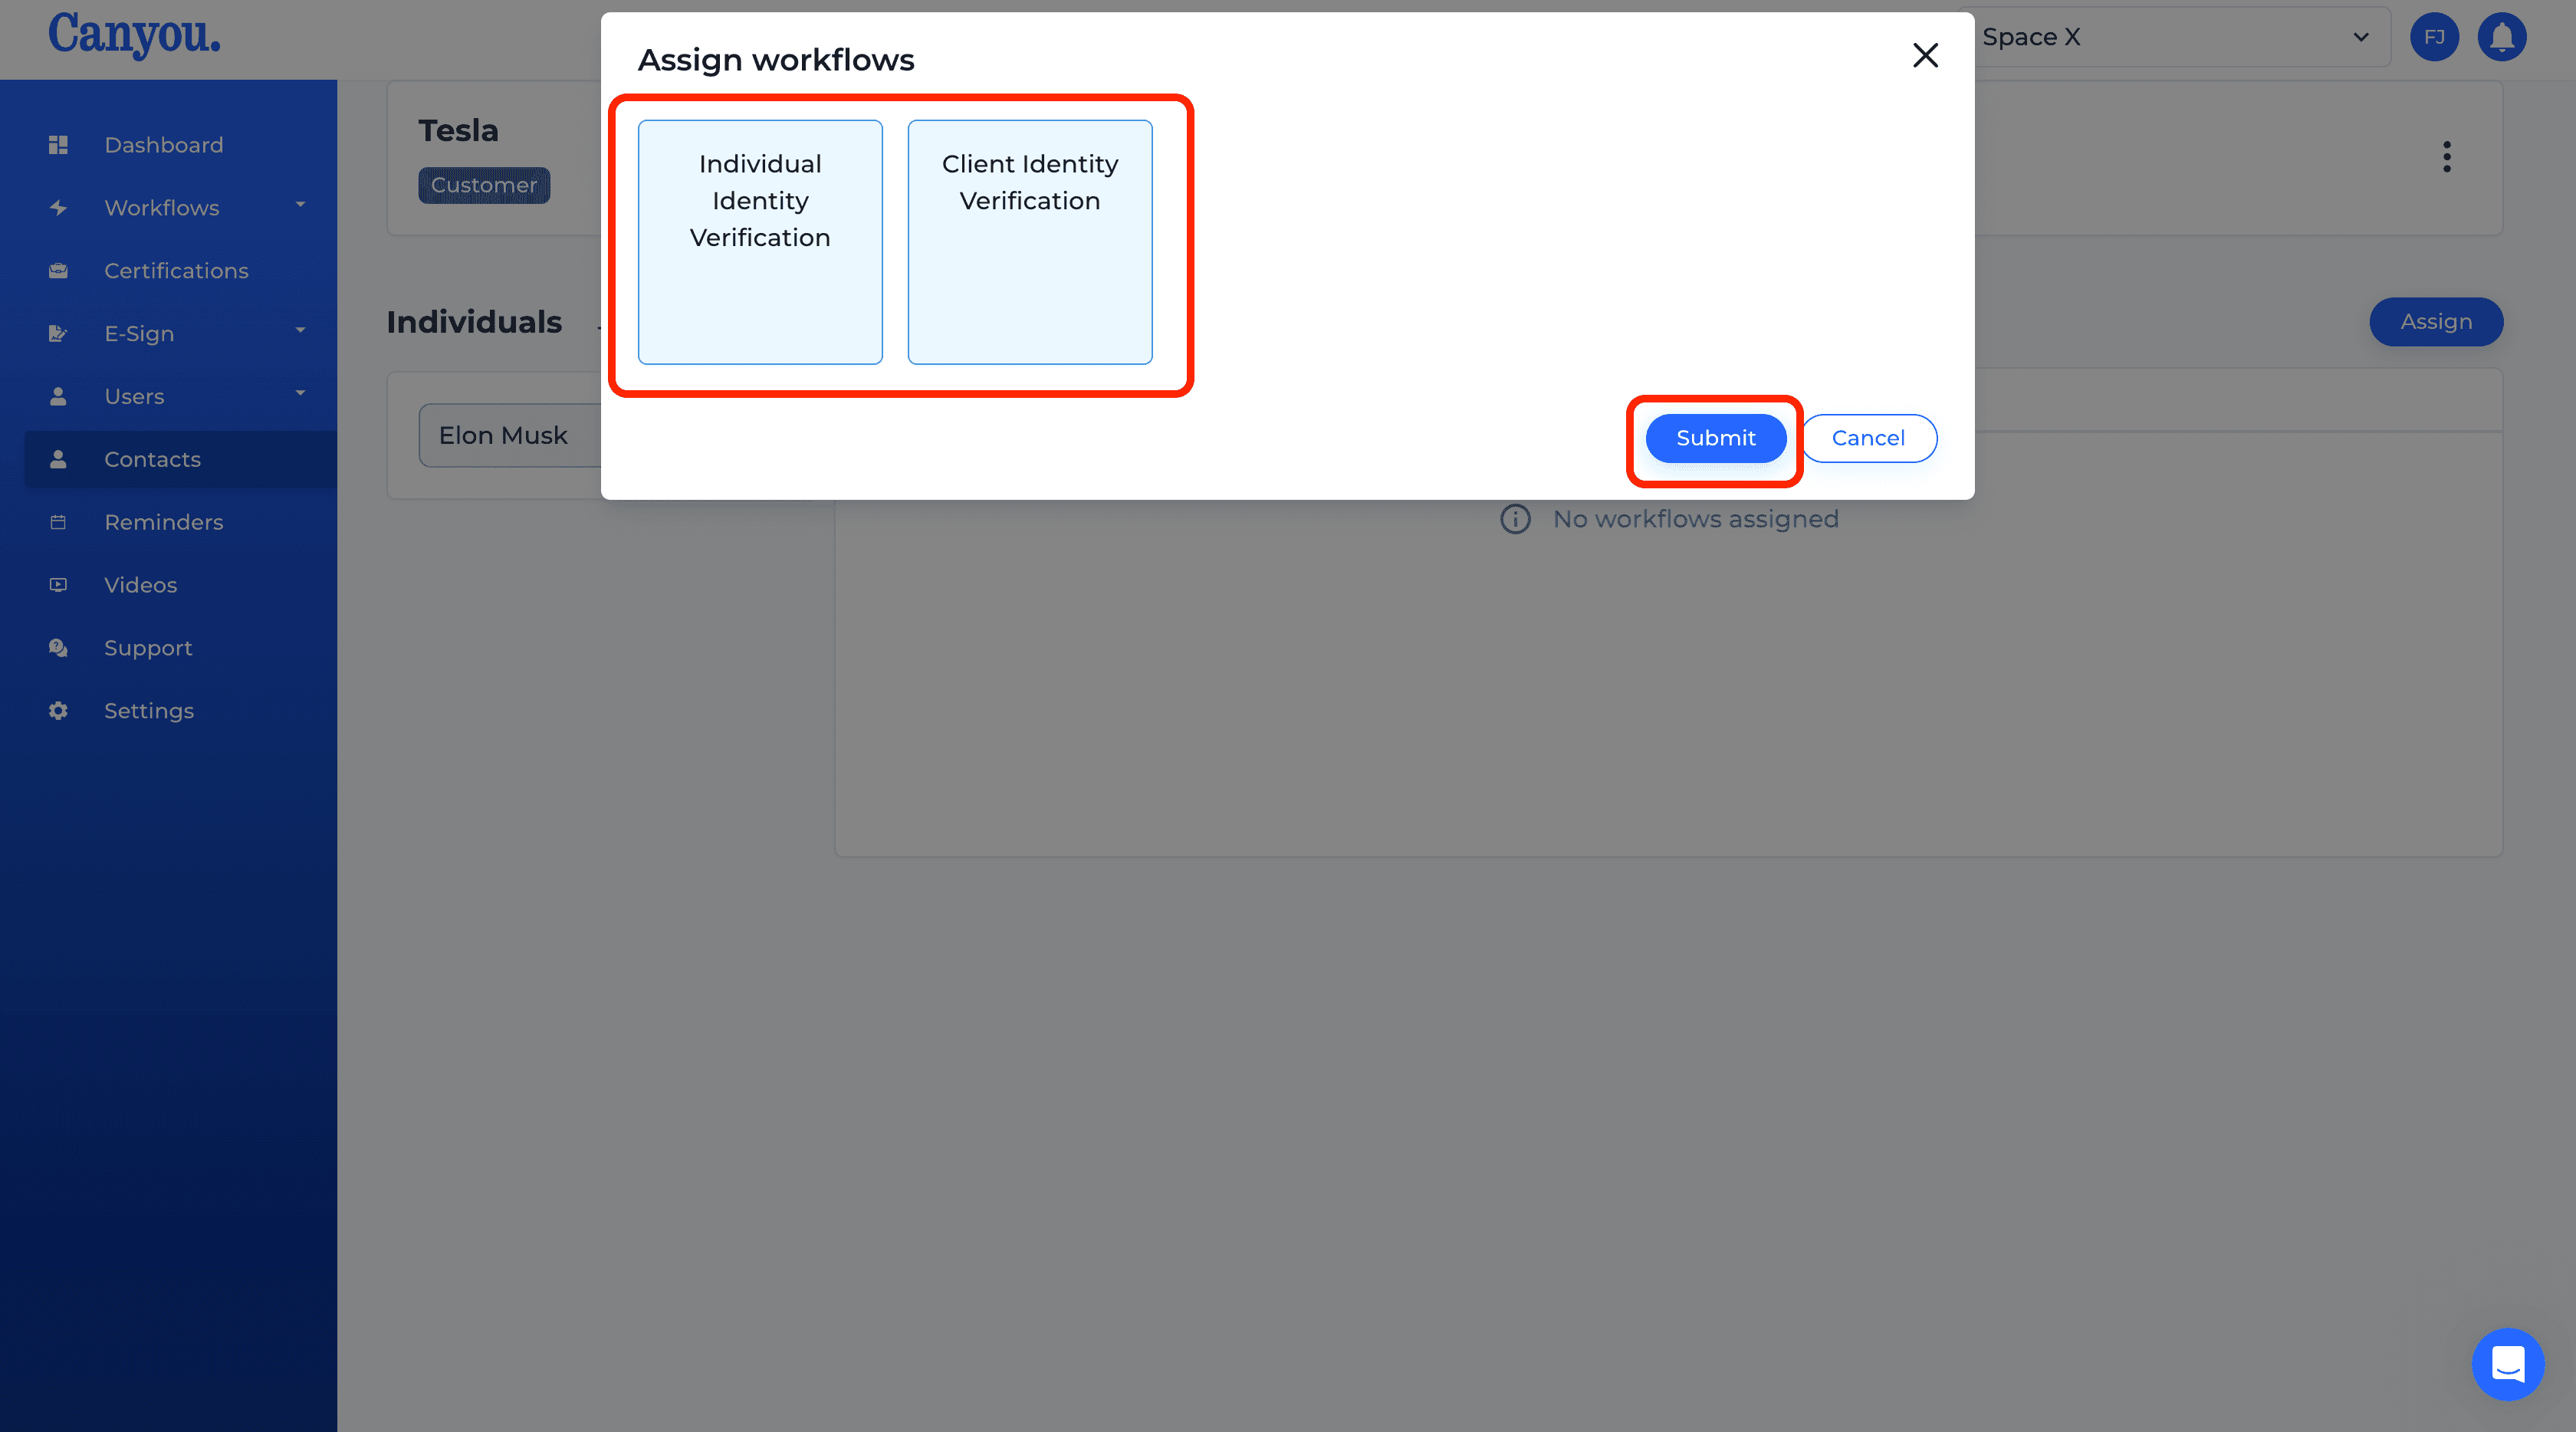
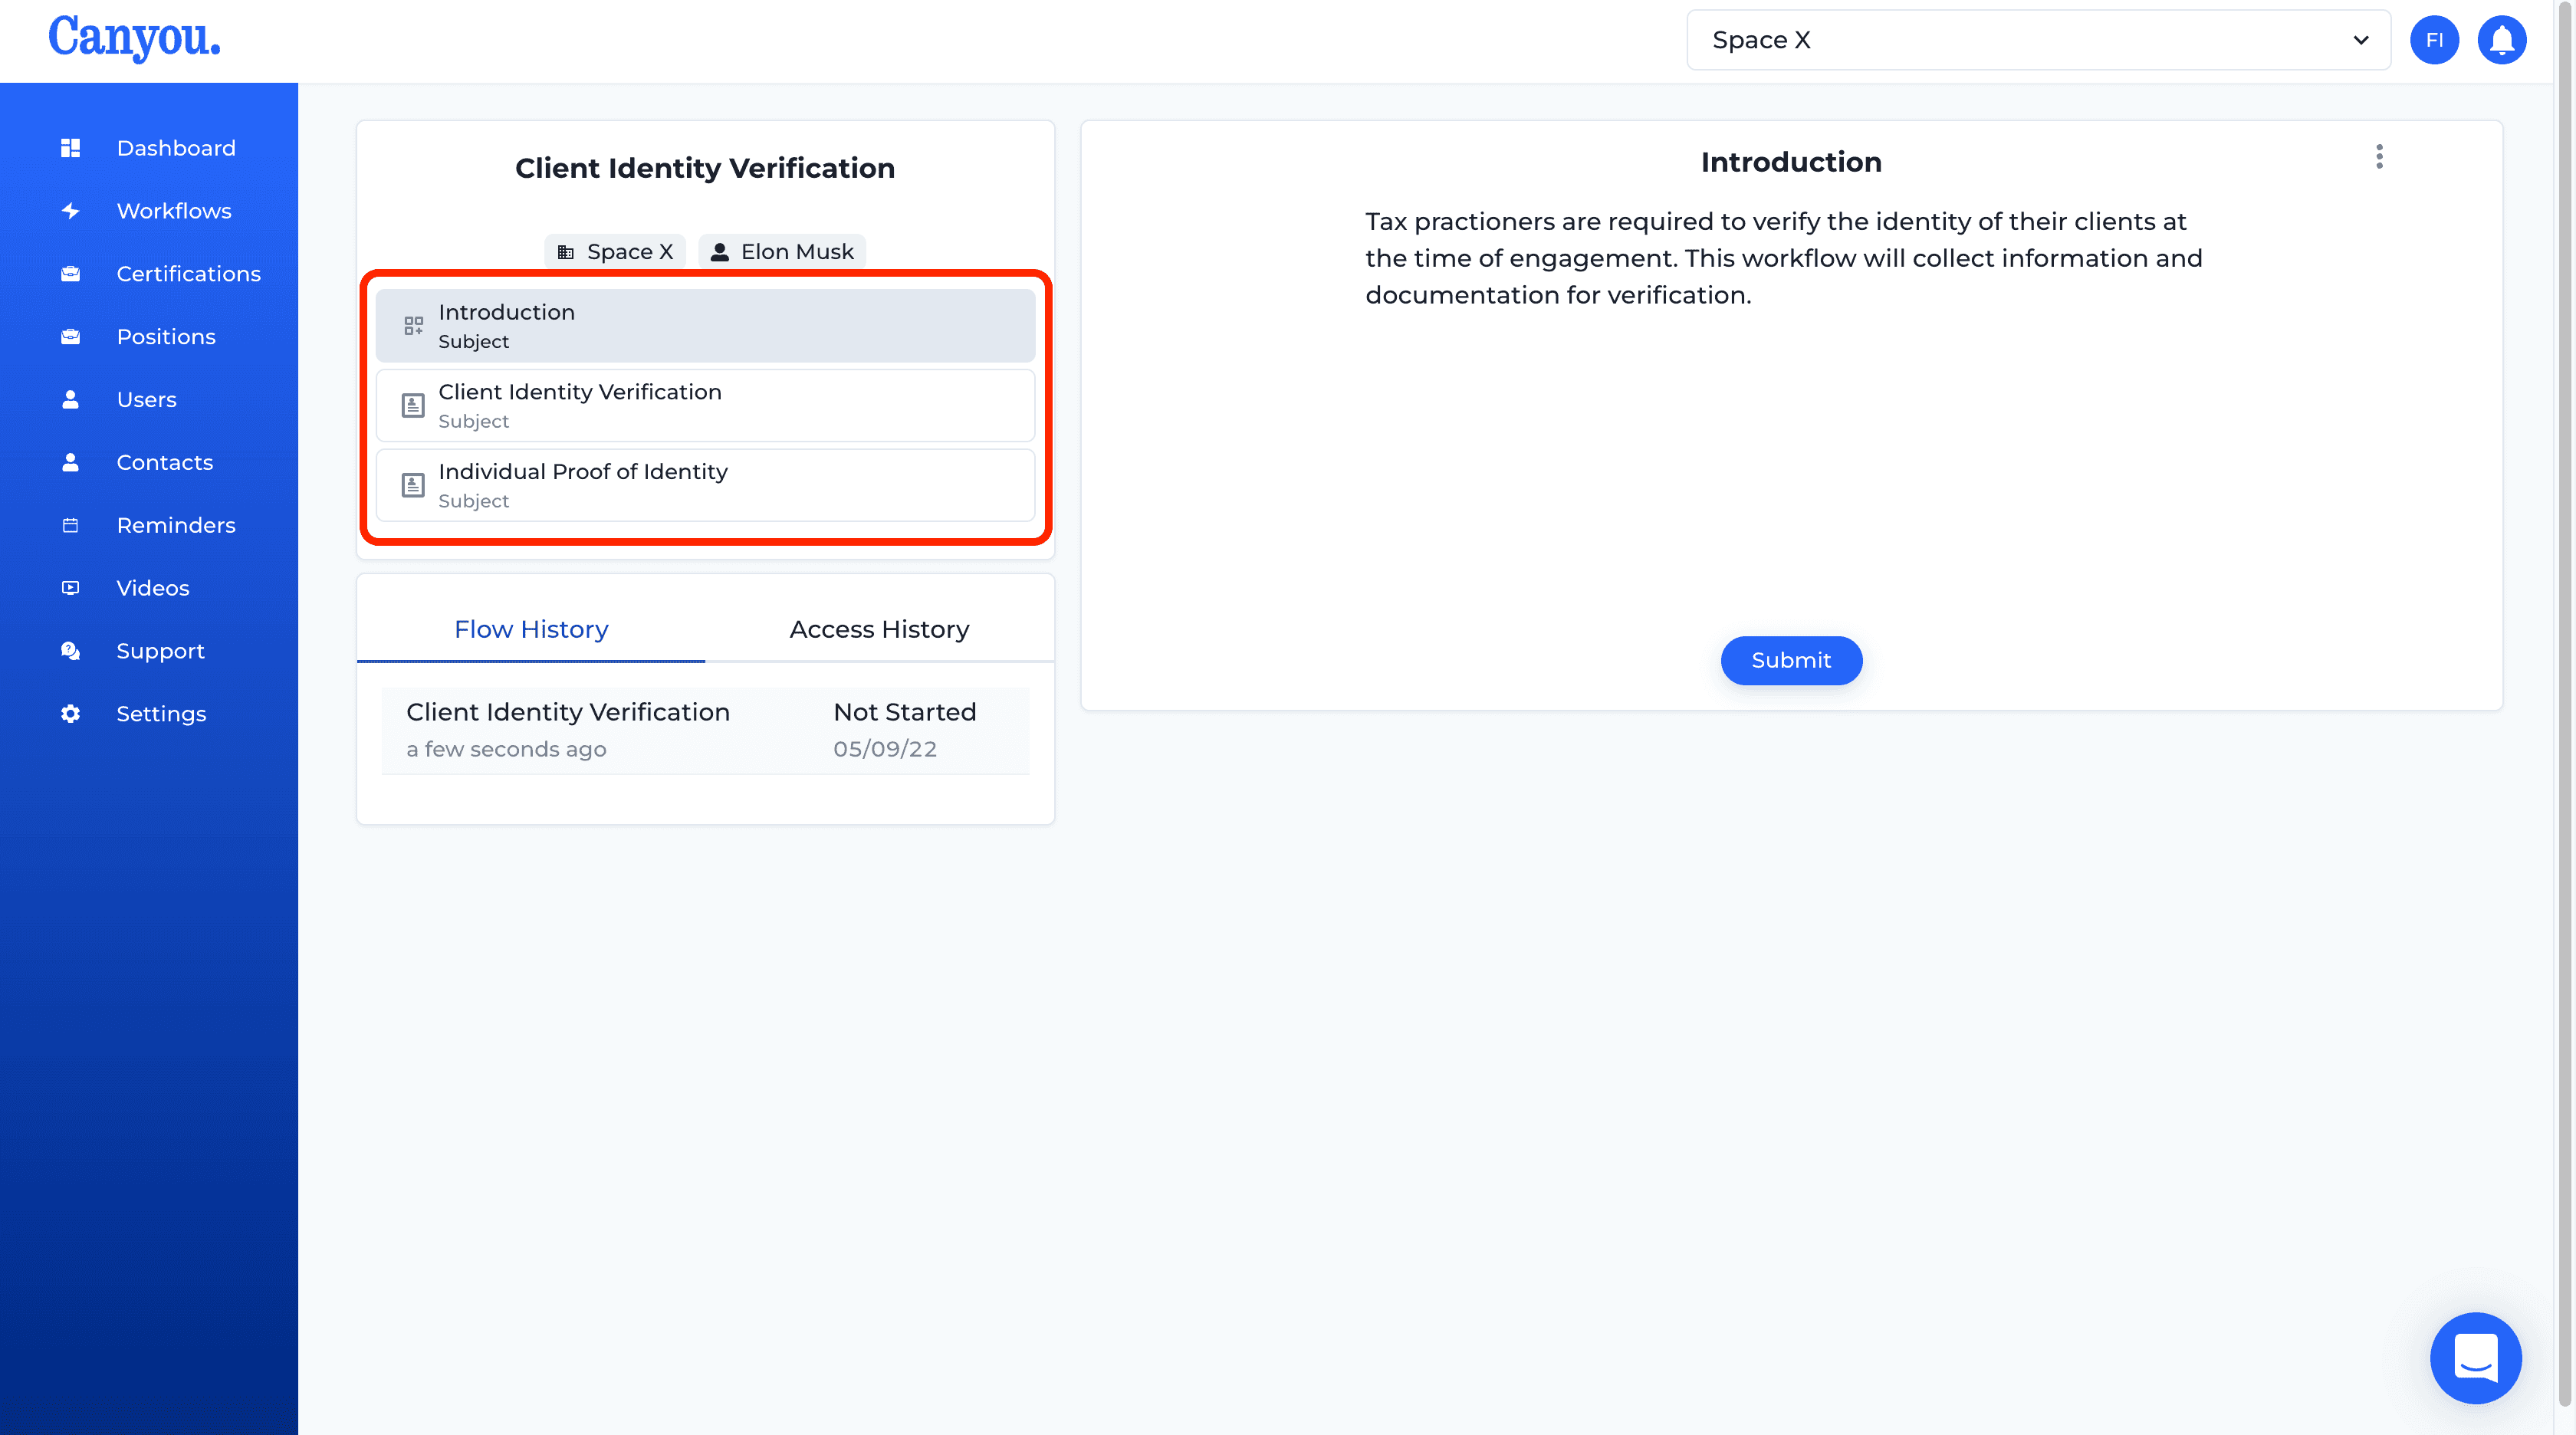
- Click into the workflow to see the steps that will be assigned to the individual.
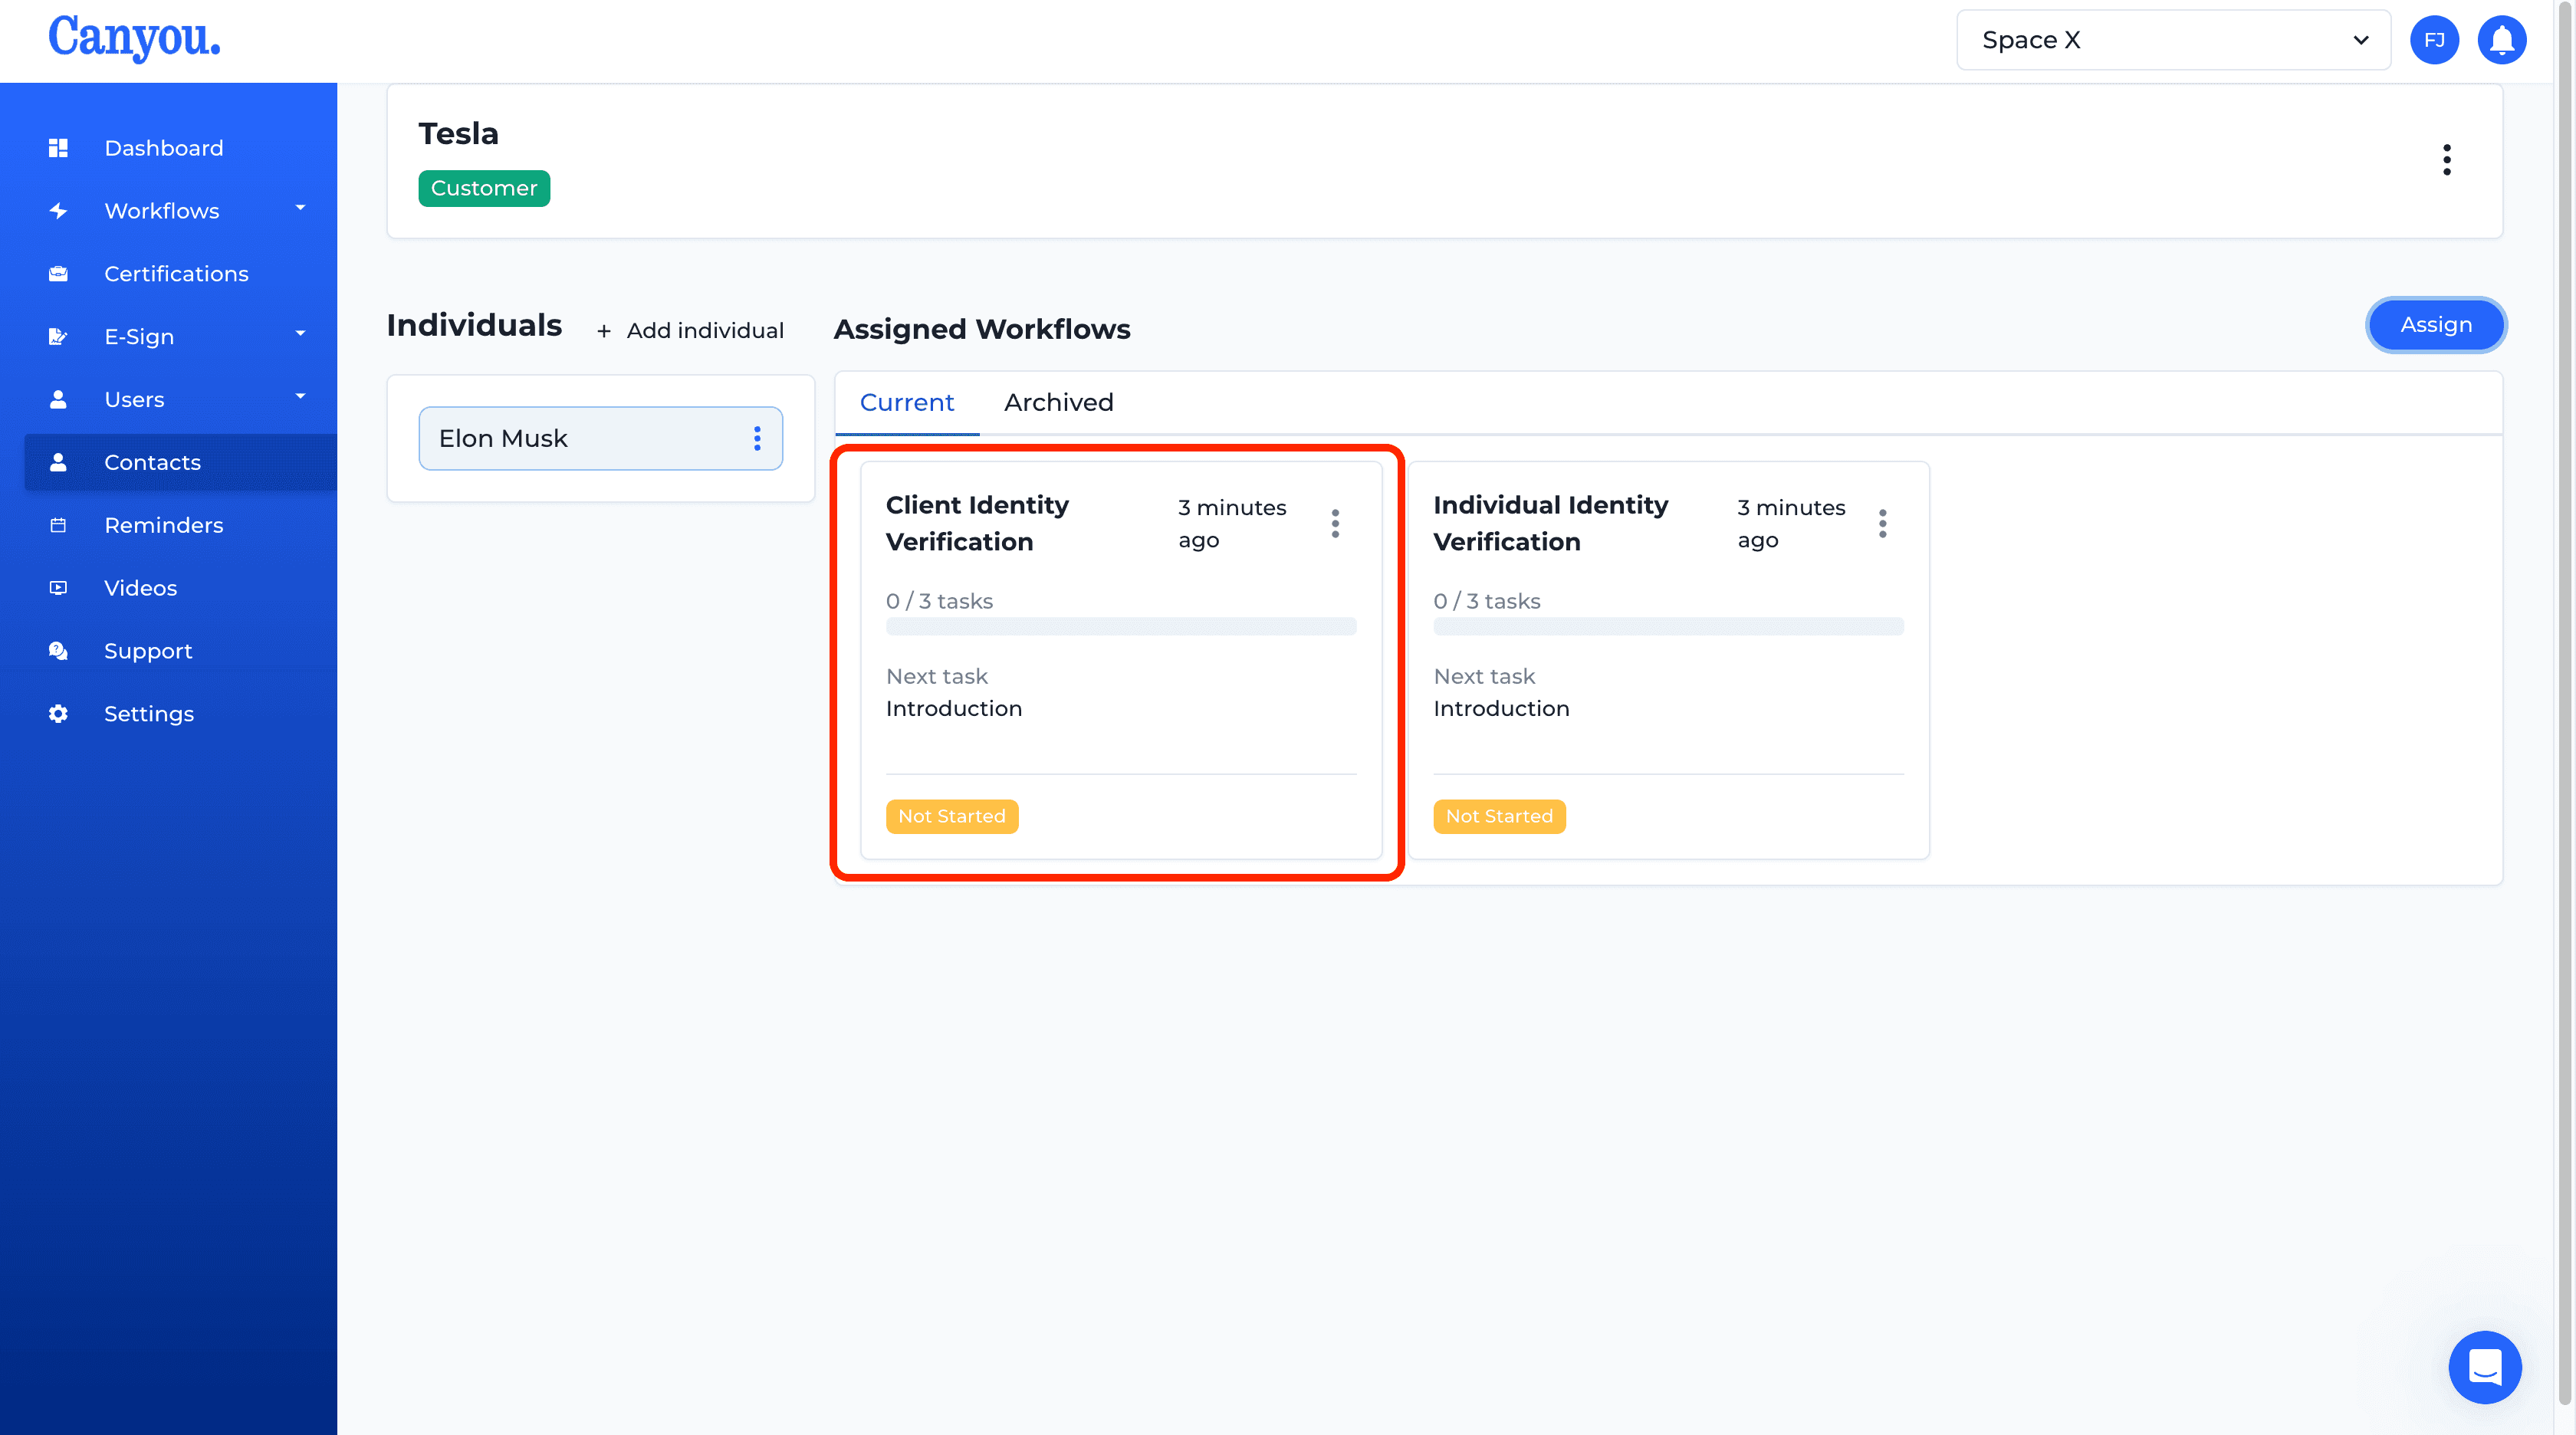
- Click the tasks to review the process.
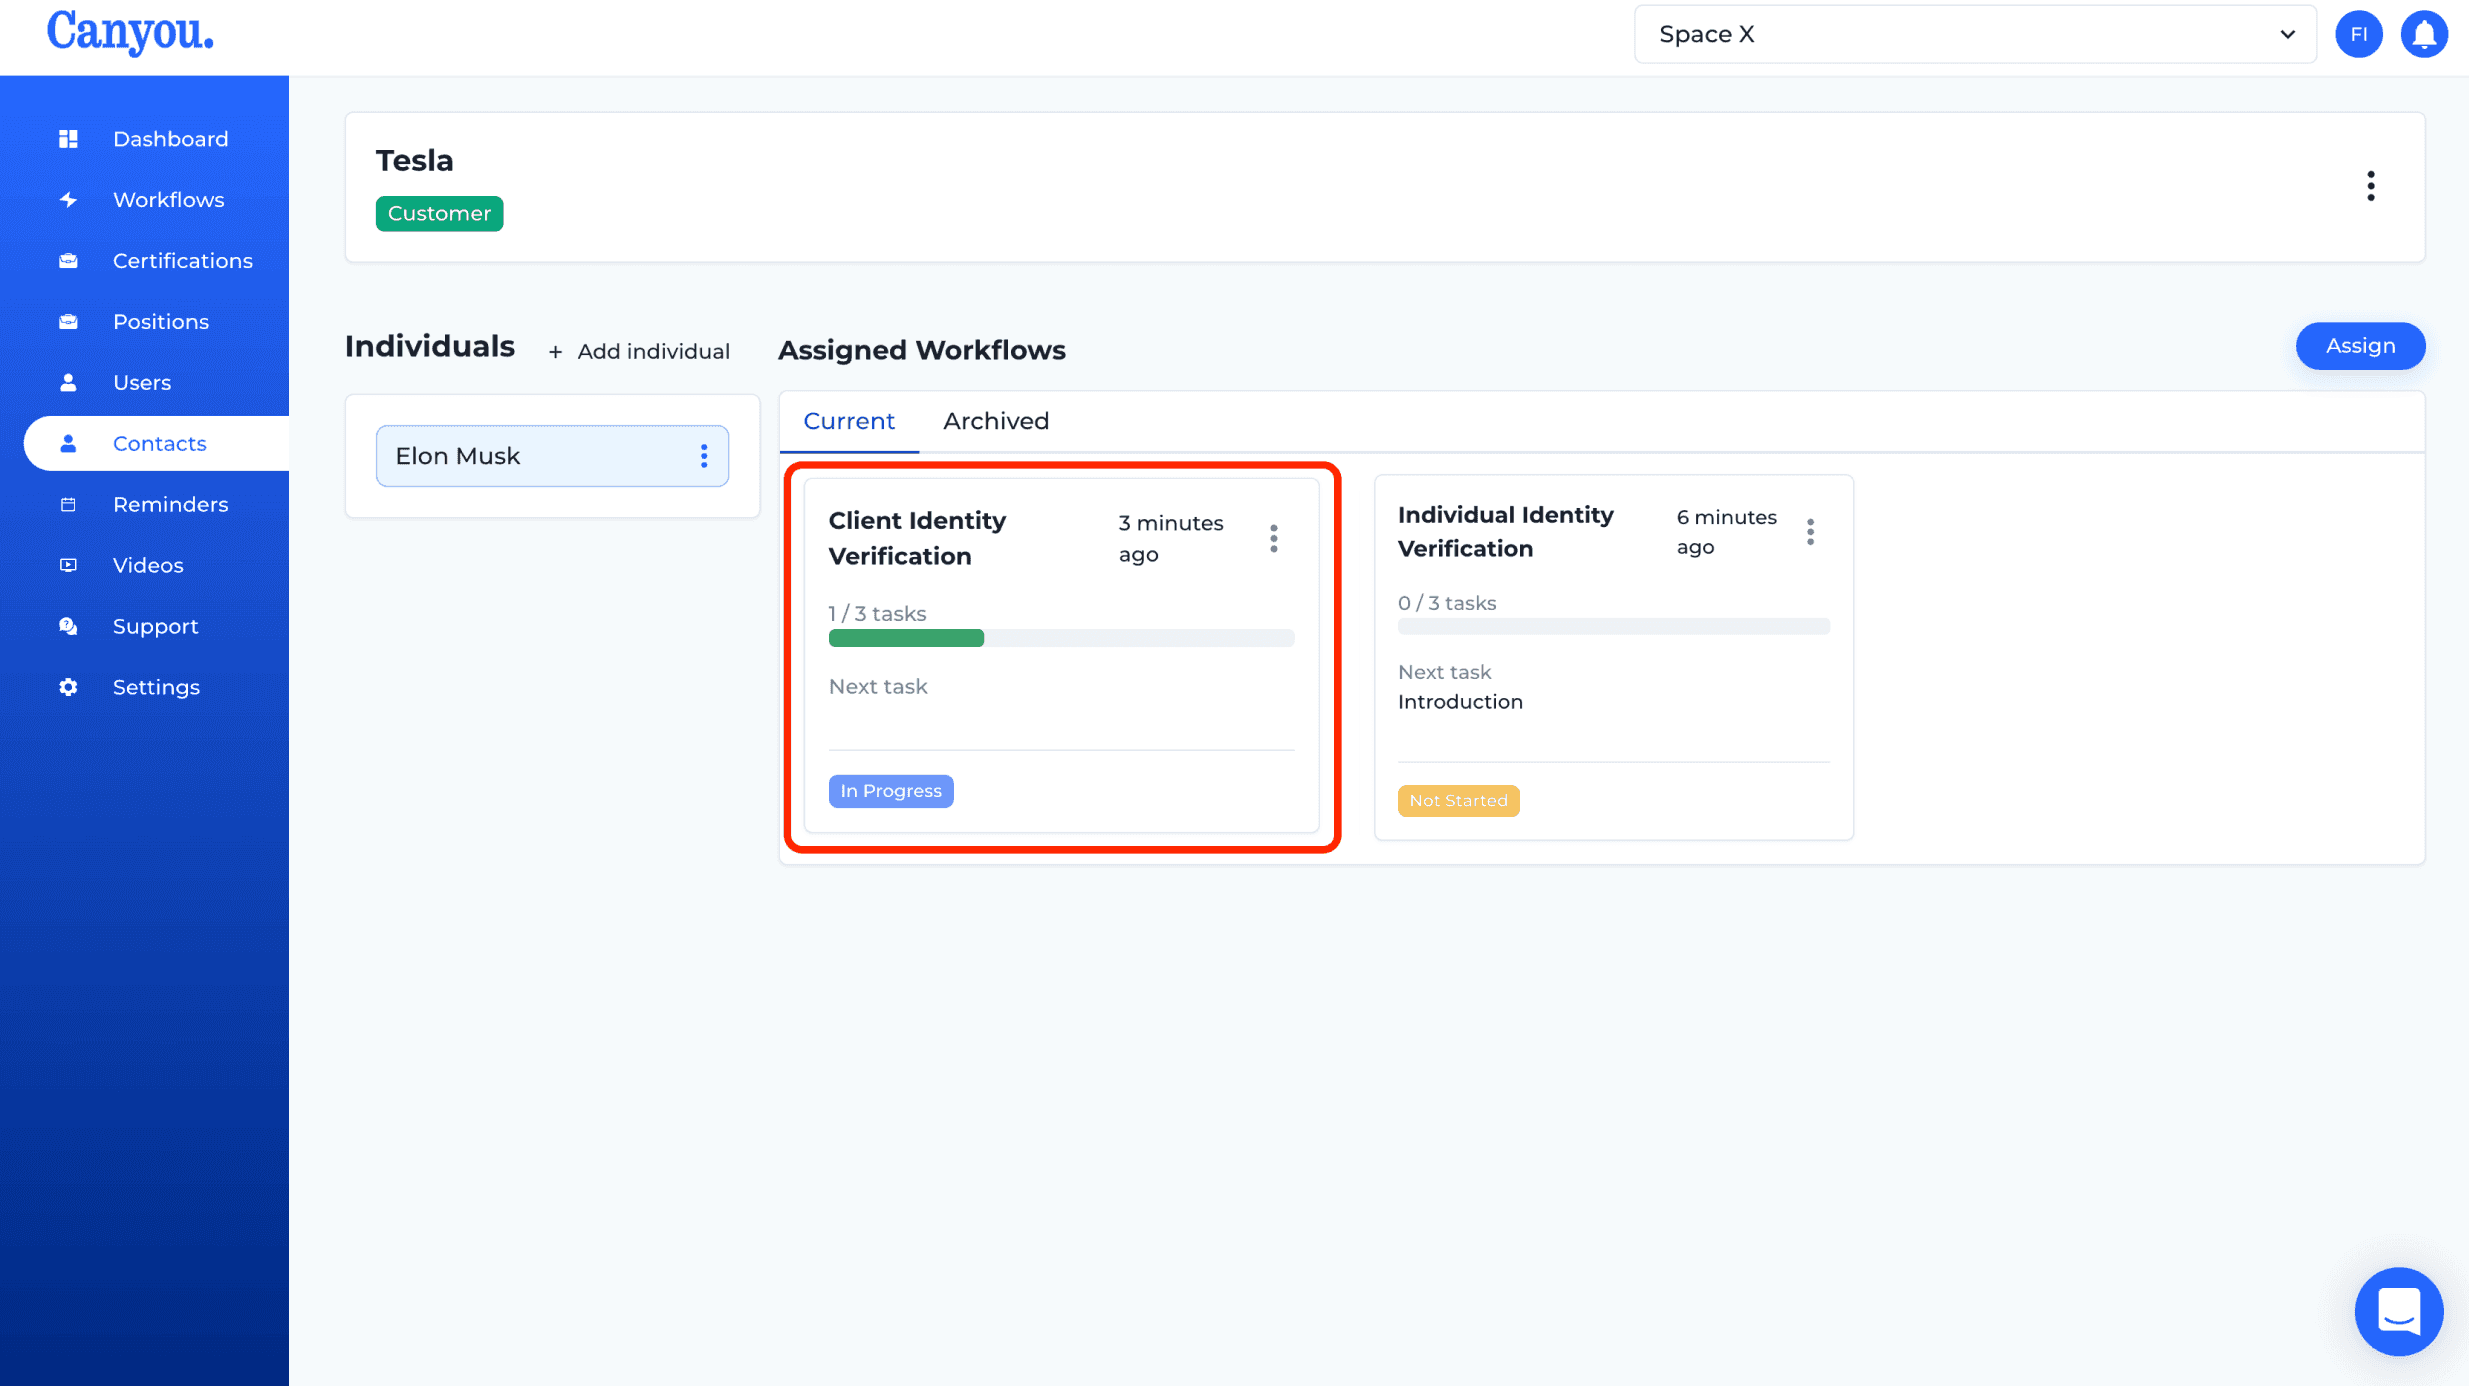
- Once the individual has submitted the required information the workflow status should look like this. Click into it
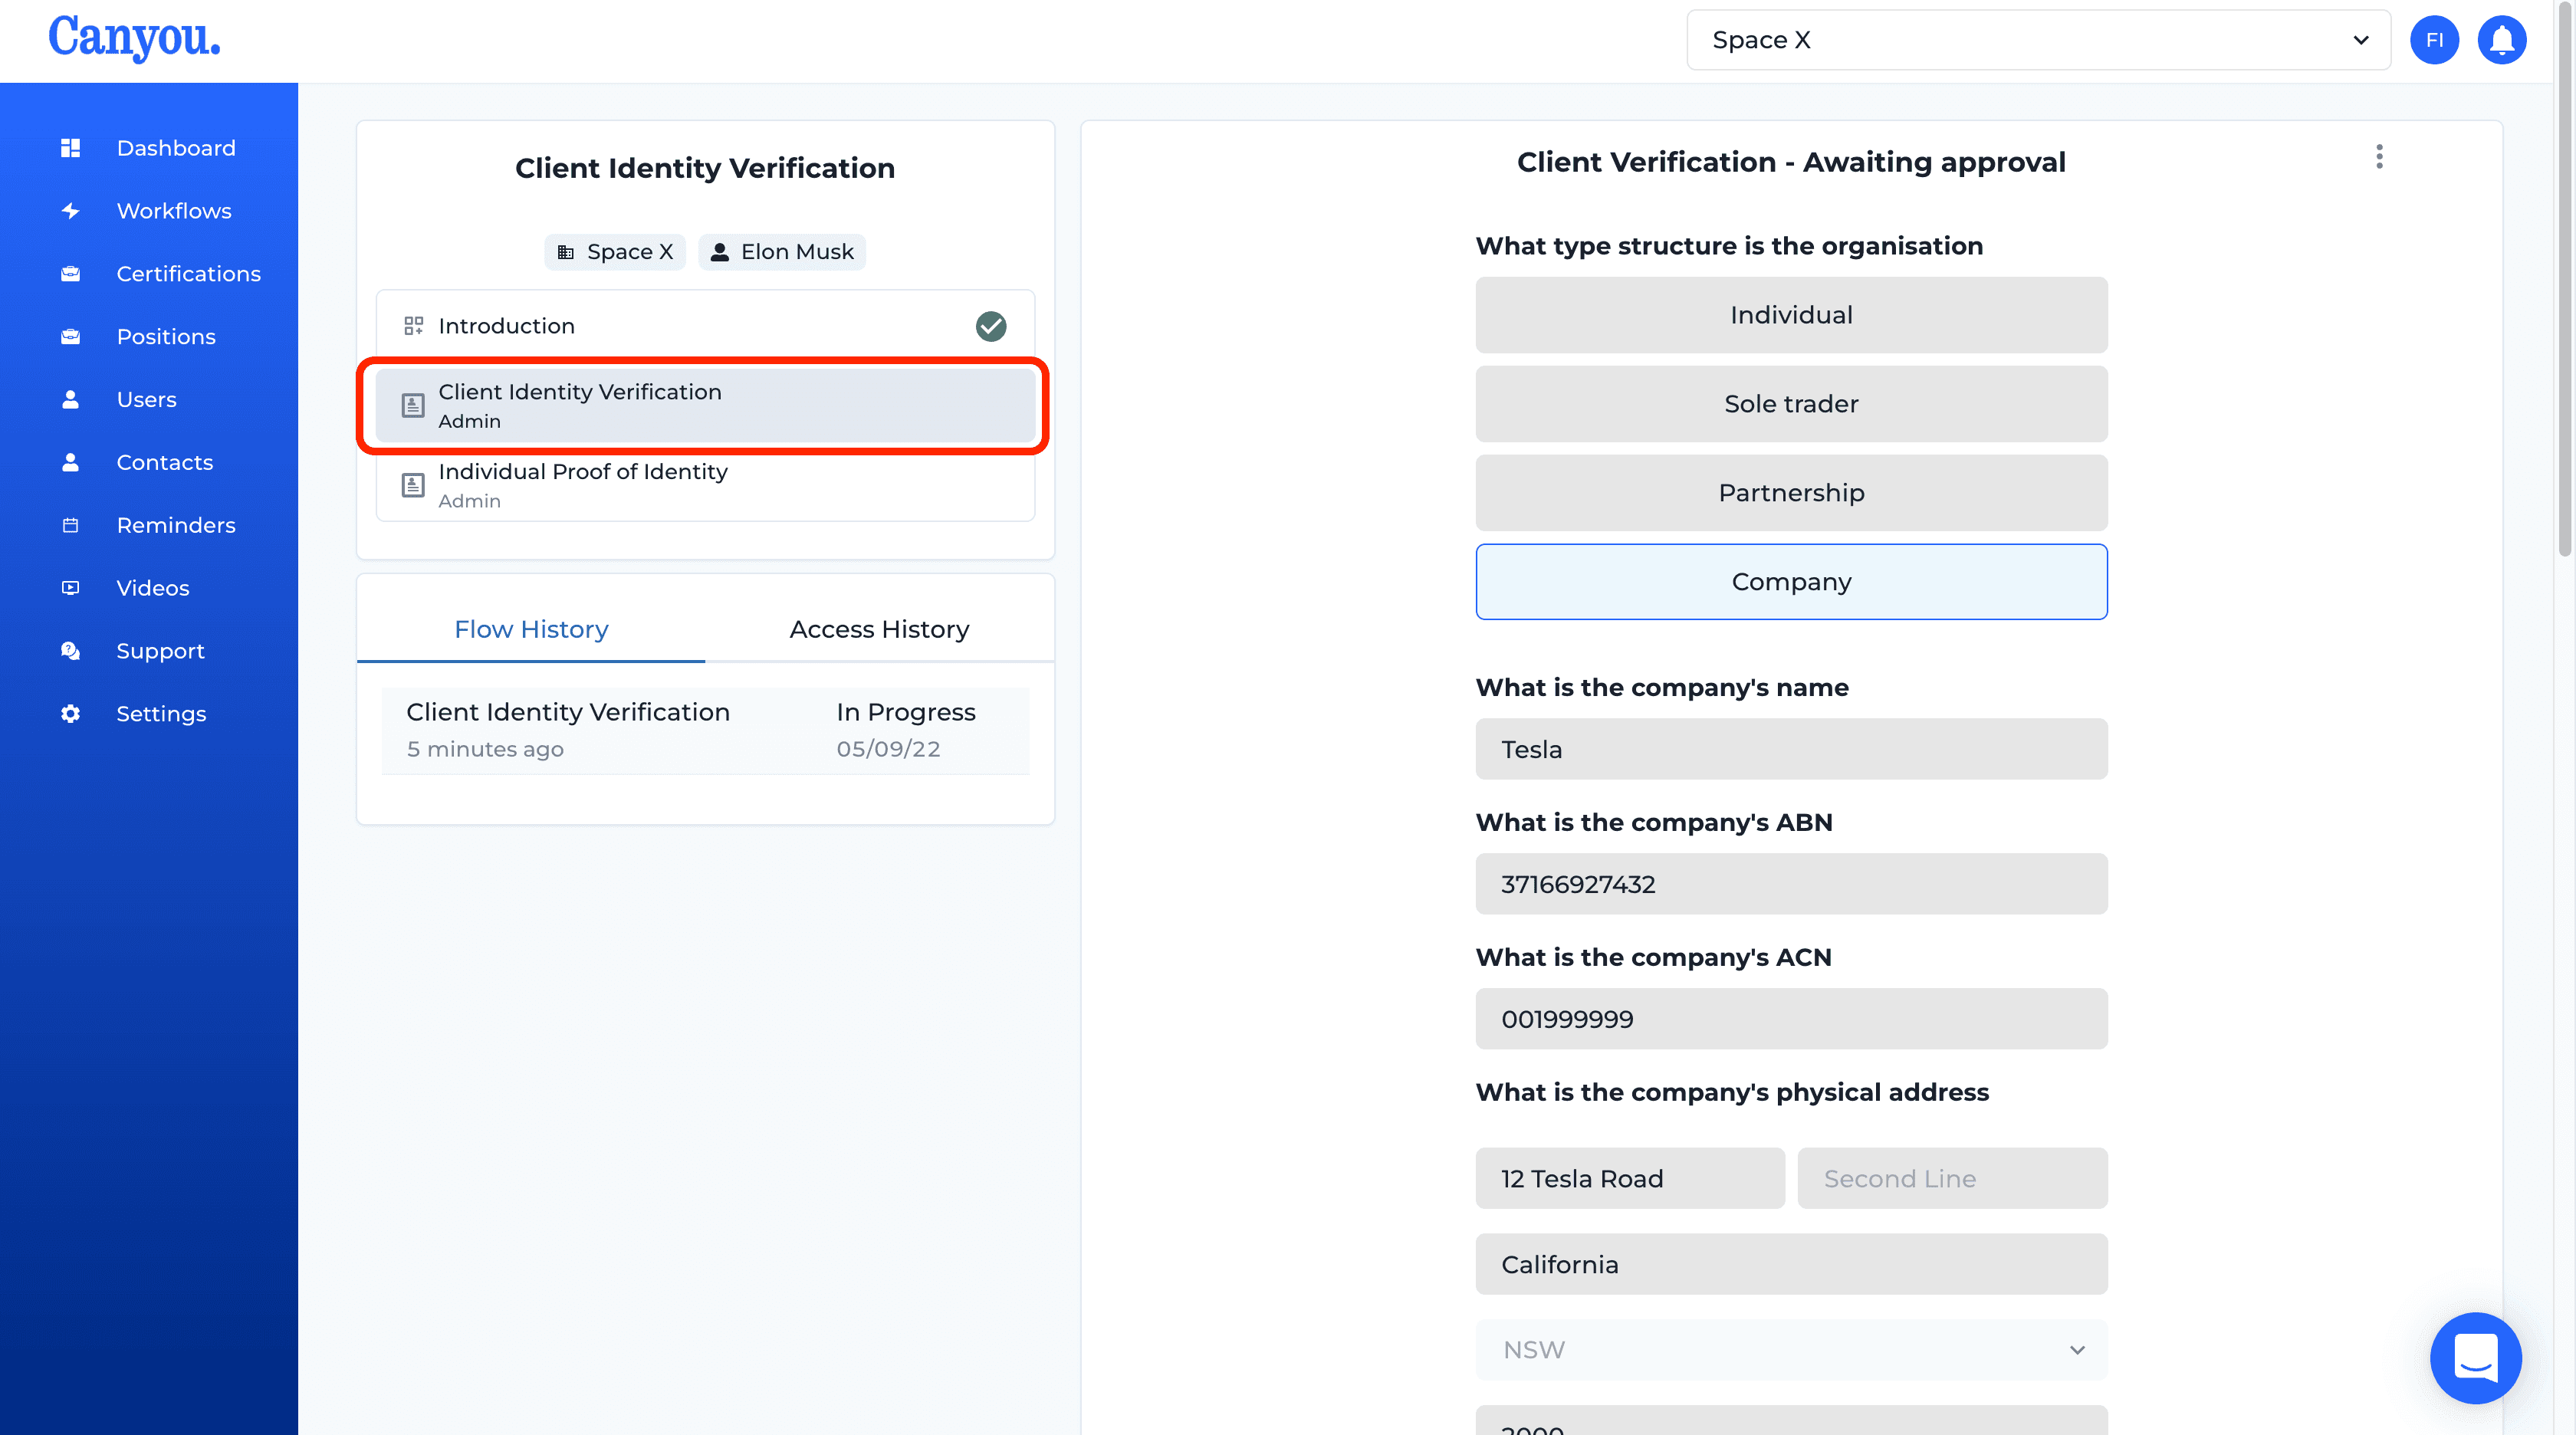
- Click the task to review the submission.
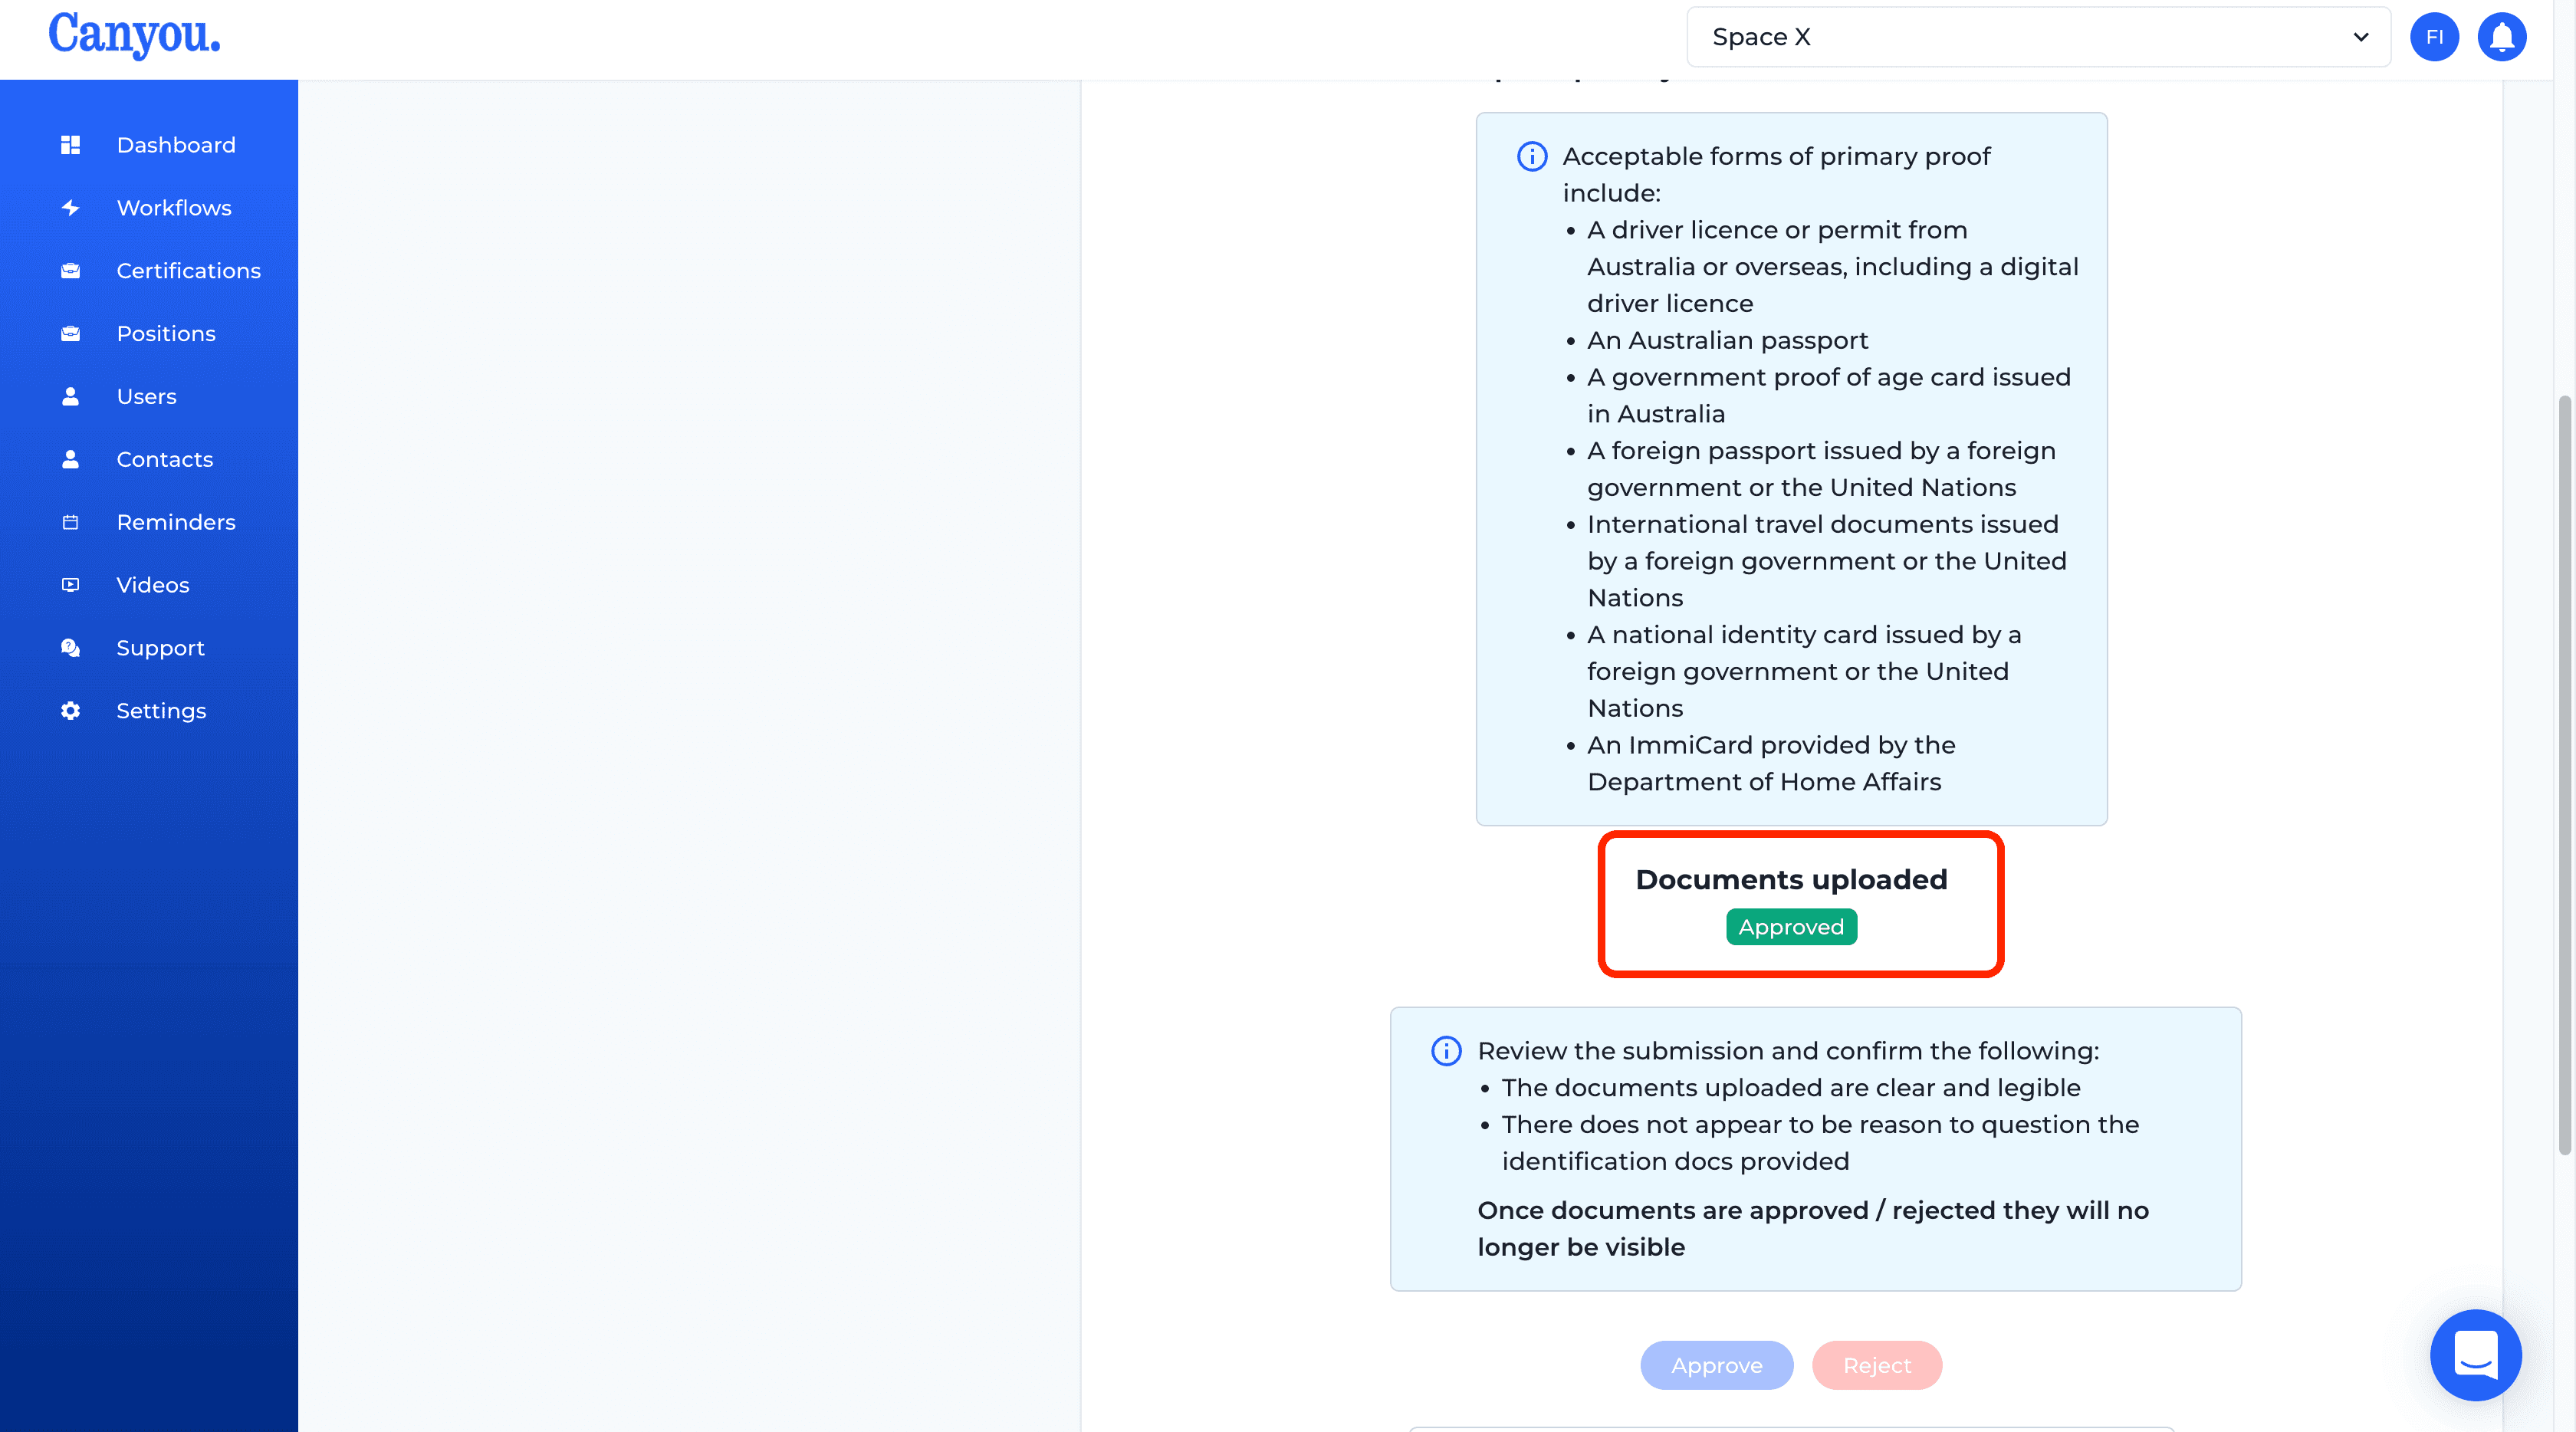
- Click the View document button to review the documentation provided. Use the approve or reject buttons to action accordingly.
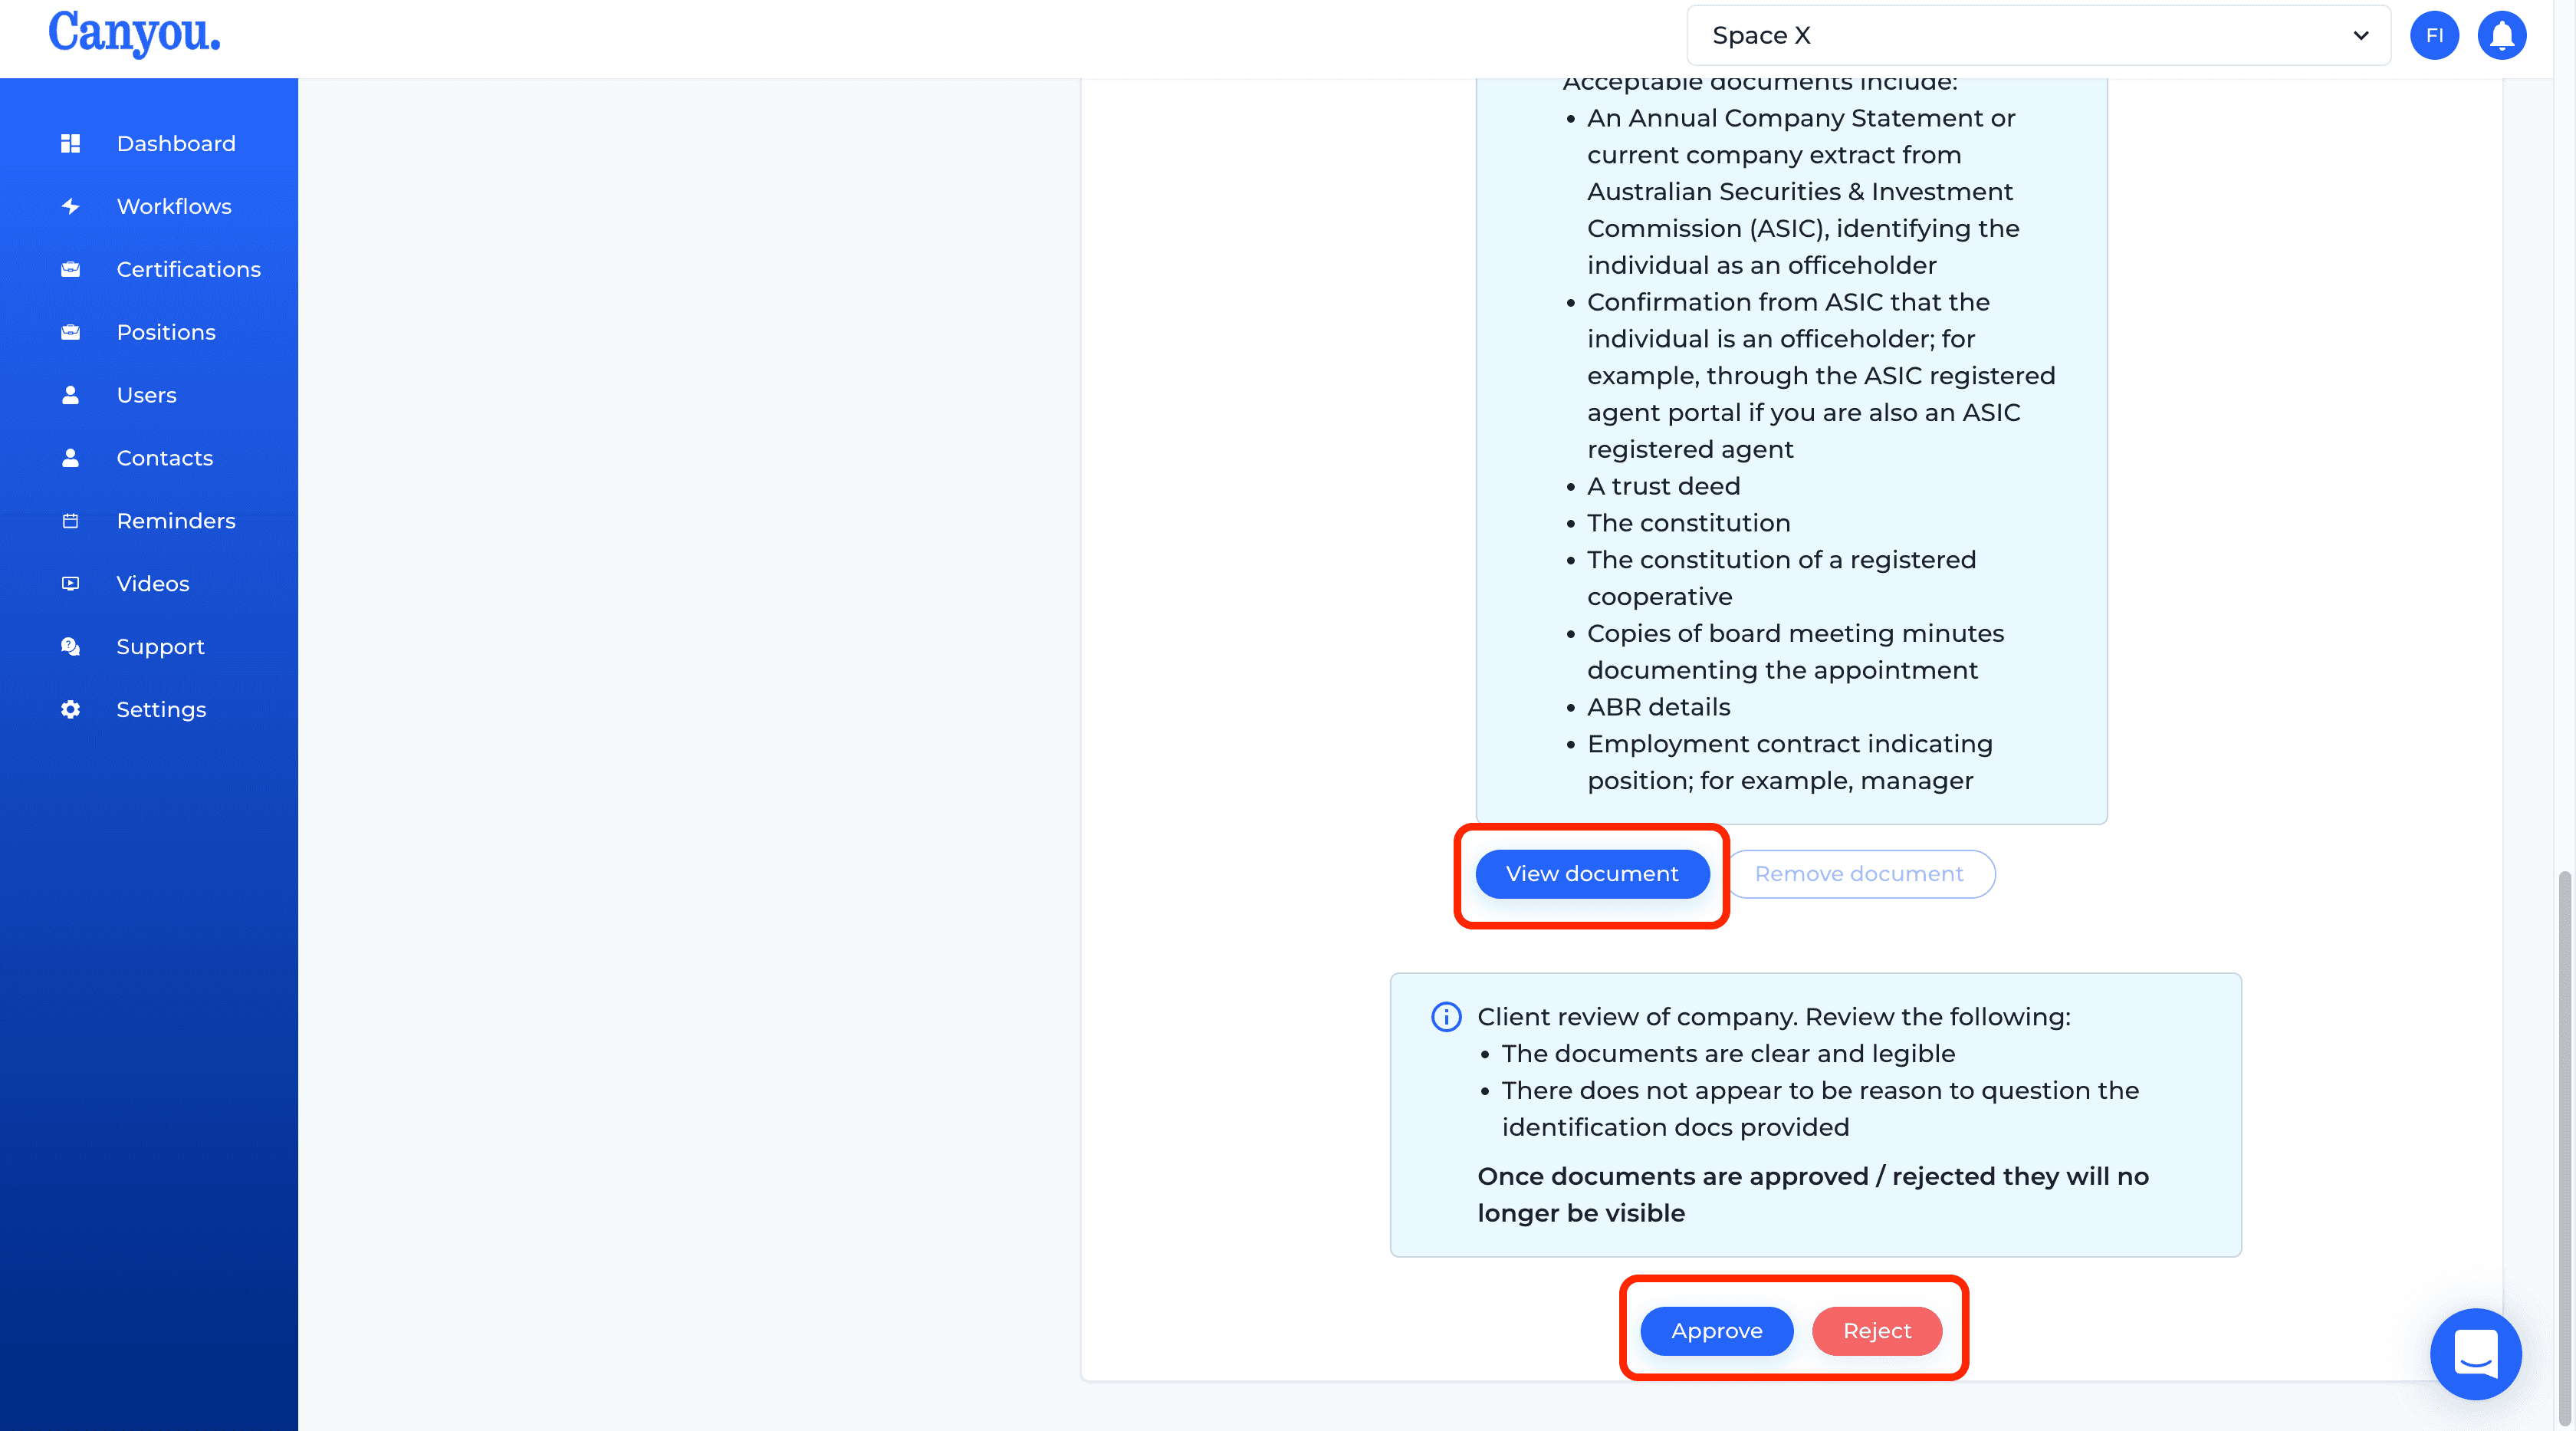
- Note that once a document is approved or rejected you are no longer able to review the document.
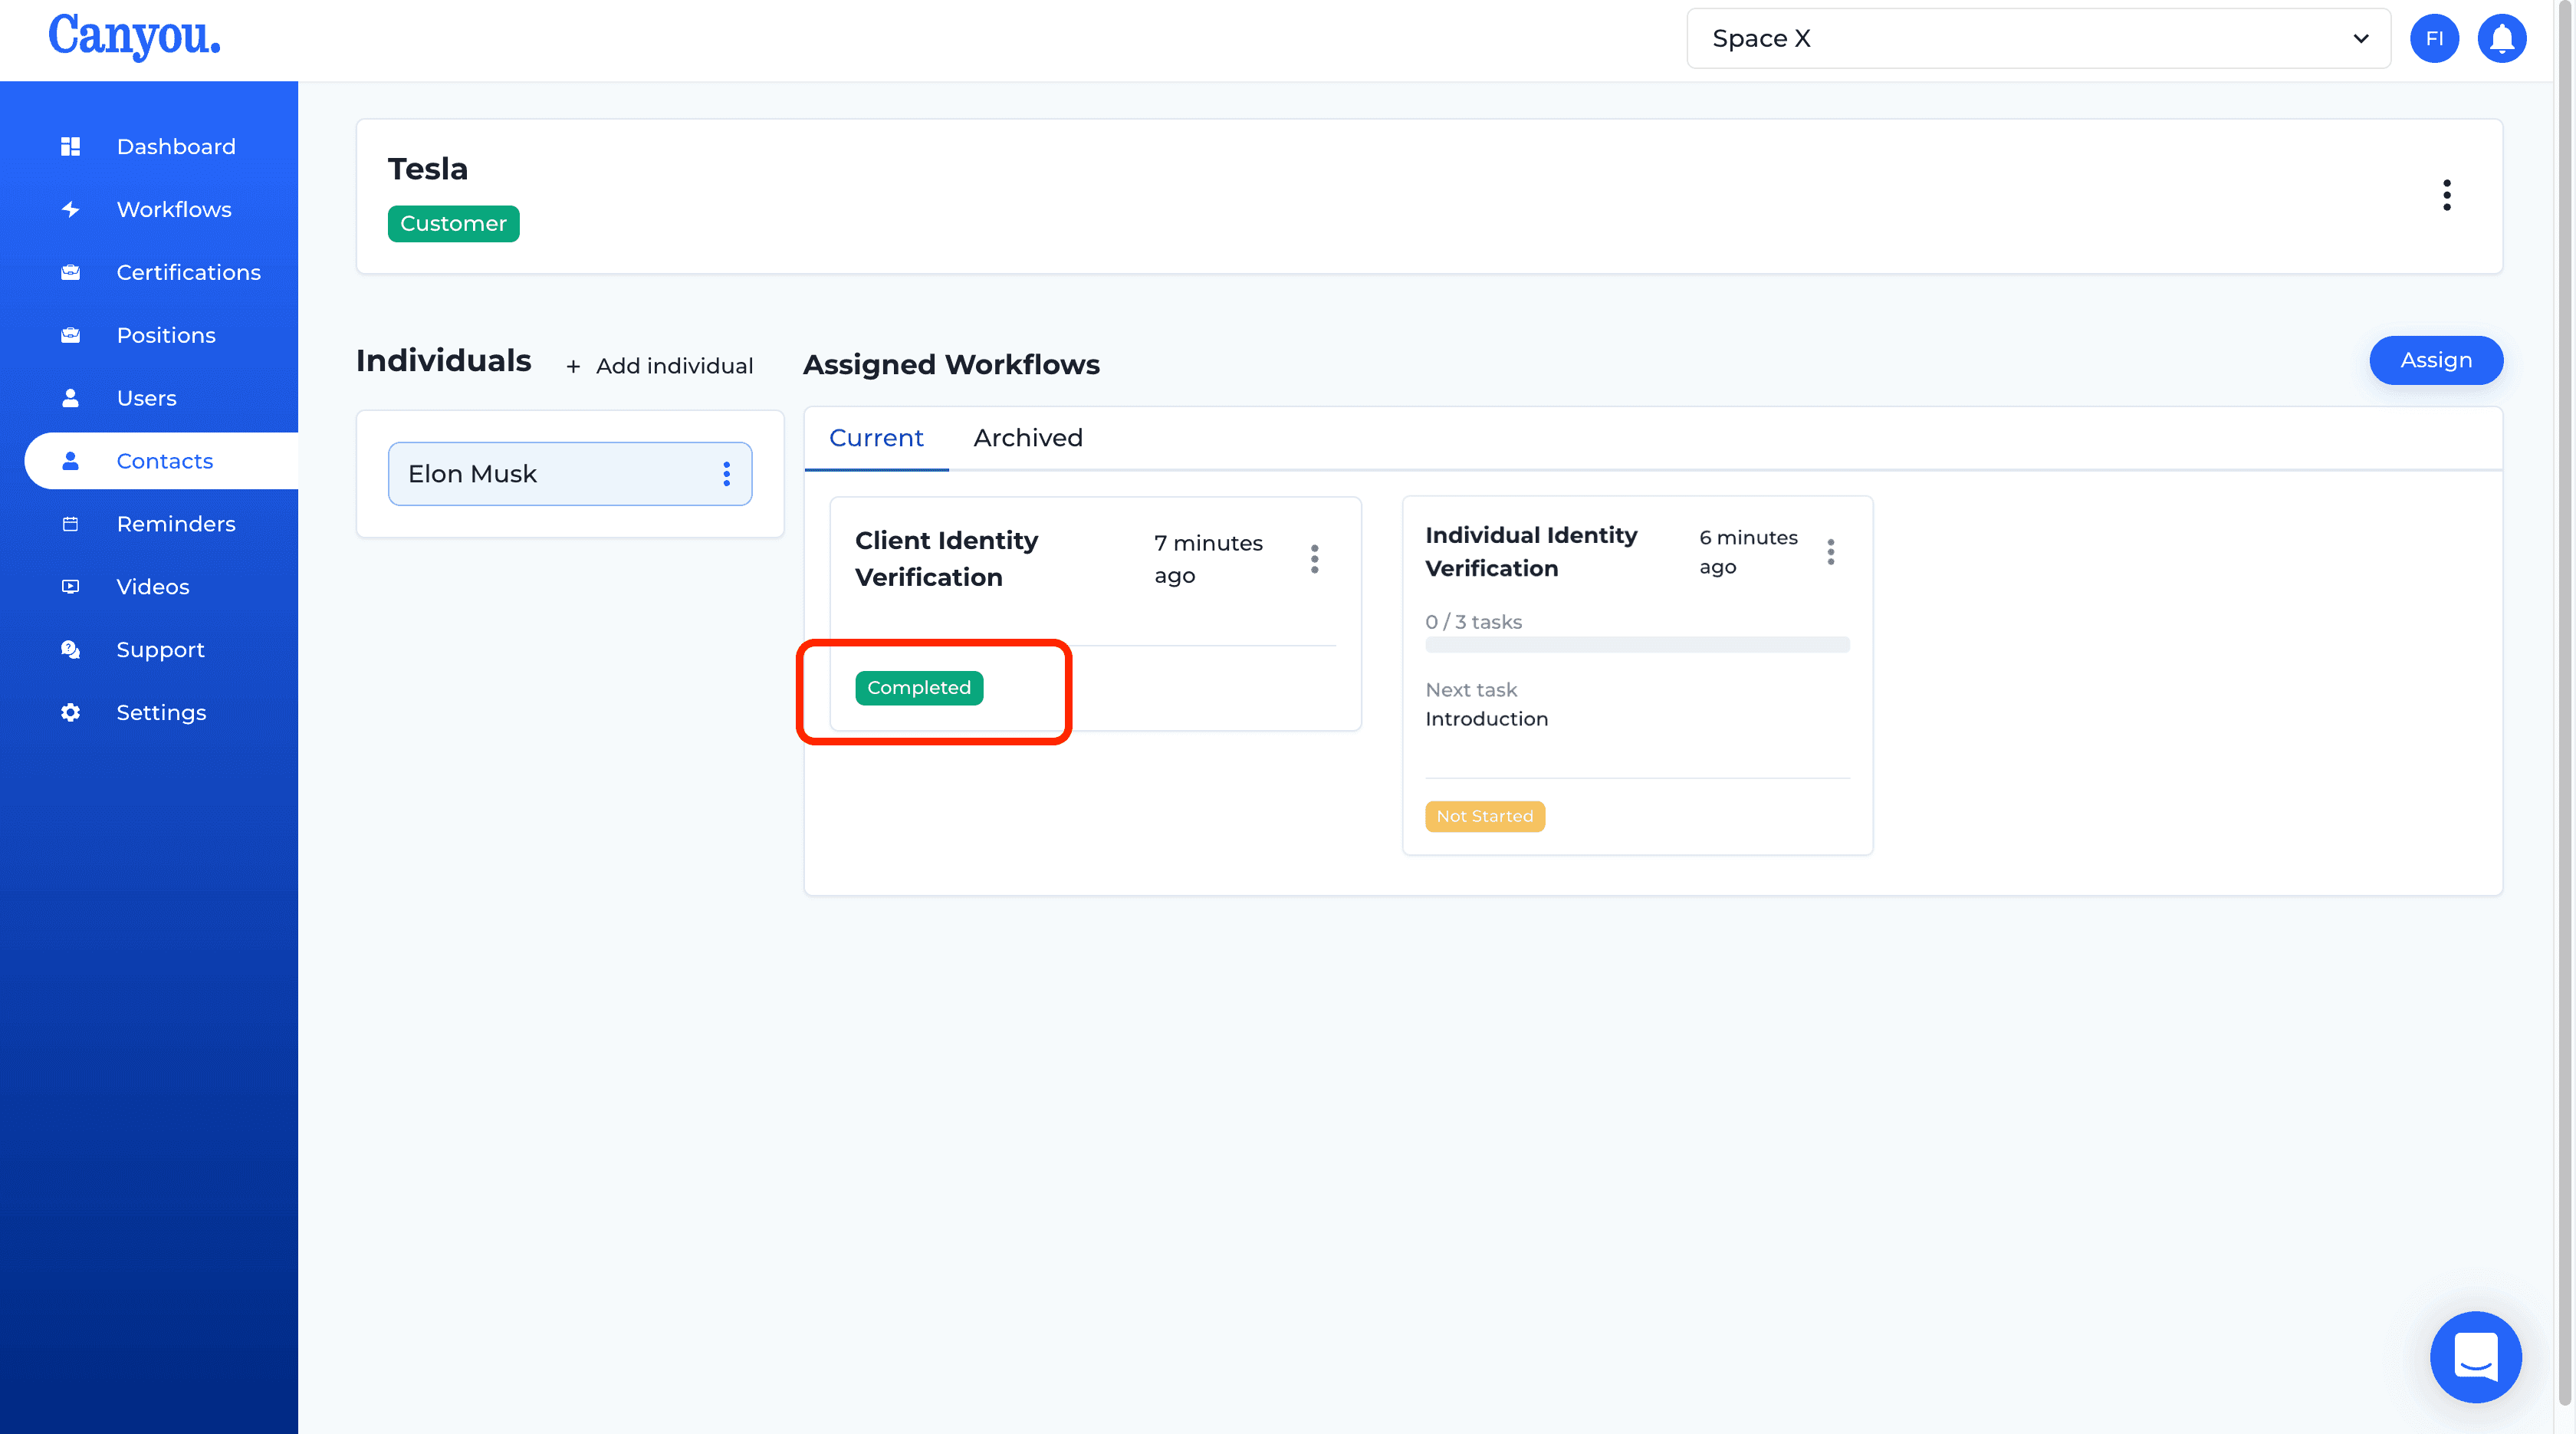
- Complete the same approval process for the other workflow.