IntroductionFrequently Asked Questions
Workflows
Workflow templates
Tasks
Positions
Users
Certifications
Videos
Businesses
Logging In
Xero Integration
Visa Checks
Billing
Advanced Use Cases
Create a Workflow ⚡️
First lets setup a Workflow. In this example we will set up a very common payroll Workflow. The goal will be to create a Workflow to get an employee to onboard for an organisation.
This Workflow will have the following steps for the employee:
- Complete a user profile
- Complete a Tax File Number Declaration
- Complete a Standard Super Choice form
- Supply their bank account details
- Provide them with a link to the Fair Work Information Statement
Let's get started
- Navigate to the Workflows menu.

- Click Create.

- Give the Workflow a title in this case we can use Payroll. Then click Add task.

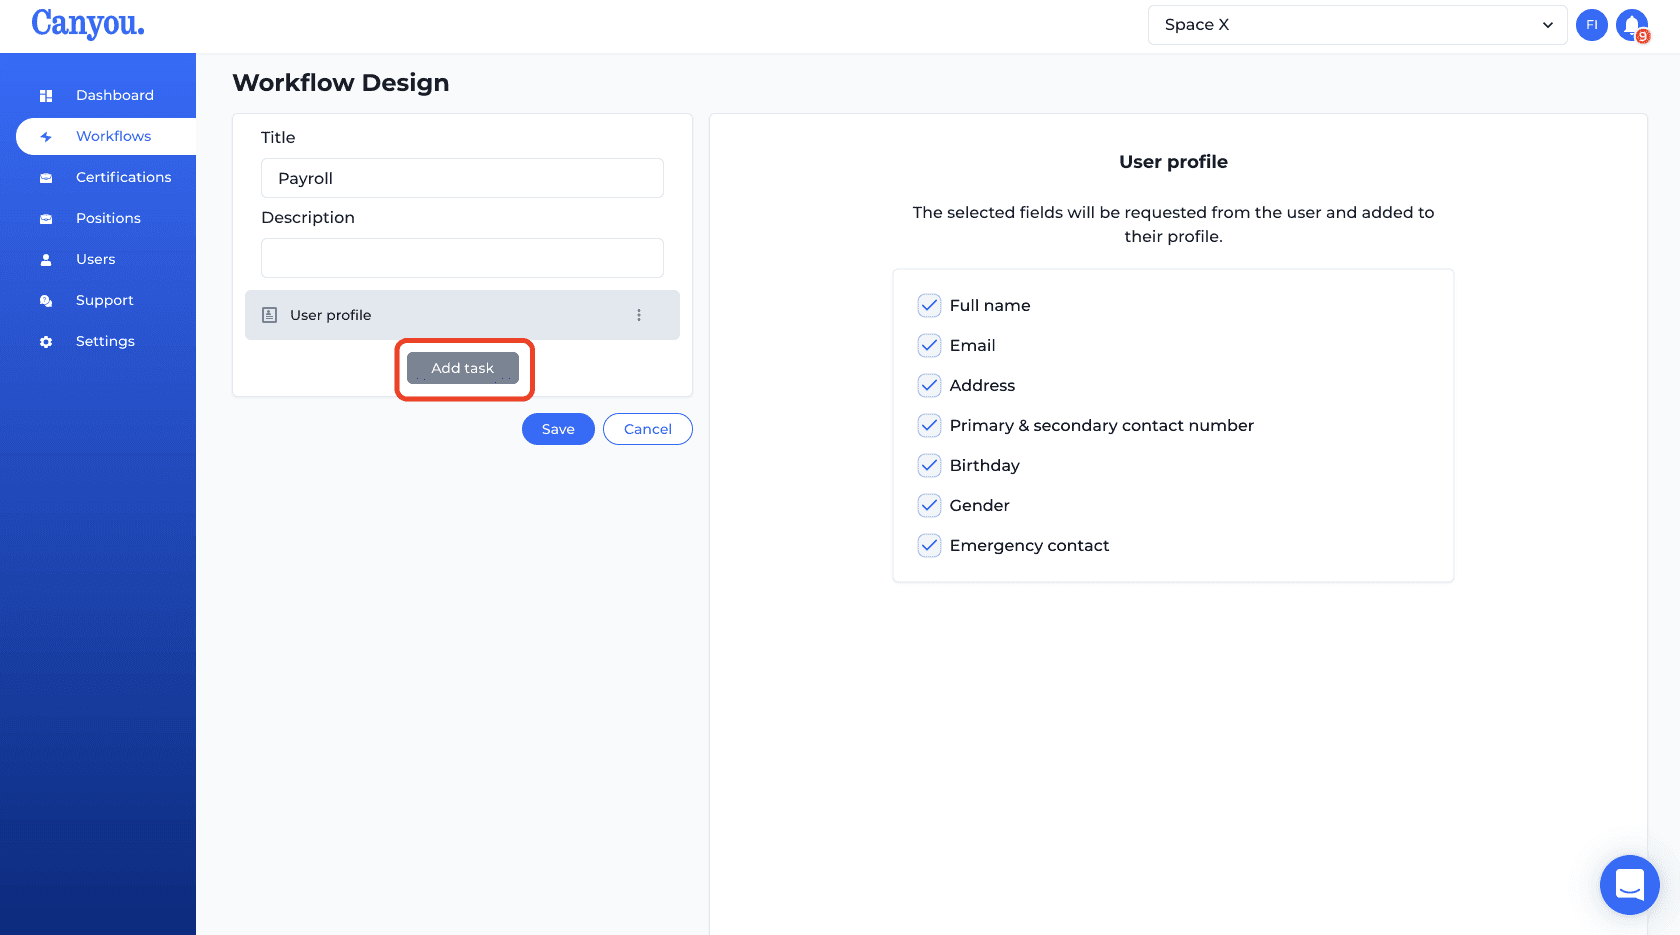
- Select User Profile. It should appear in the task pane. This shows us the data that the task will collect.

- Click Add task.
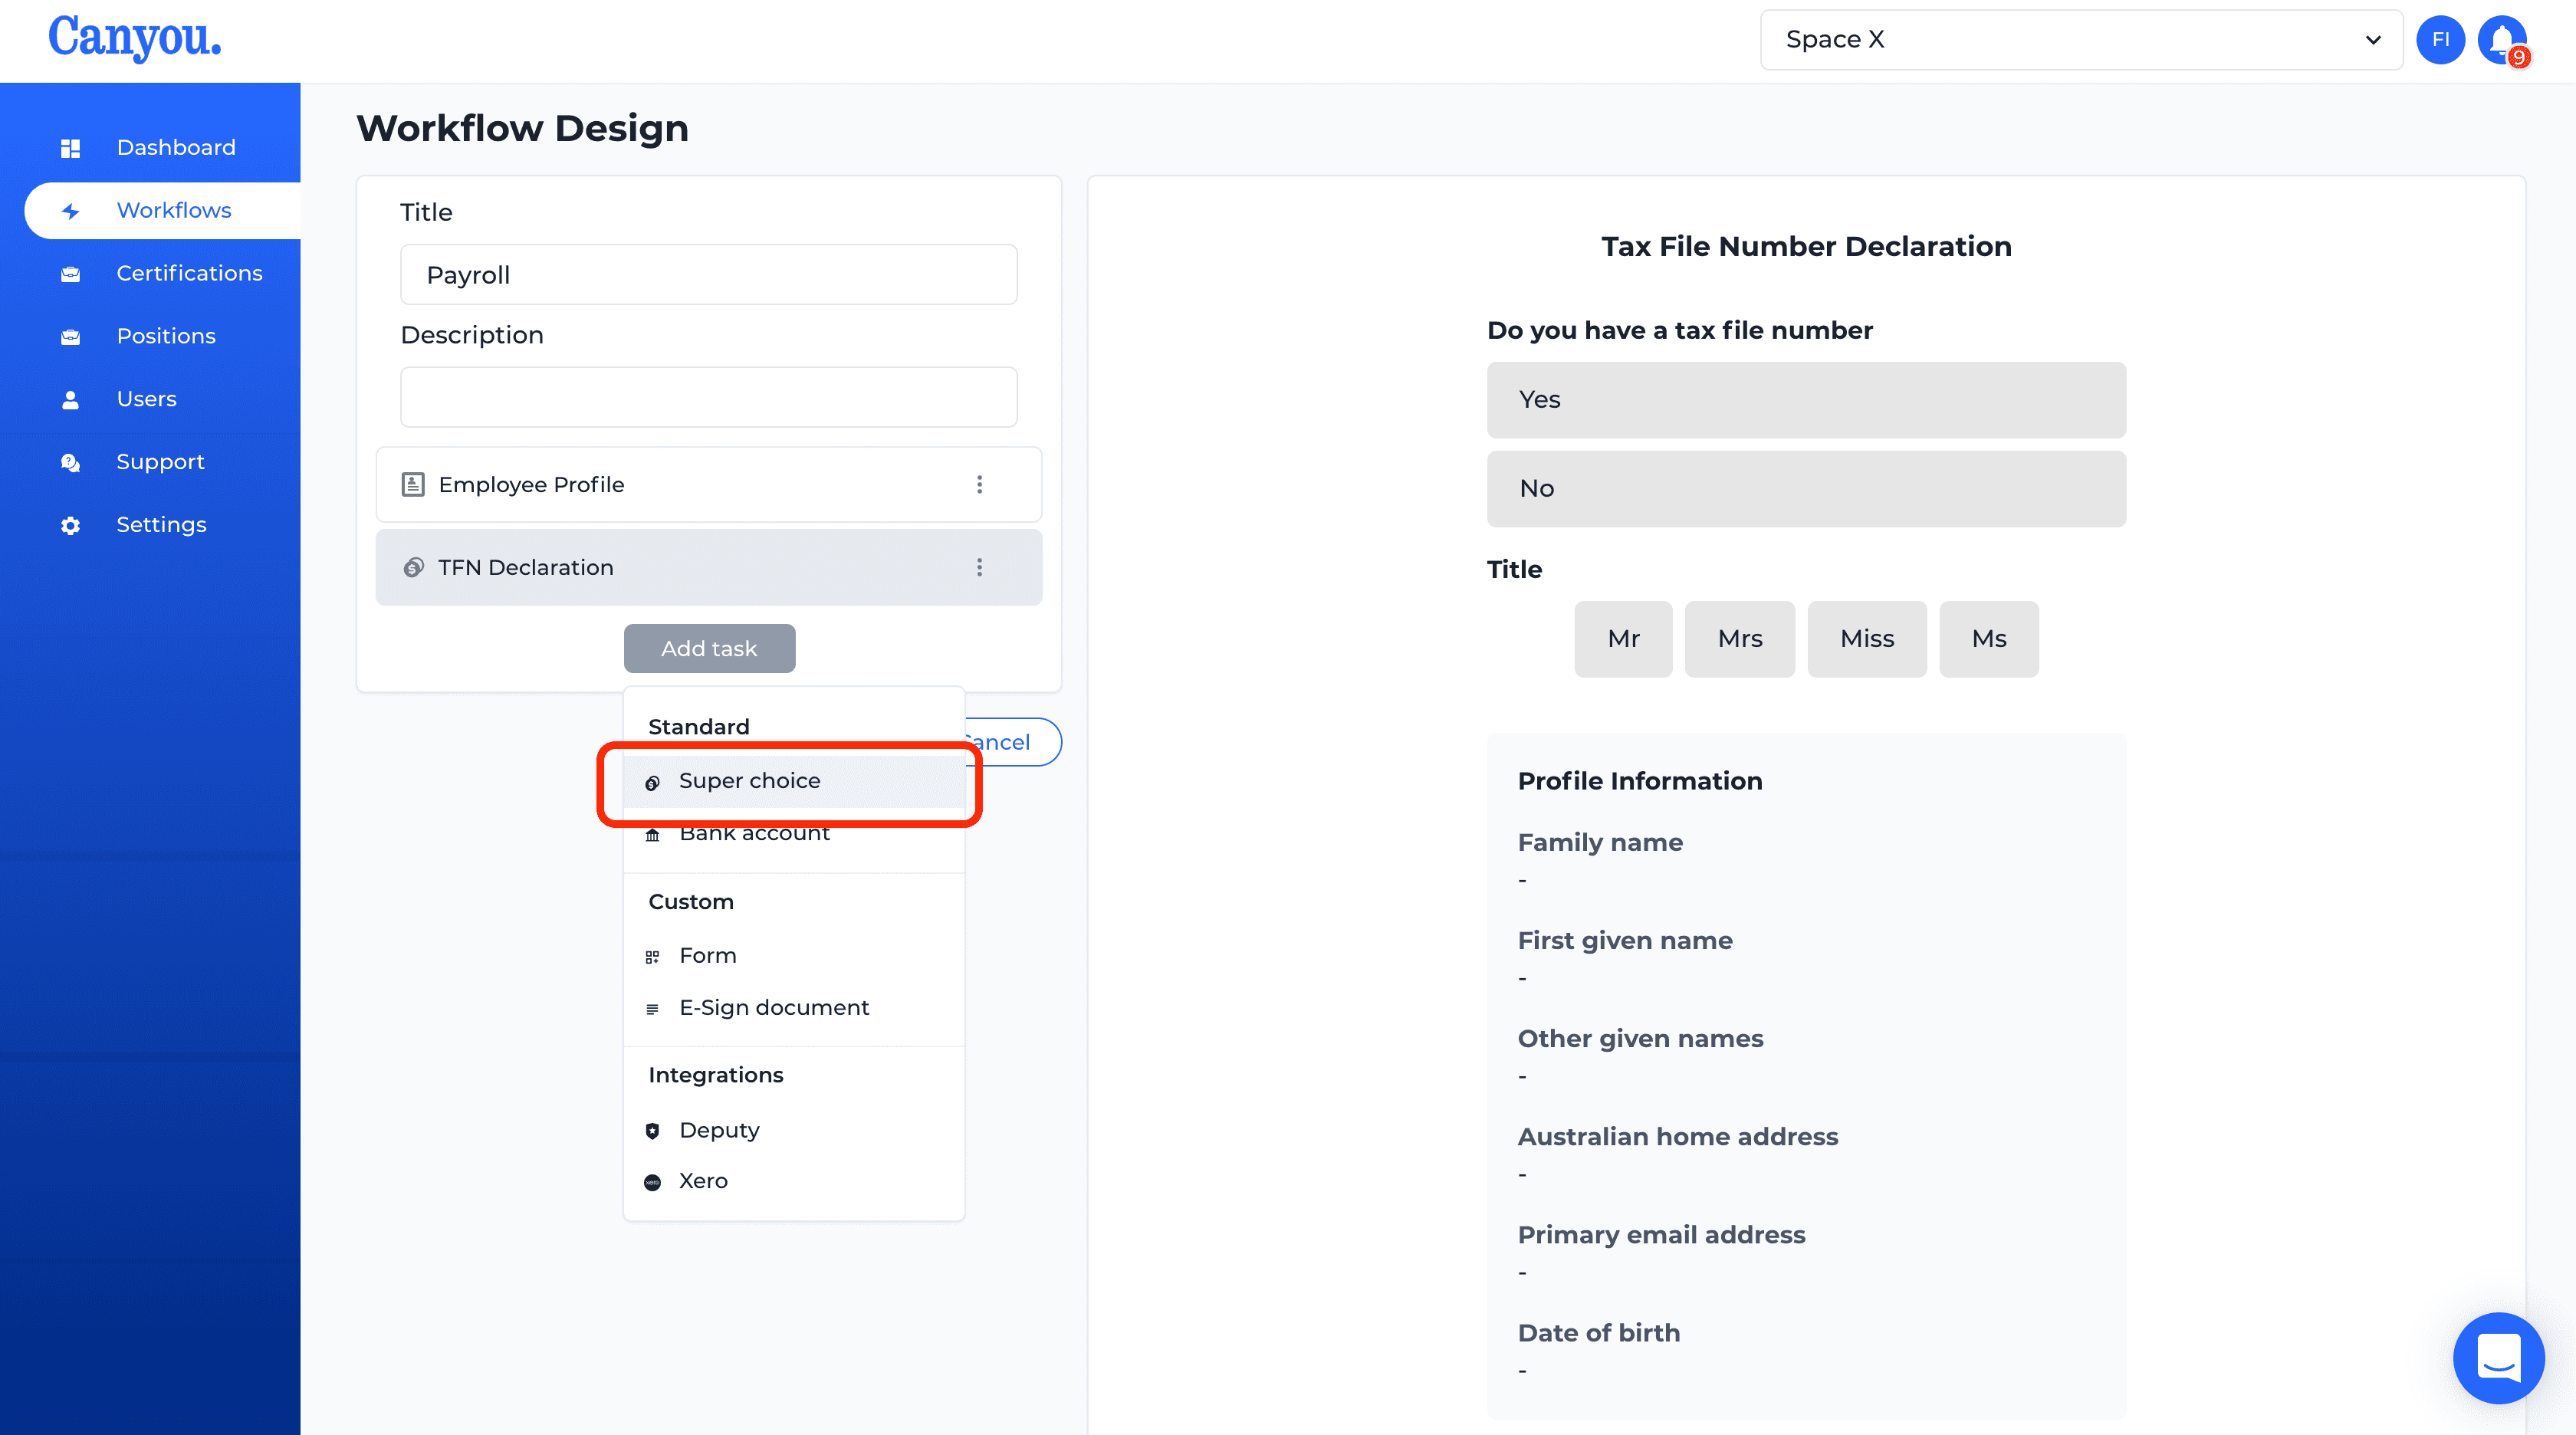
- Select TFN declaration.

- Click Add task then click Super Choice.
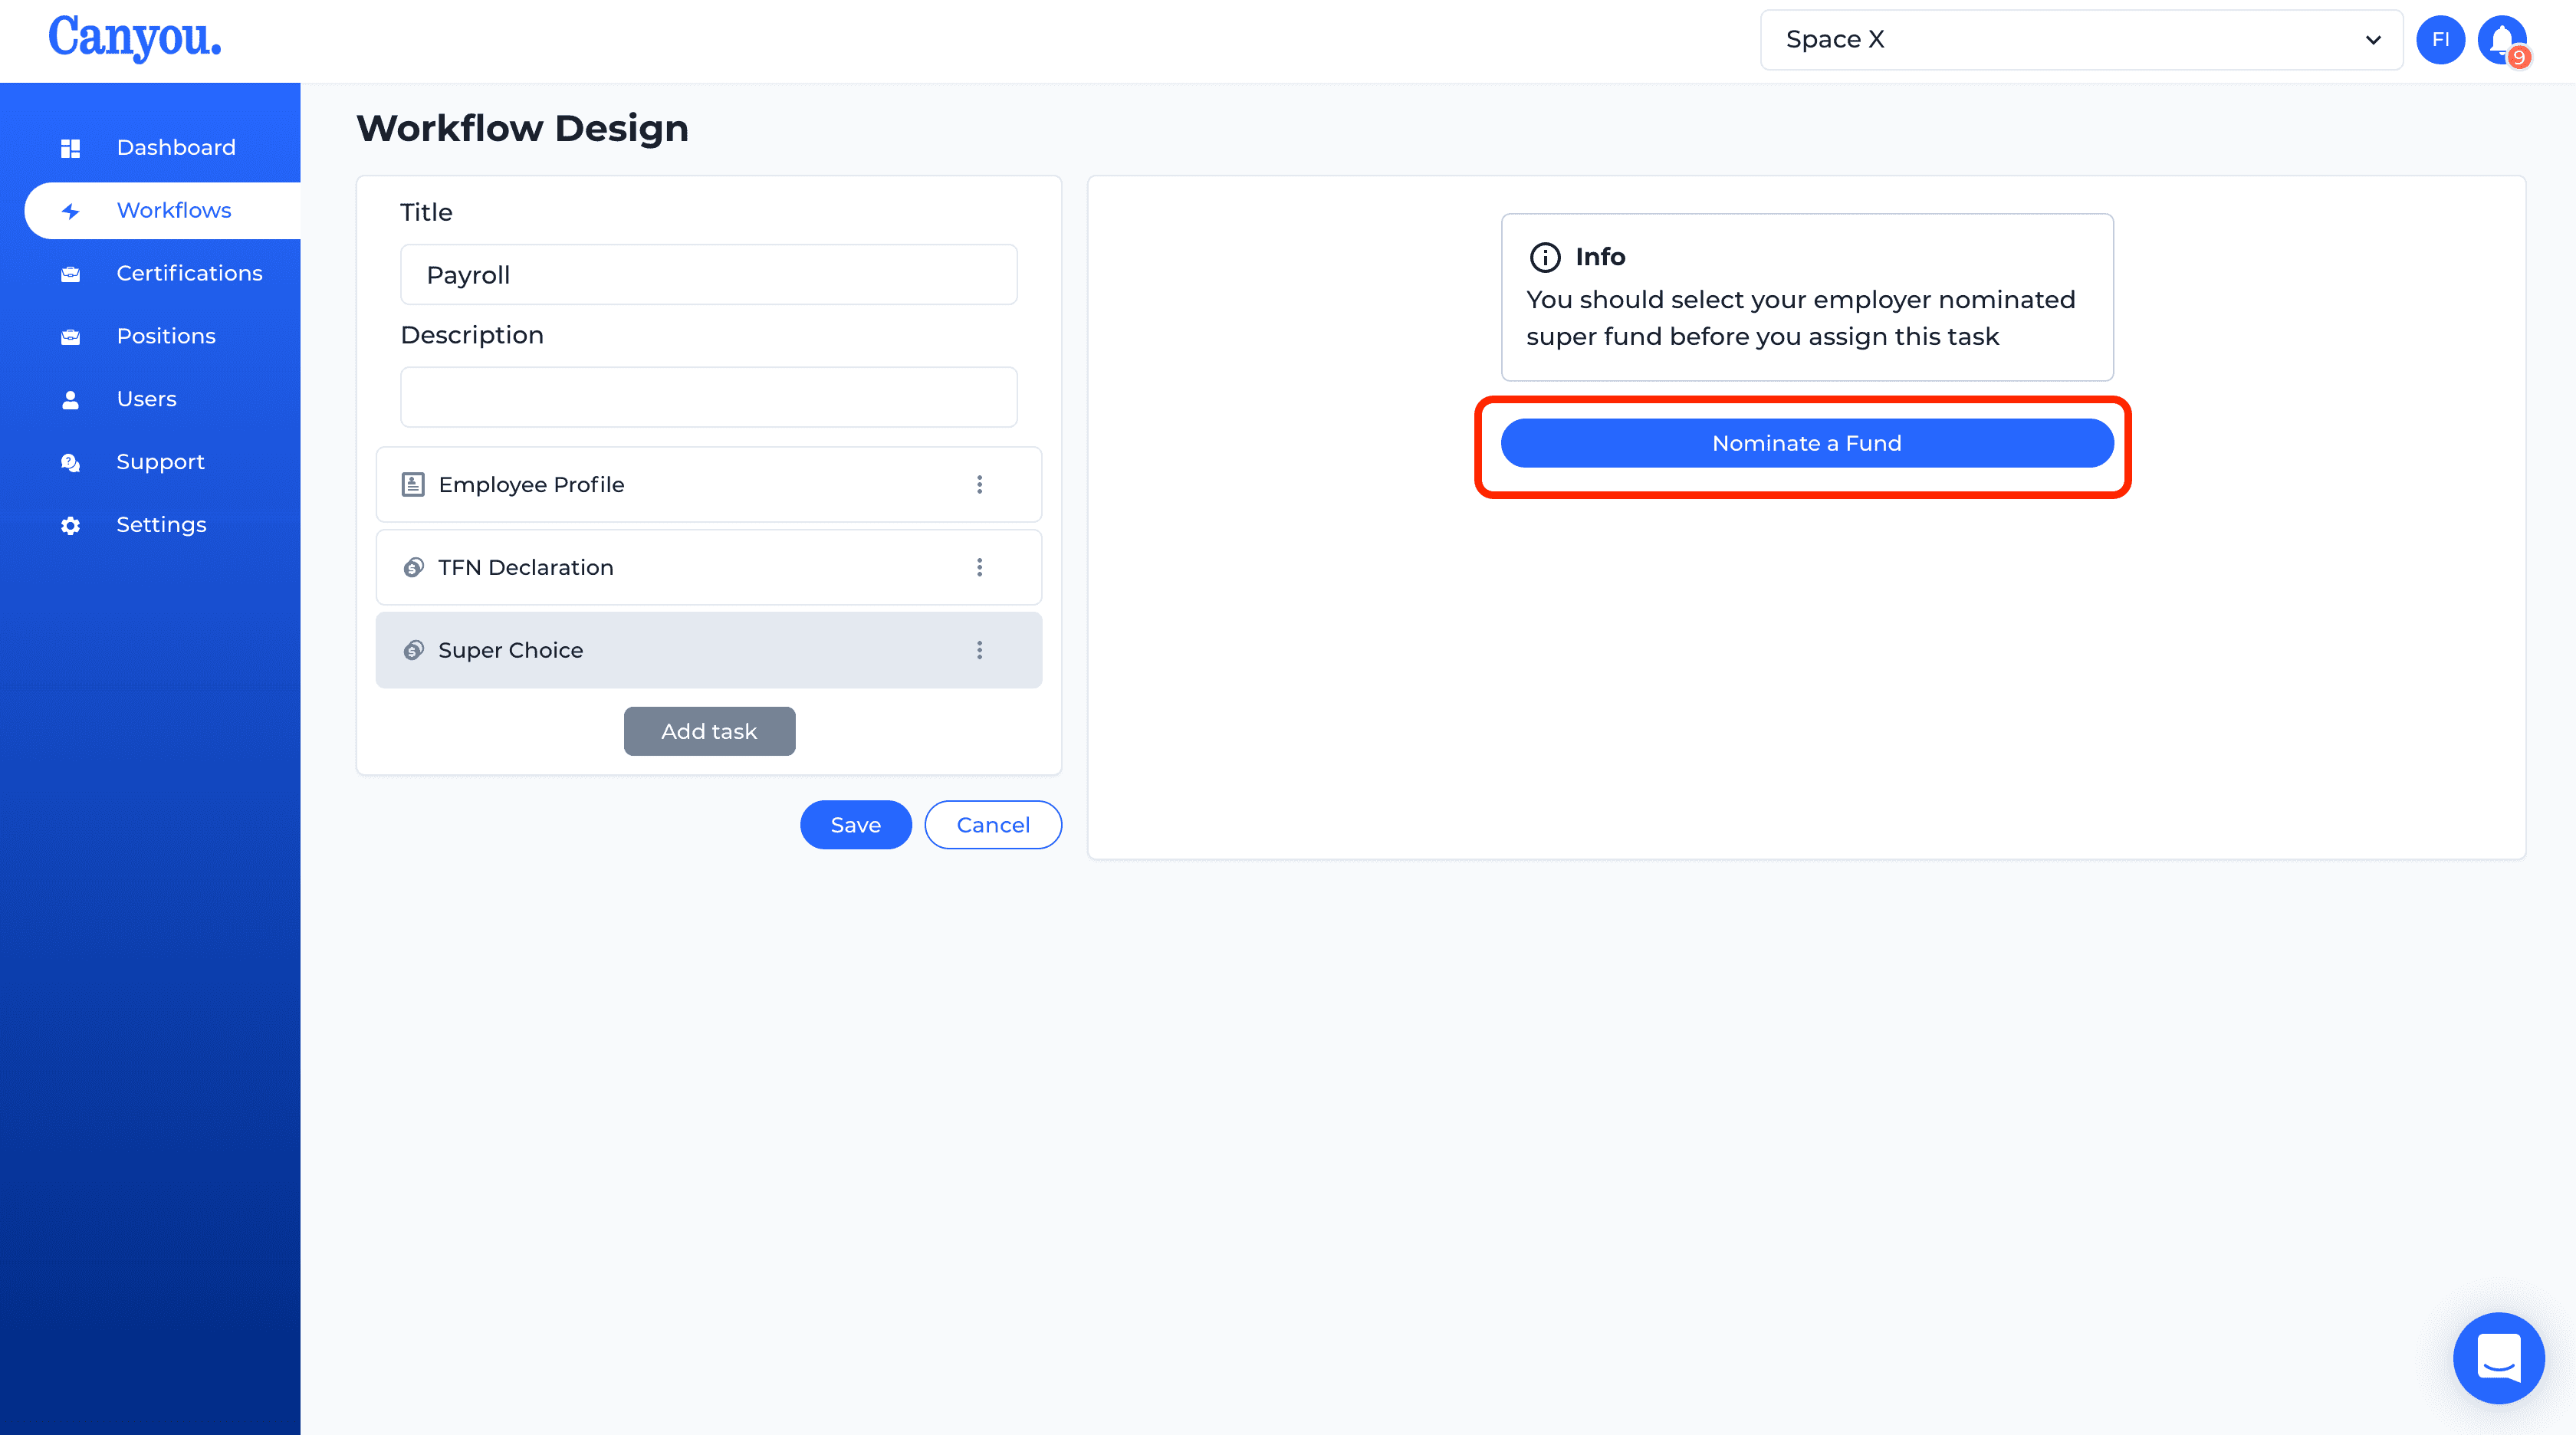
- Nominate the default superannuation fund for the employer.
- Click Add task then click Bank account.
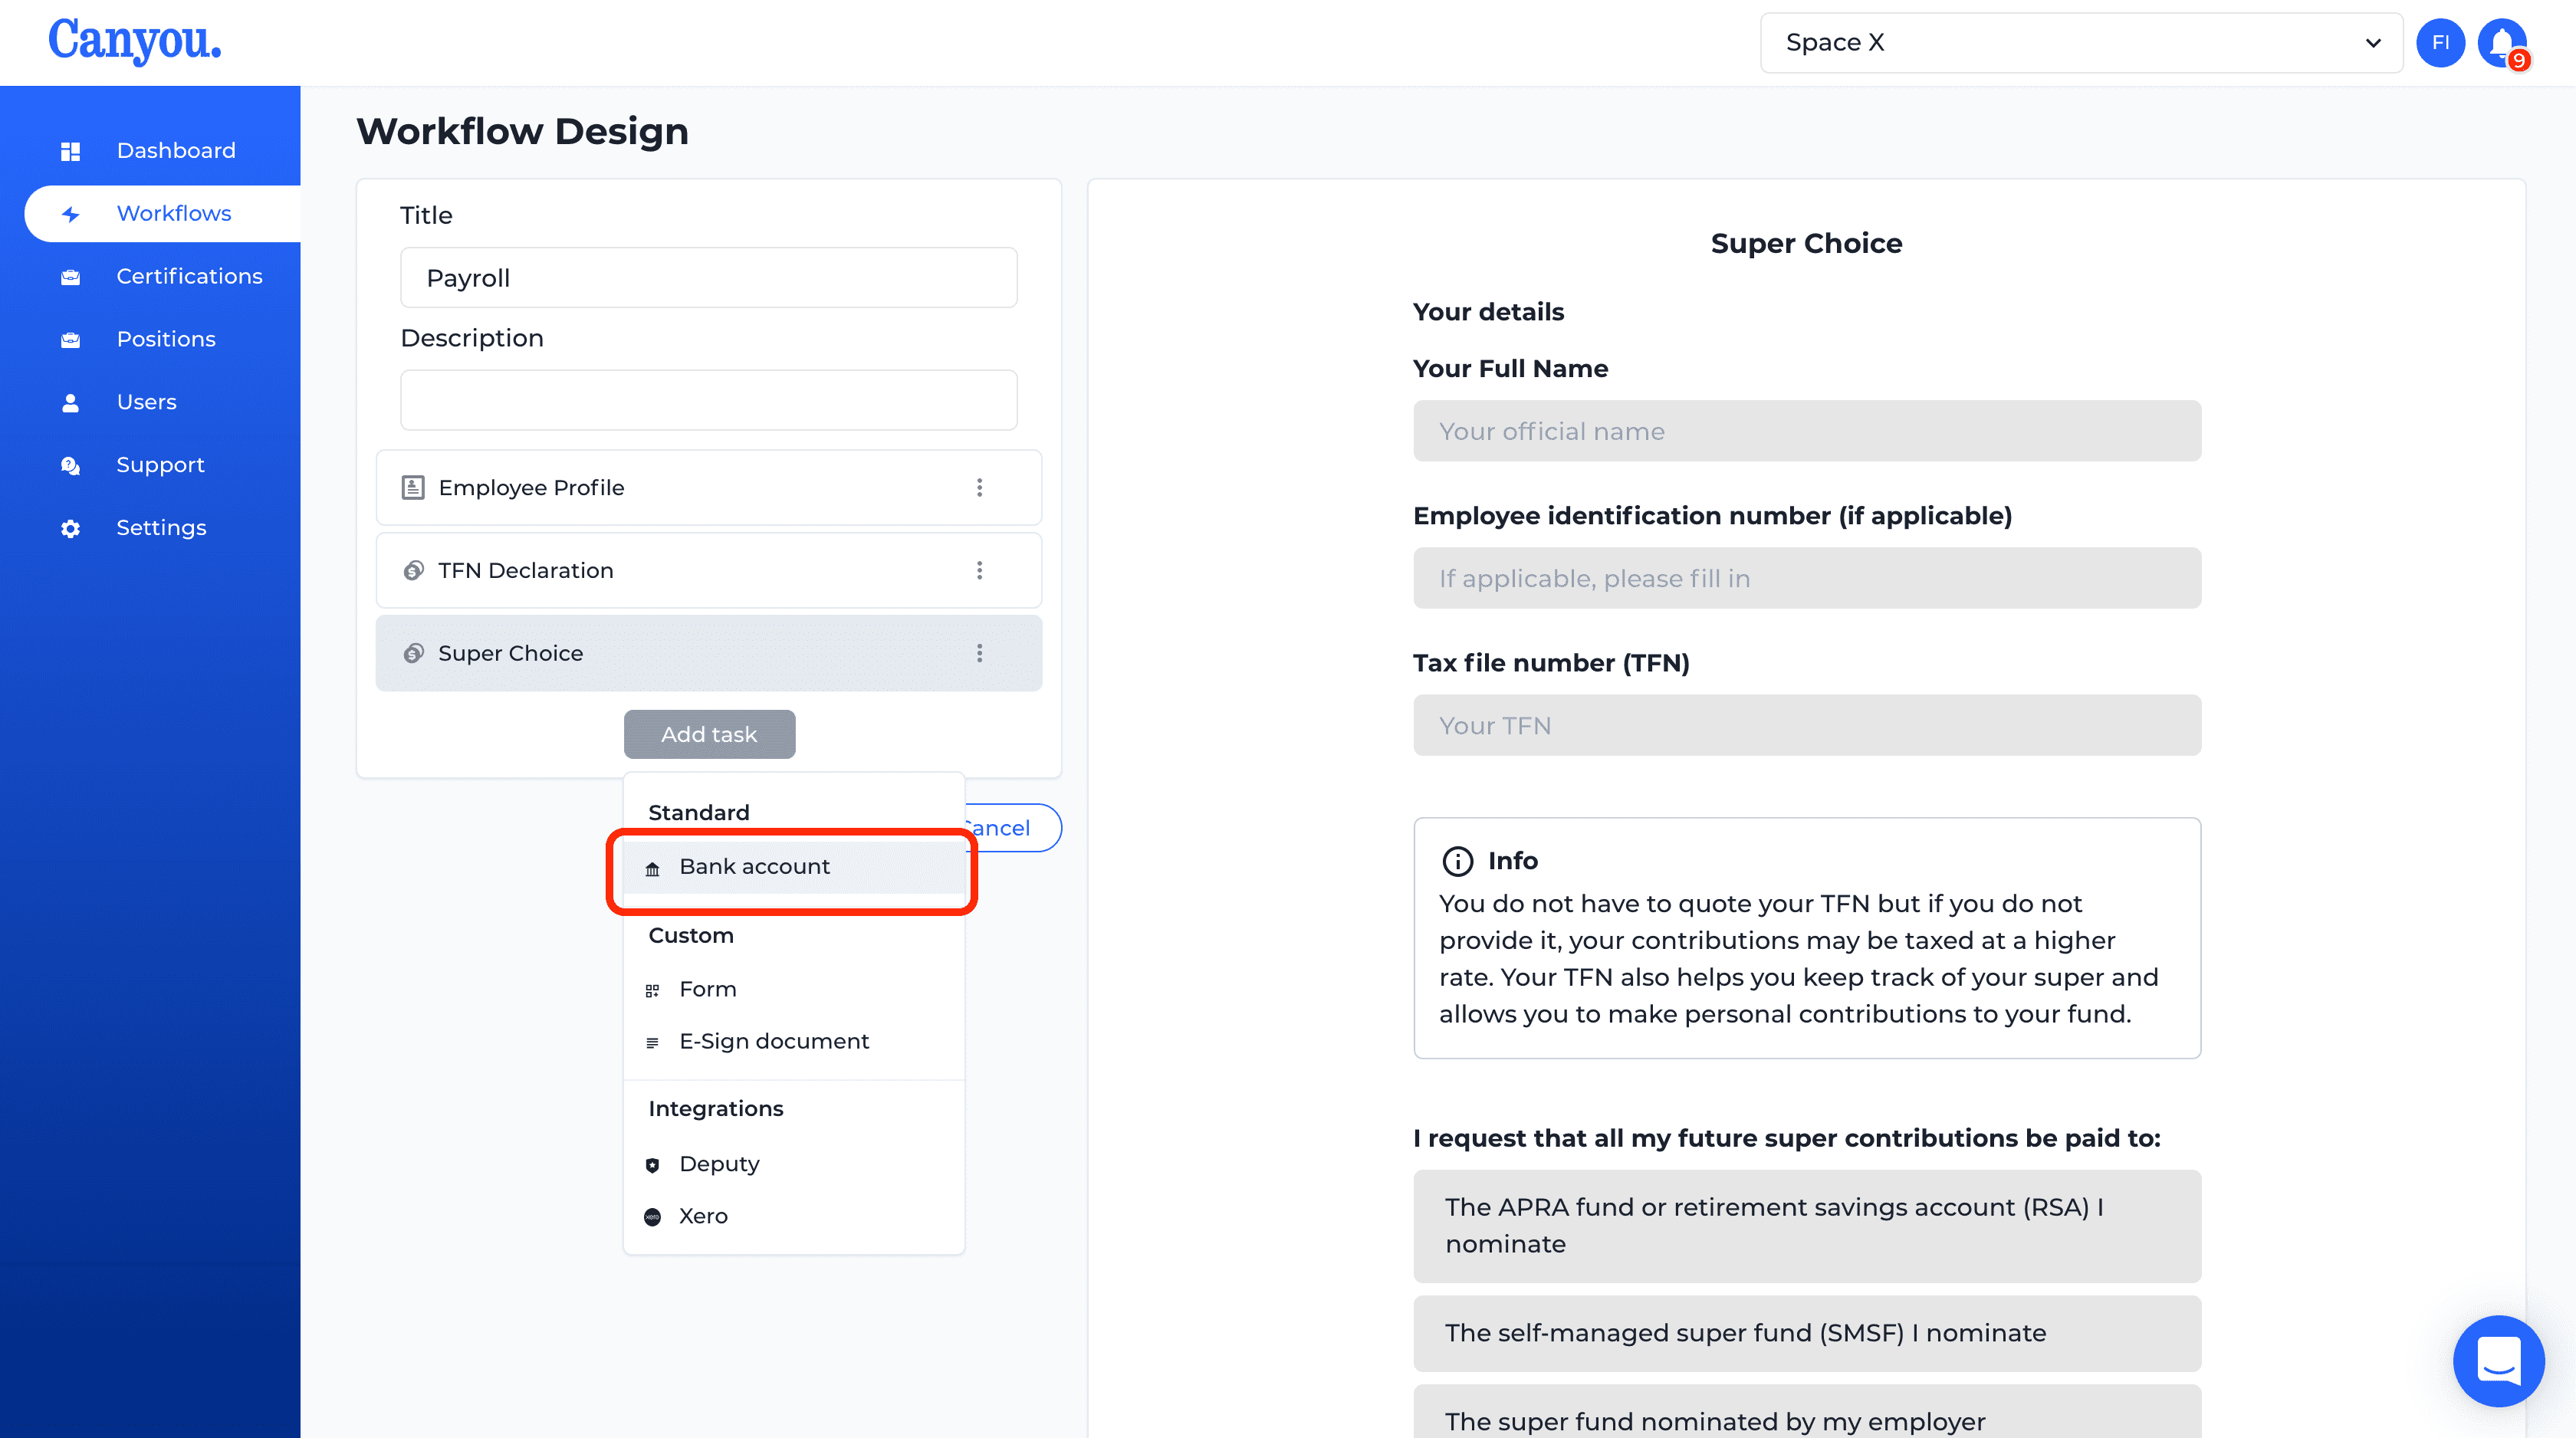
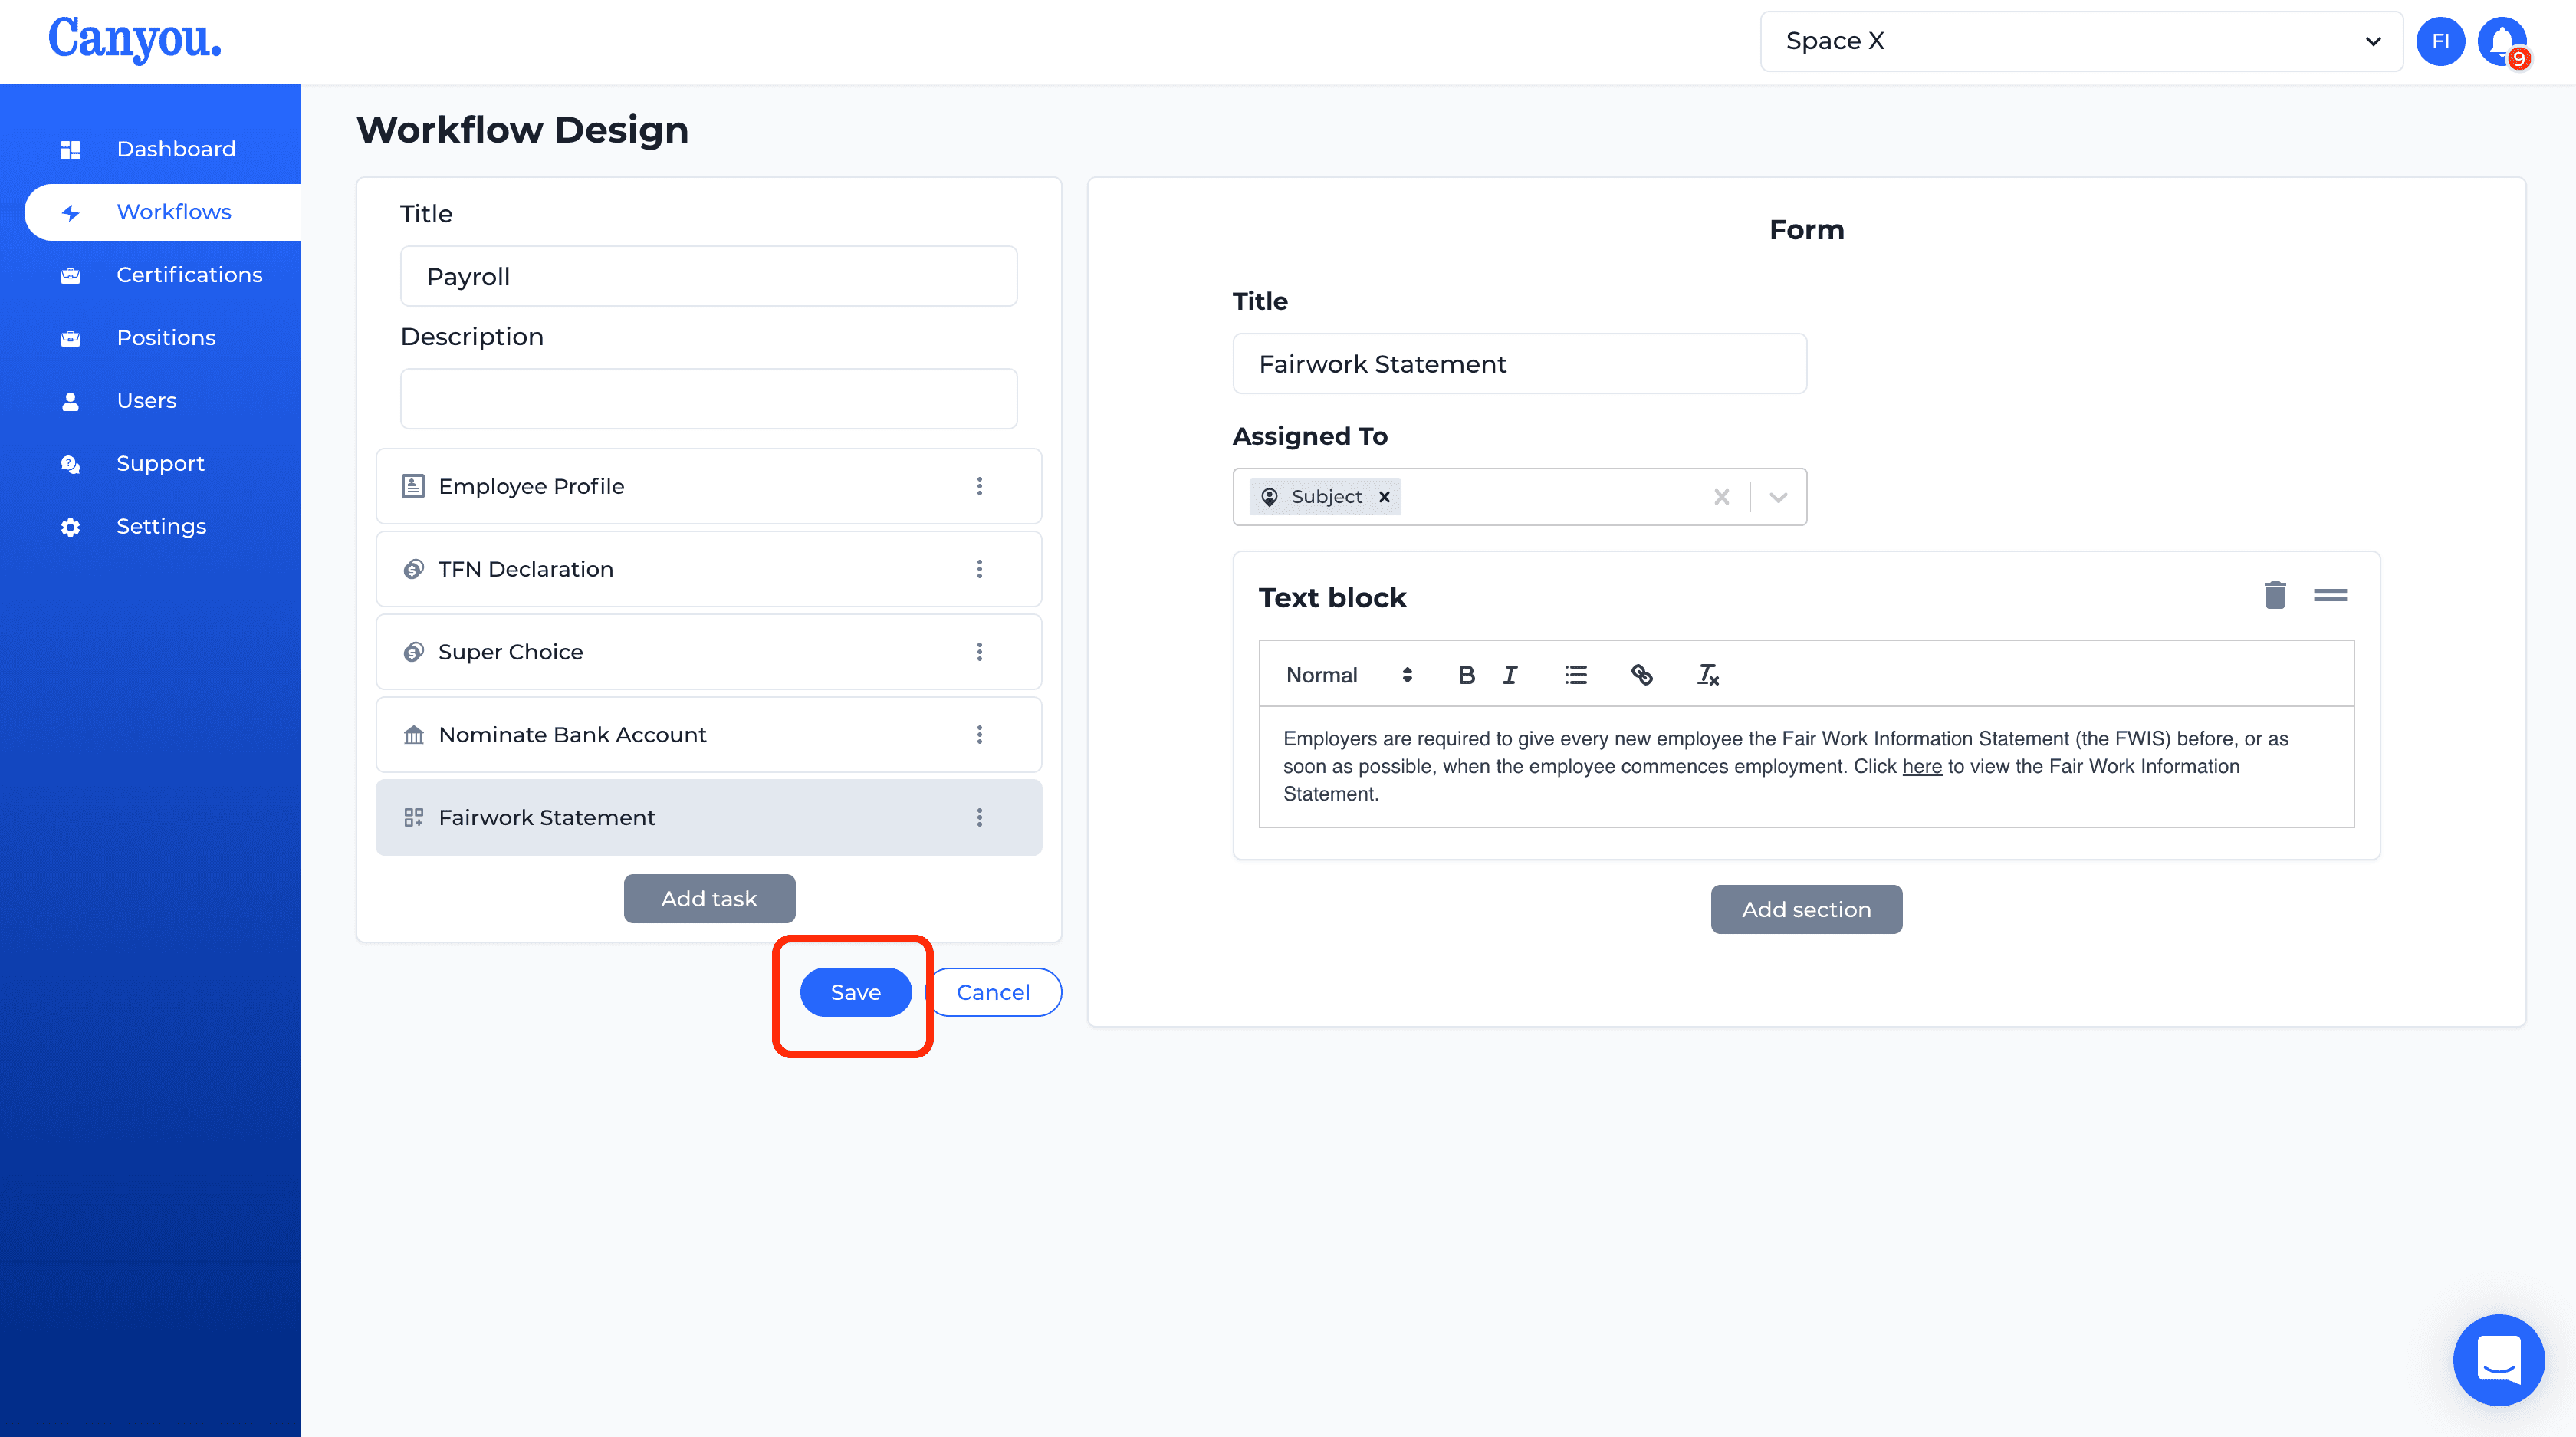
- Now we will create our own custom task to provide the employee with some information. In this example we will create a task that supplies the employee with a link to the Fair Work Information Statement. Click Add task then click Form.
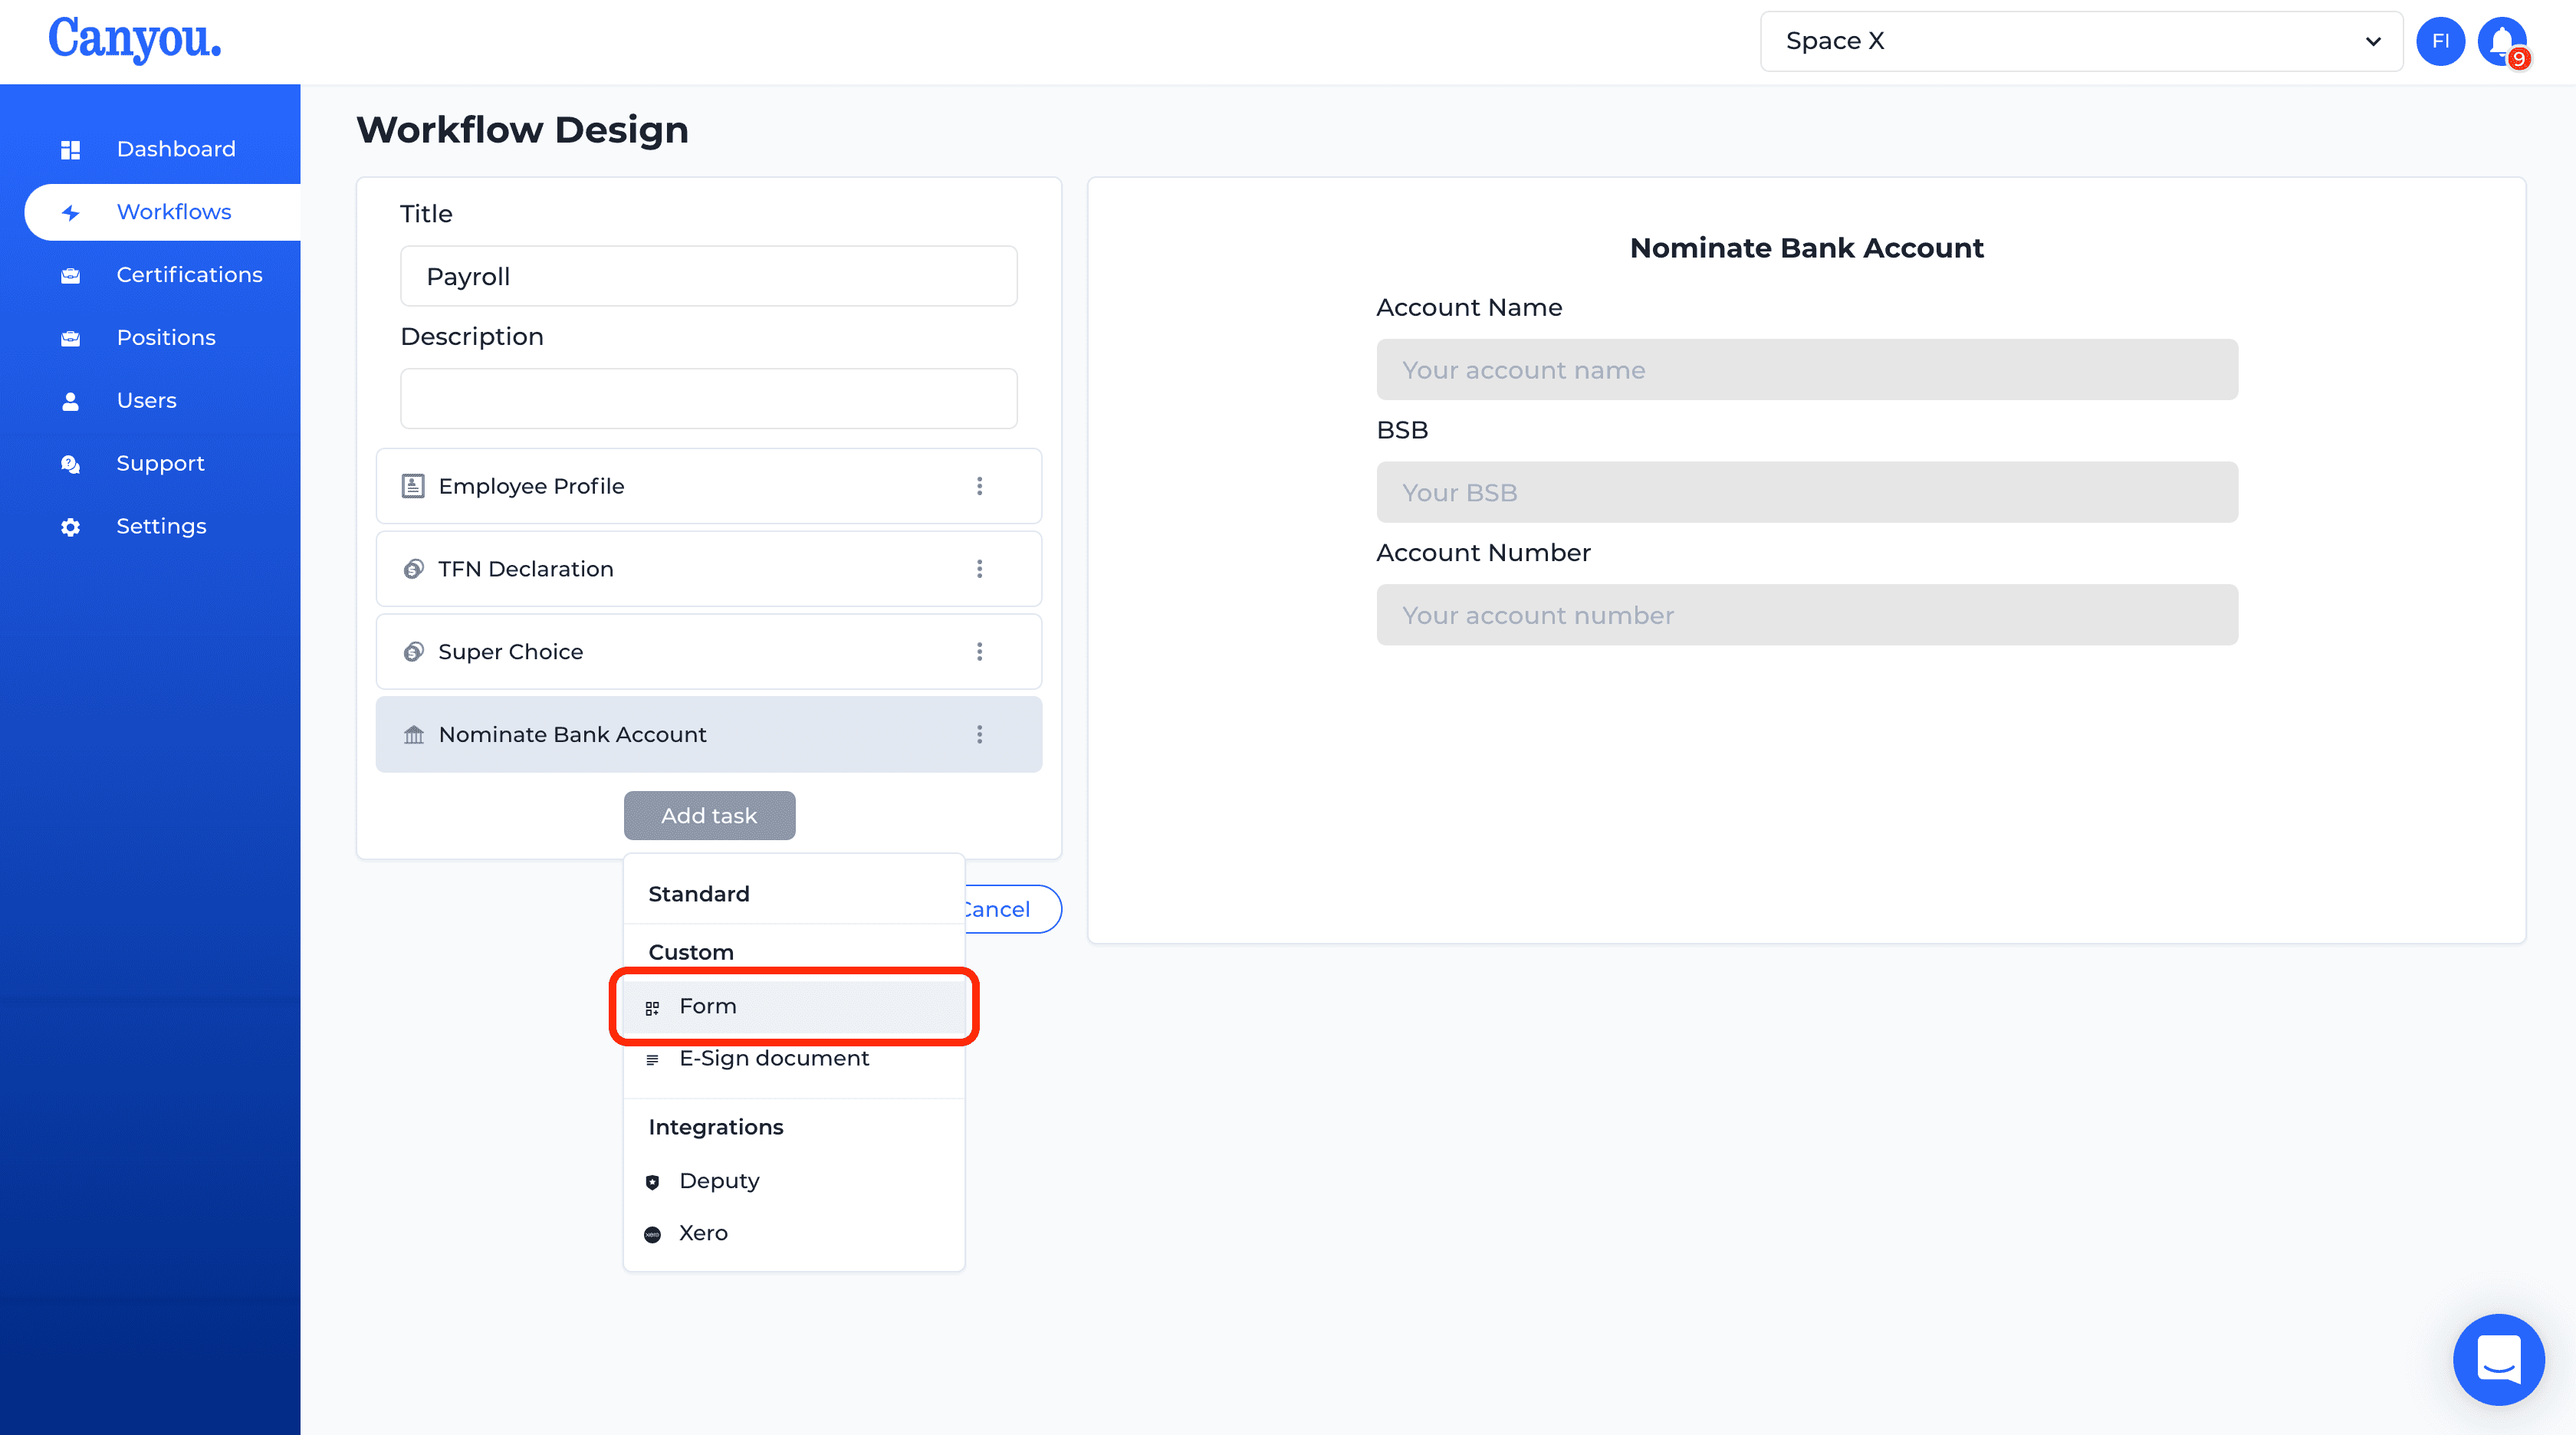
- Click Add section then click Text block
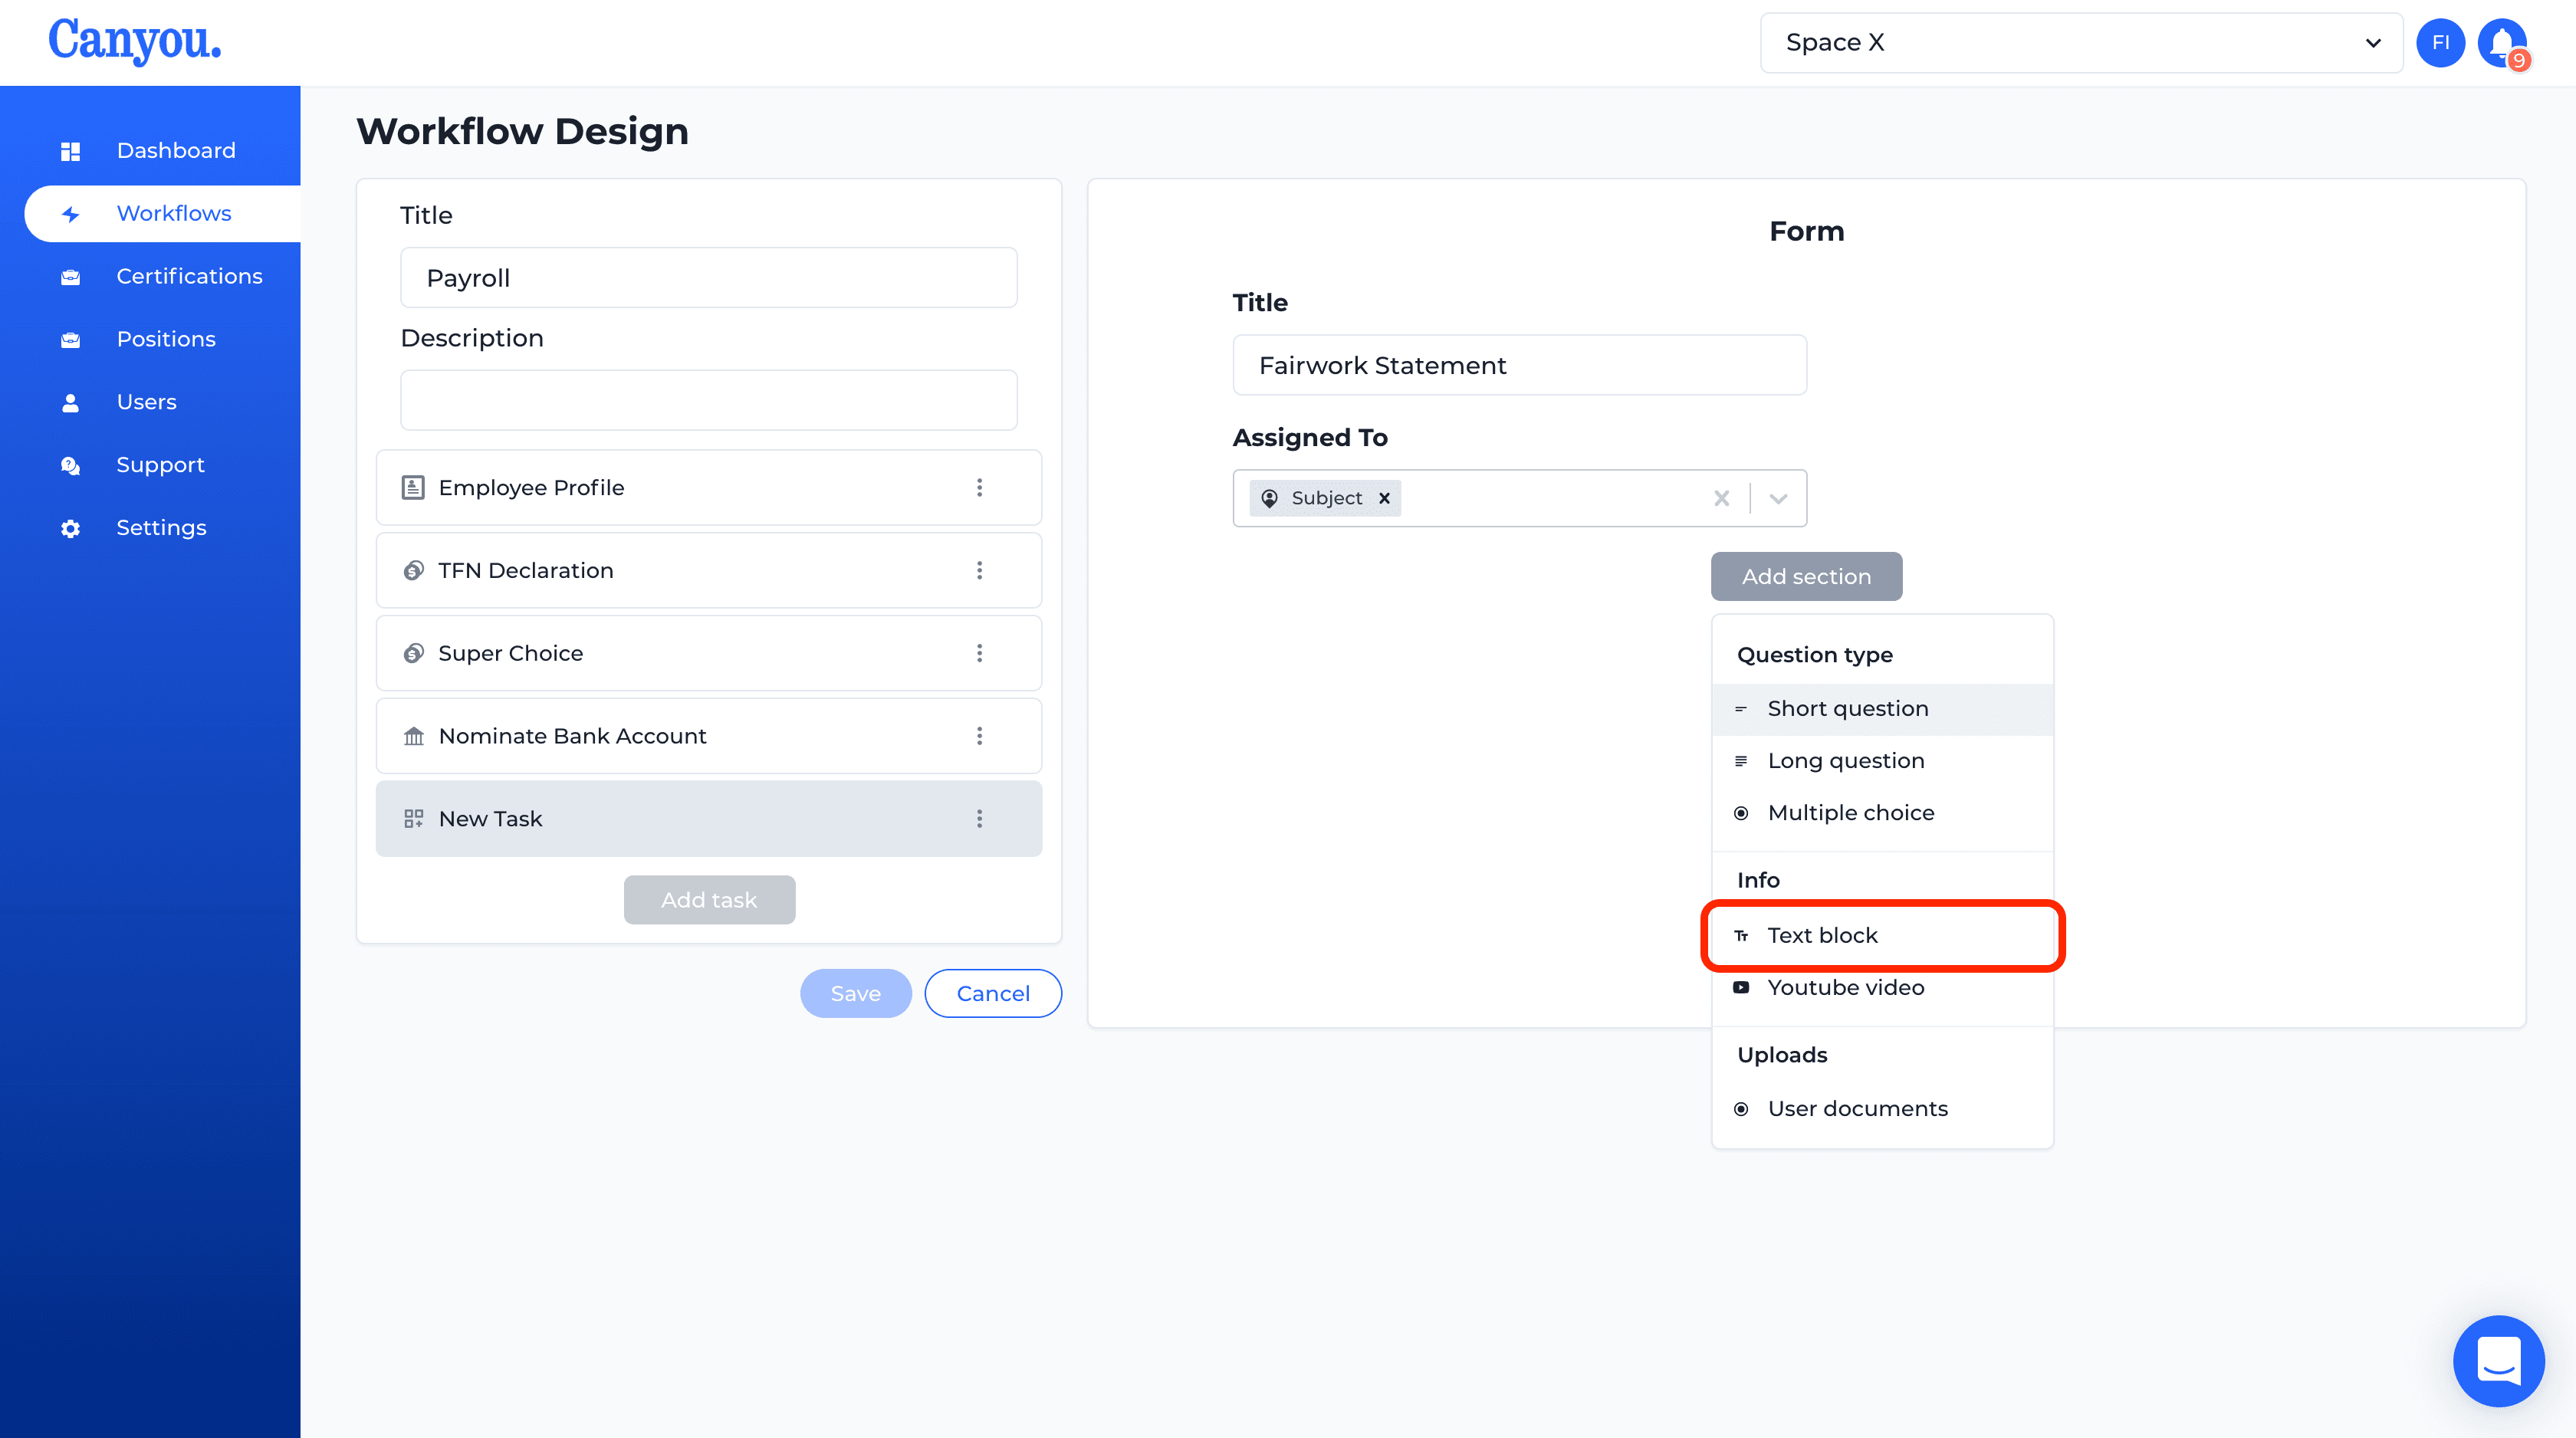
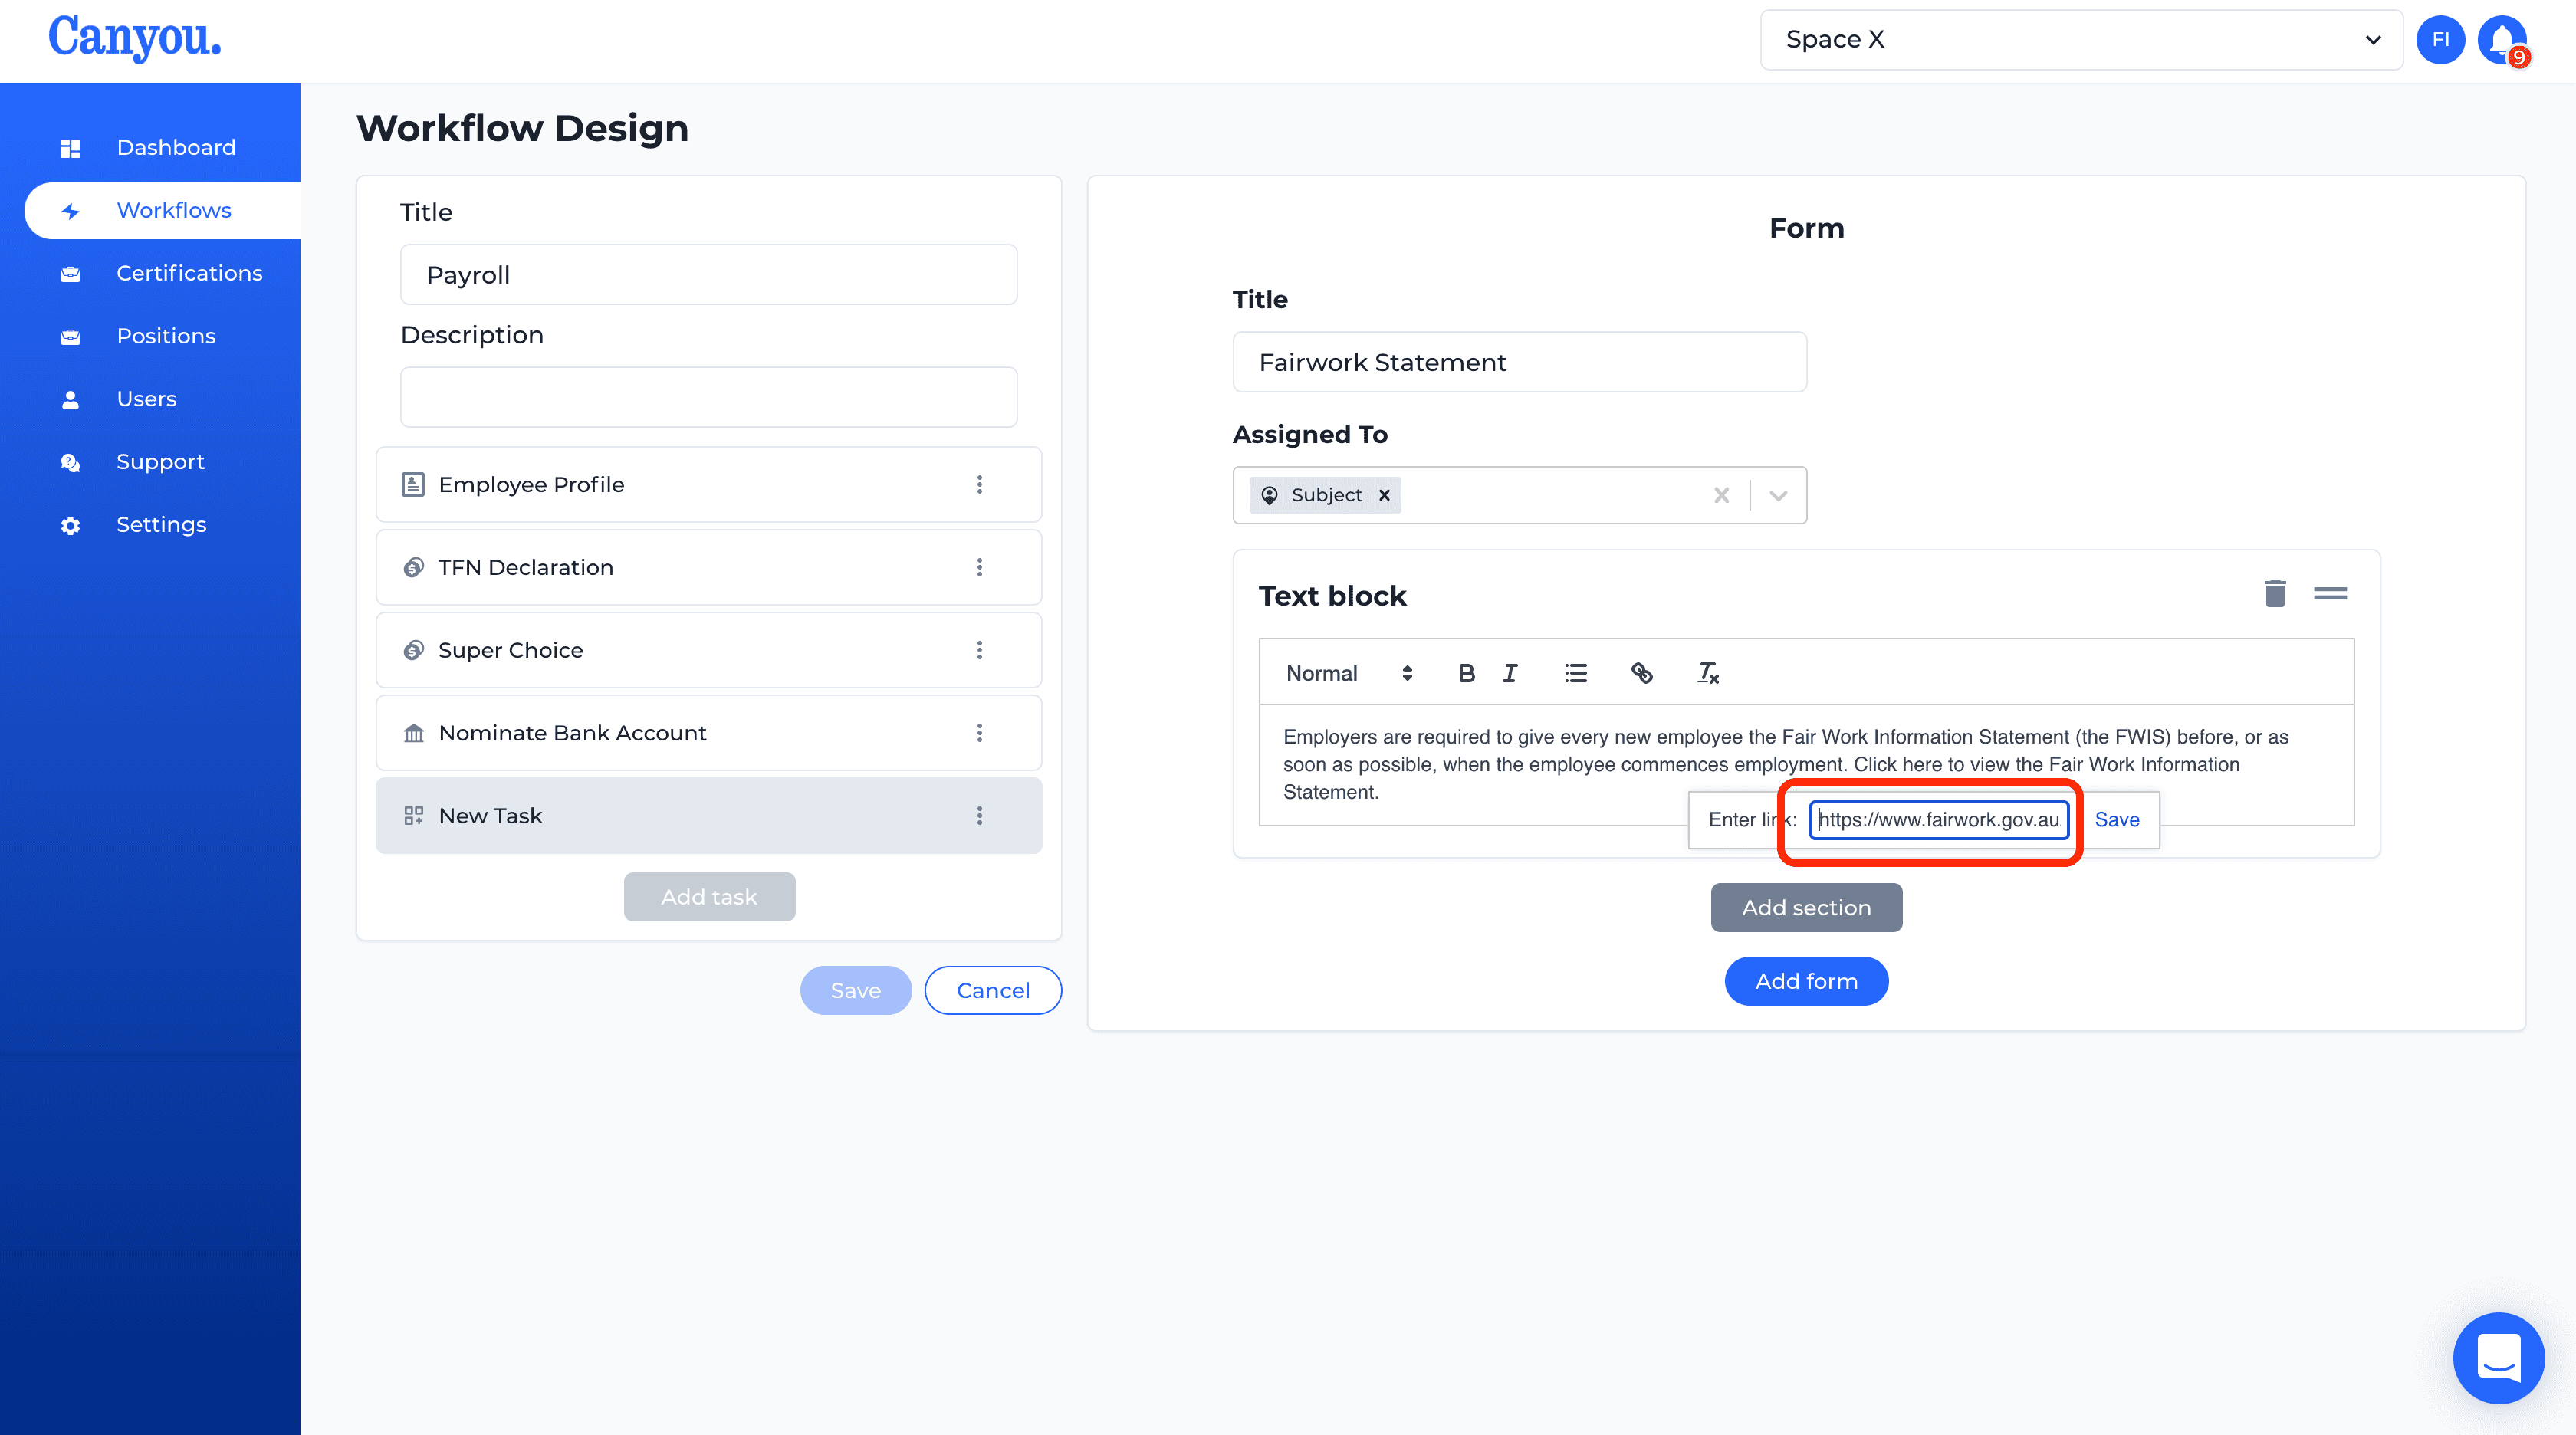
- Add the title Fair Work Statement. Copy the following text and paste it in the task just like the image.
Employers are required to give every new employee the Fair Work Information Statement (the FWIS) before, or as soon as possible, when the employee commences employment. Click here to view the Fair Work Information Statement.
We can create a link to the site. Highlight the word here and then click the link 🔗 button in the toolbar.
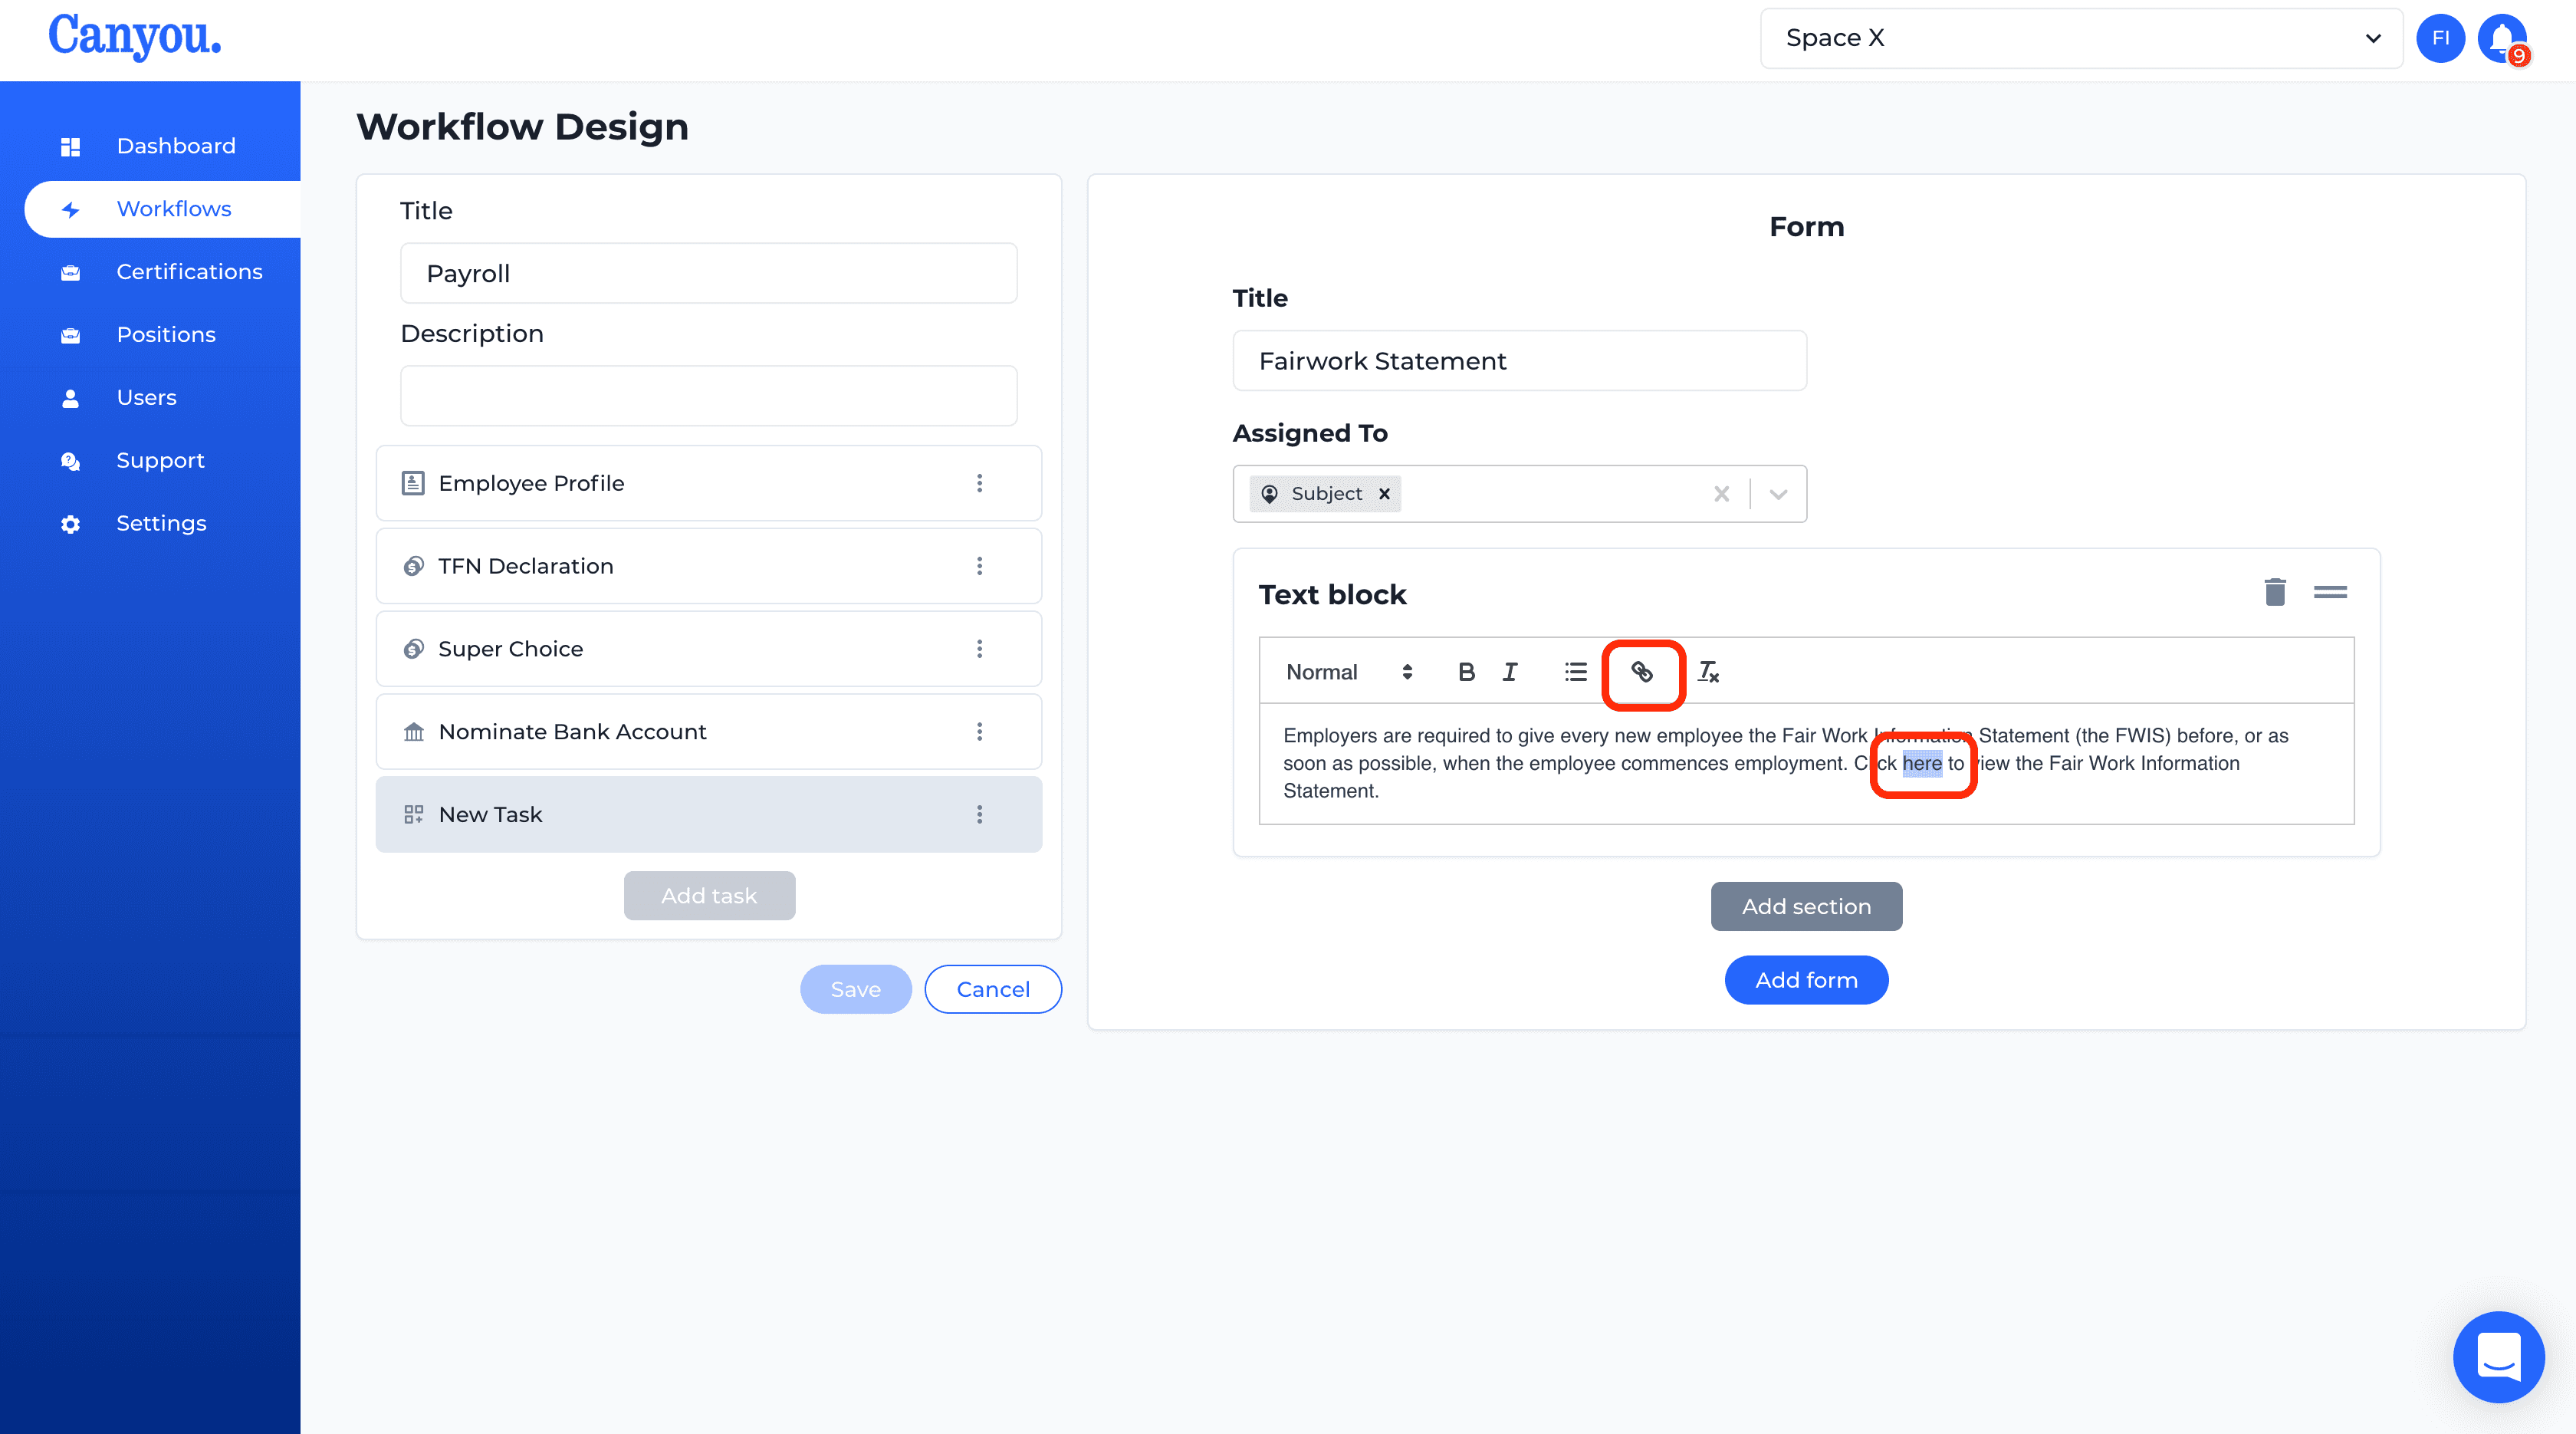
- Now copy the following url and paste it into the field and click Save.
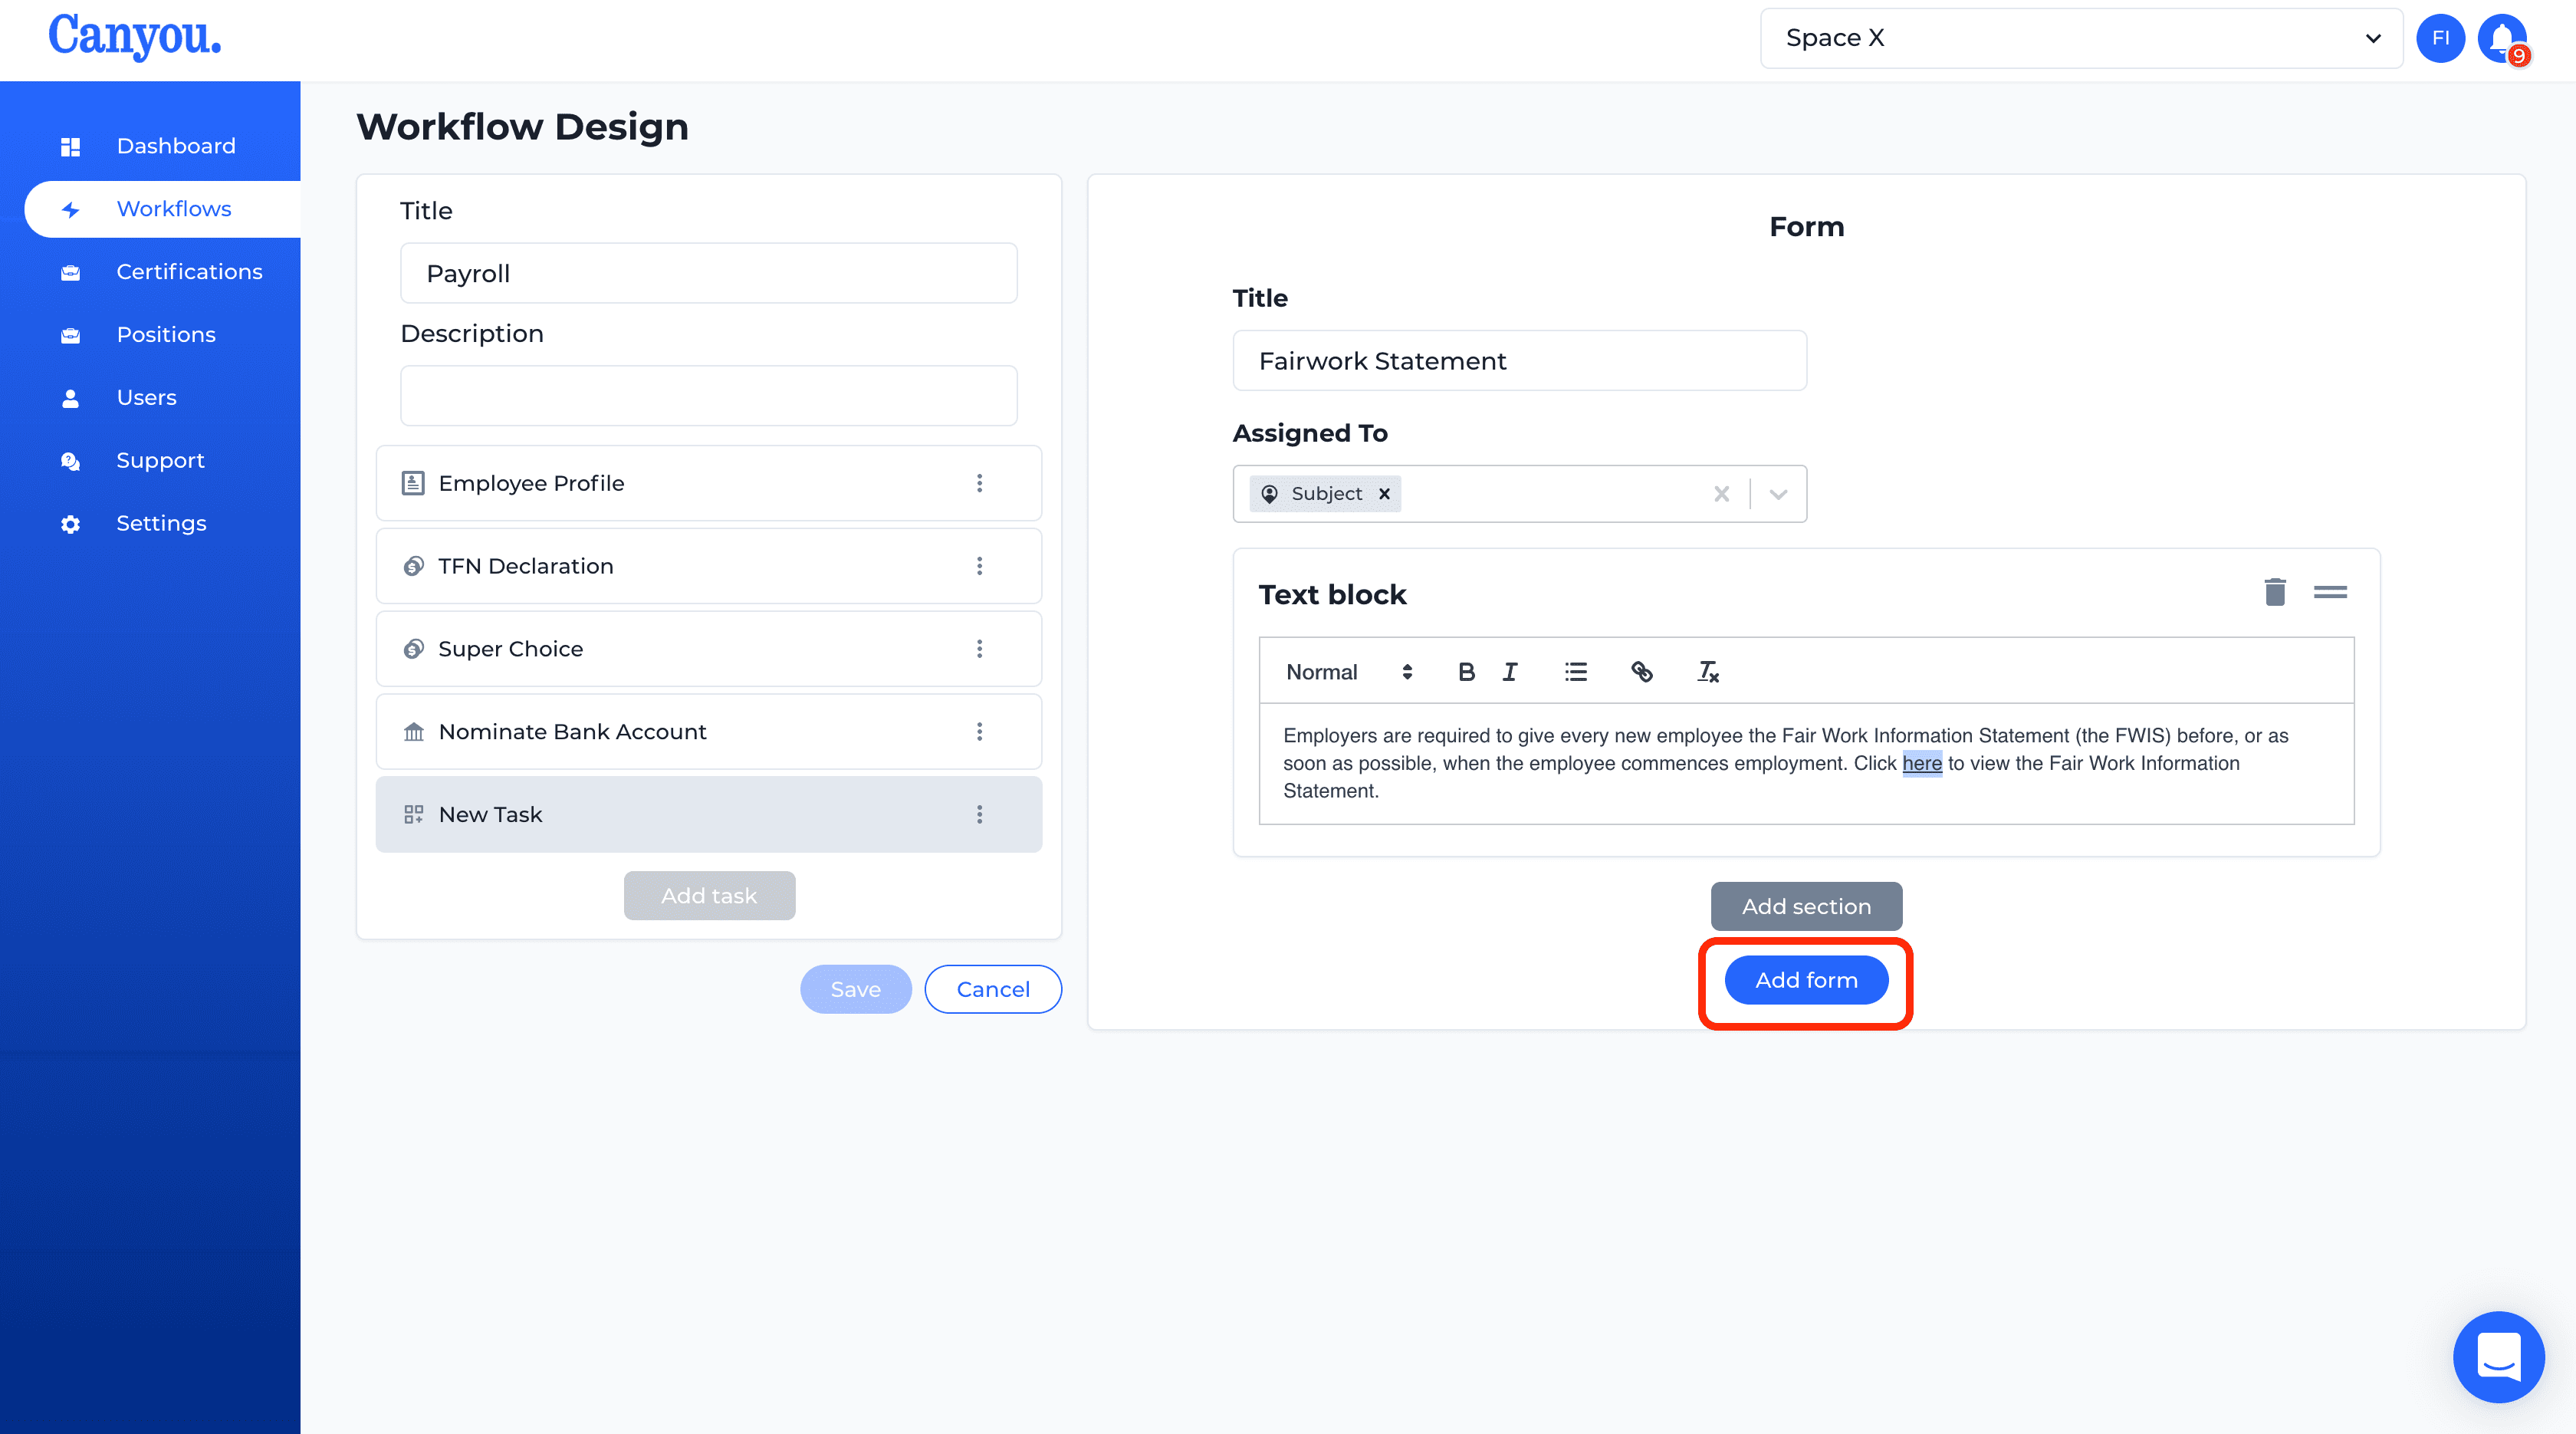
- Click Add form.
- Click Save to save the Workflow. We always have to save after we add or update tasks.
