IntroductionFrequently Asked Questions
Getting Started
Workflows
Workflow templates
Tasks
Positions
Users
Certifications
Videos
Businesses
Logging In
Xero Integration
Visa Checks
Billing
Advanced Use Cases
Completing a Visa Check
In the previous section (visa details) we learnt how to collect visa details from an employee. This section shows how we can now use those details to complete a visa check to determine the work rights for the employee.
Lets get started 🚀
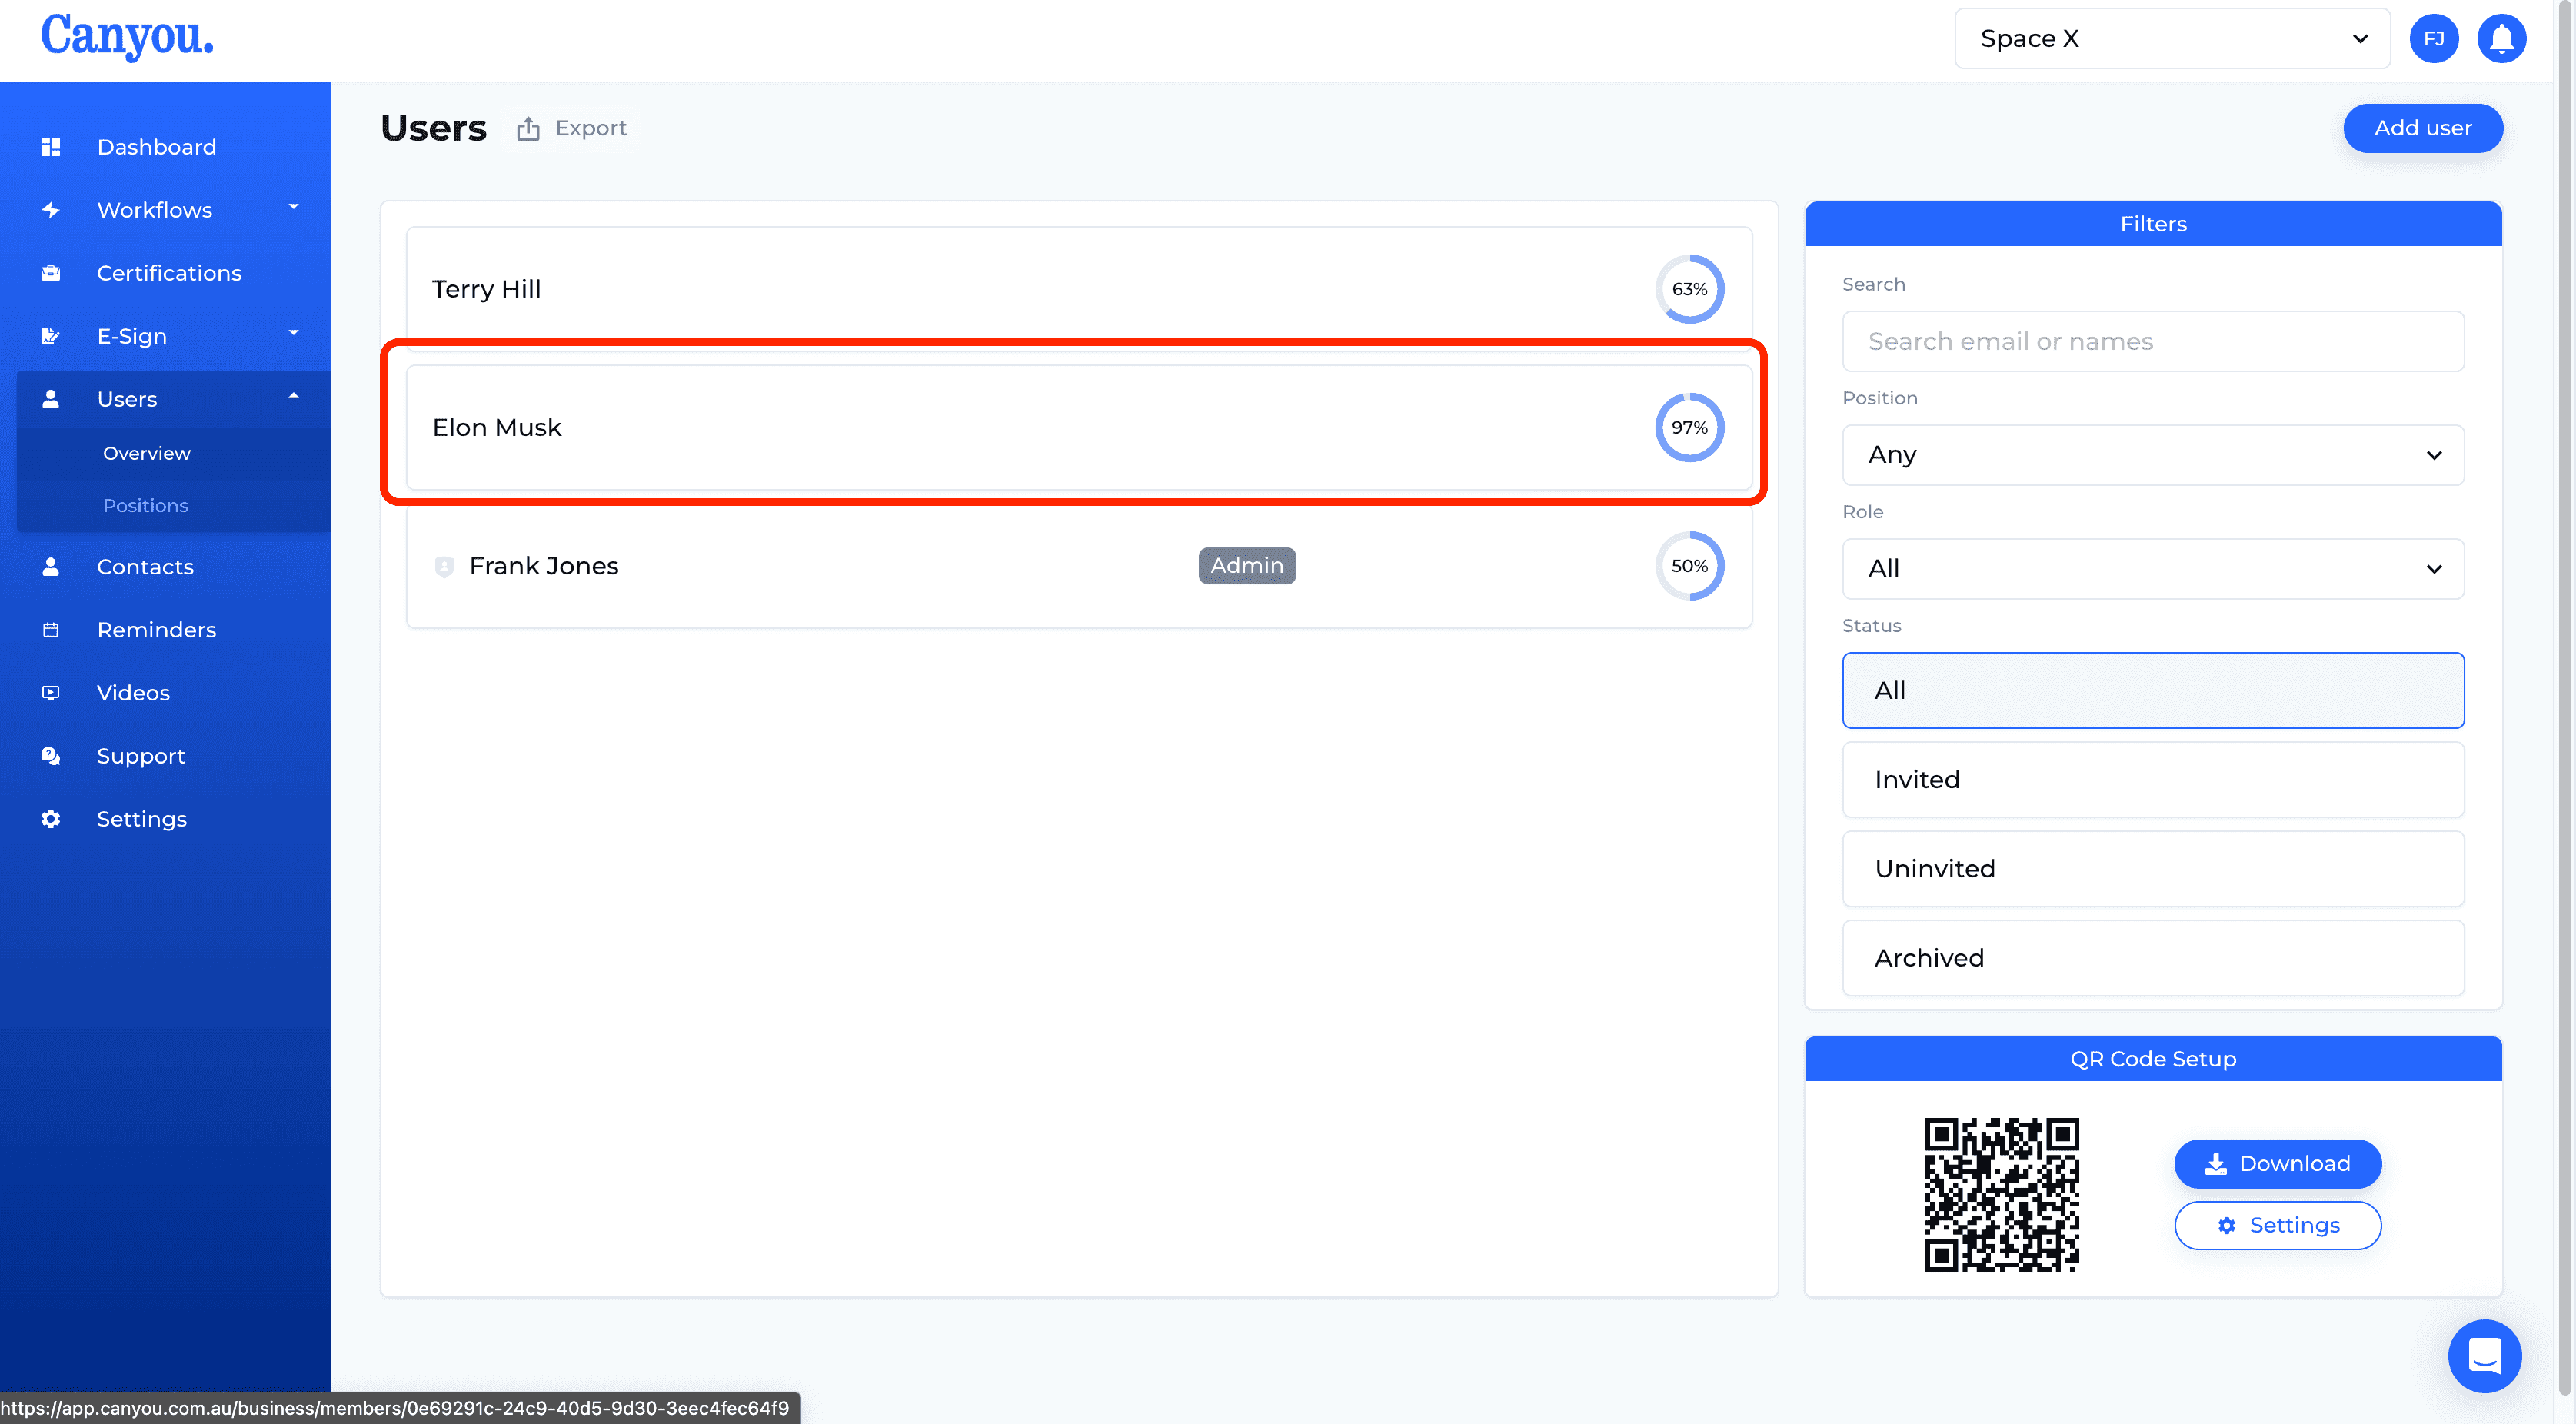
- Navigate to the users menu and click in to the employee we wish to complete a visa check on.
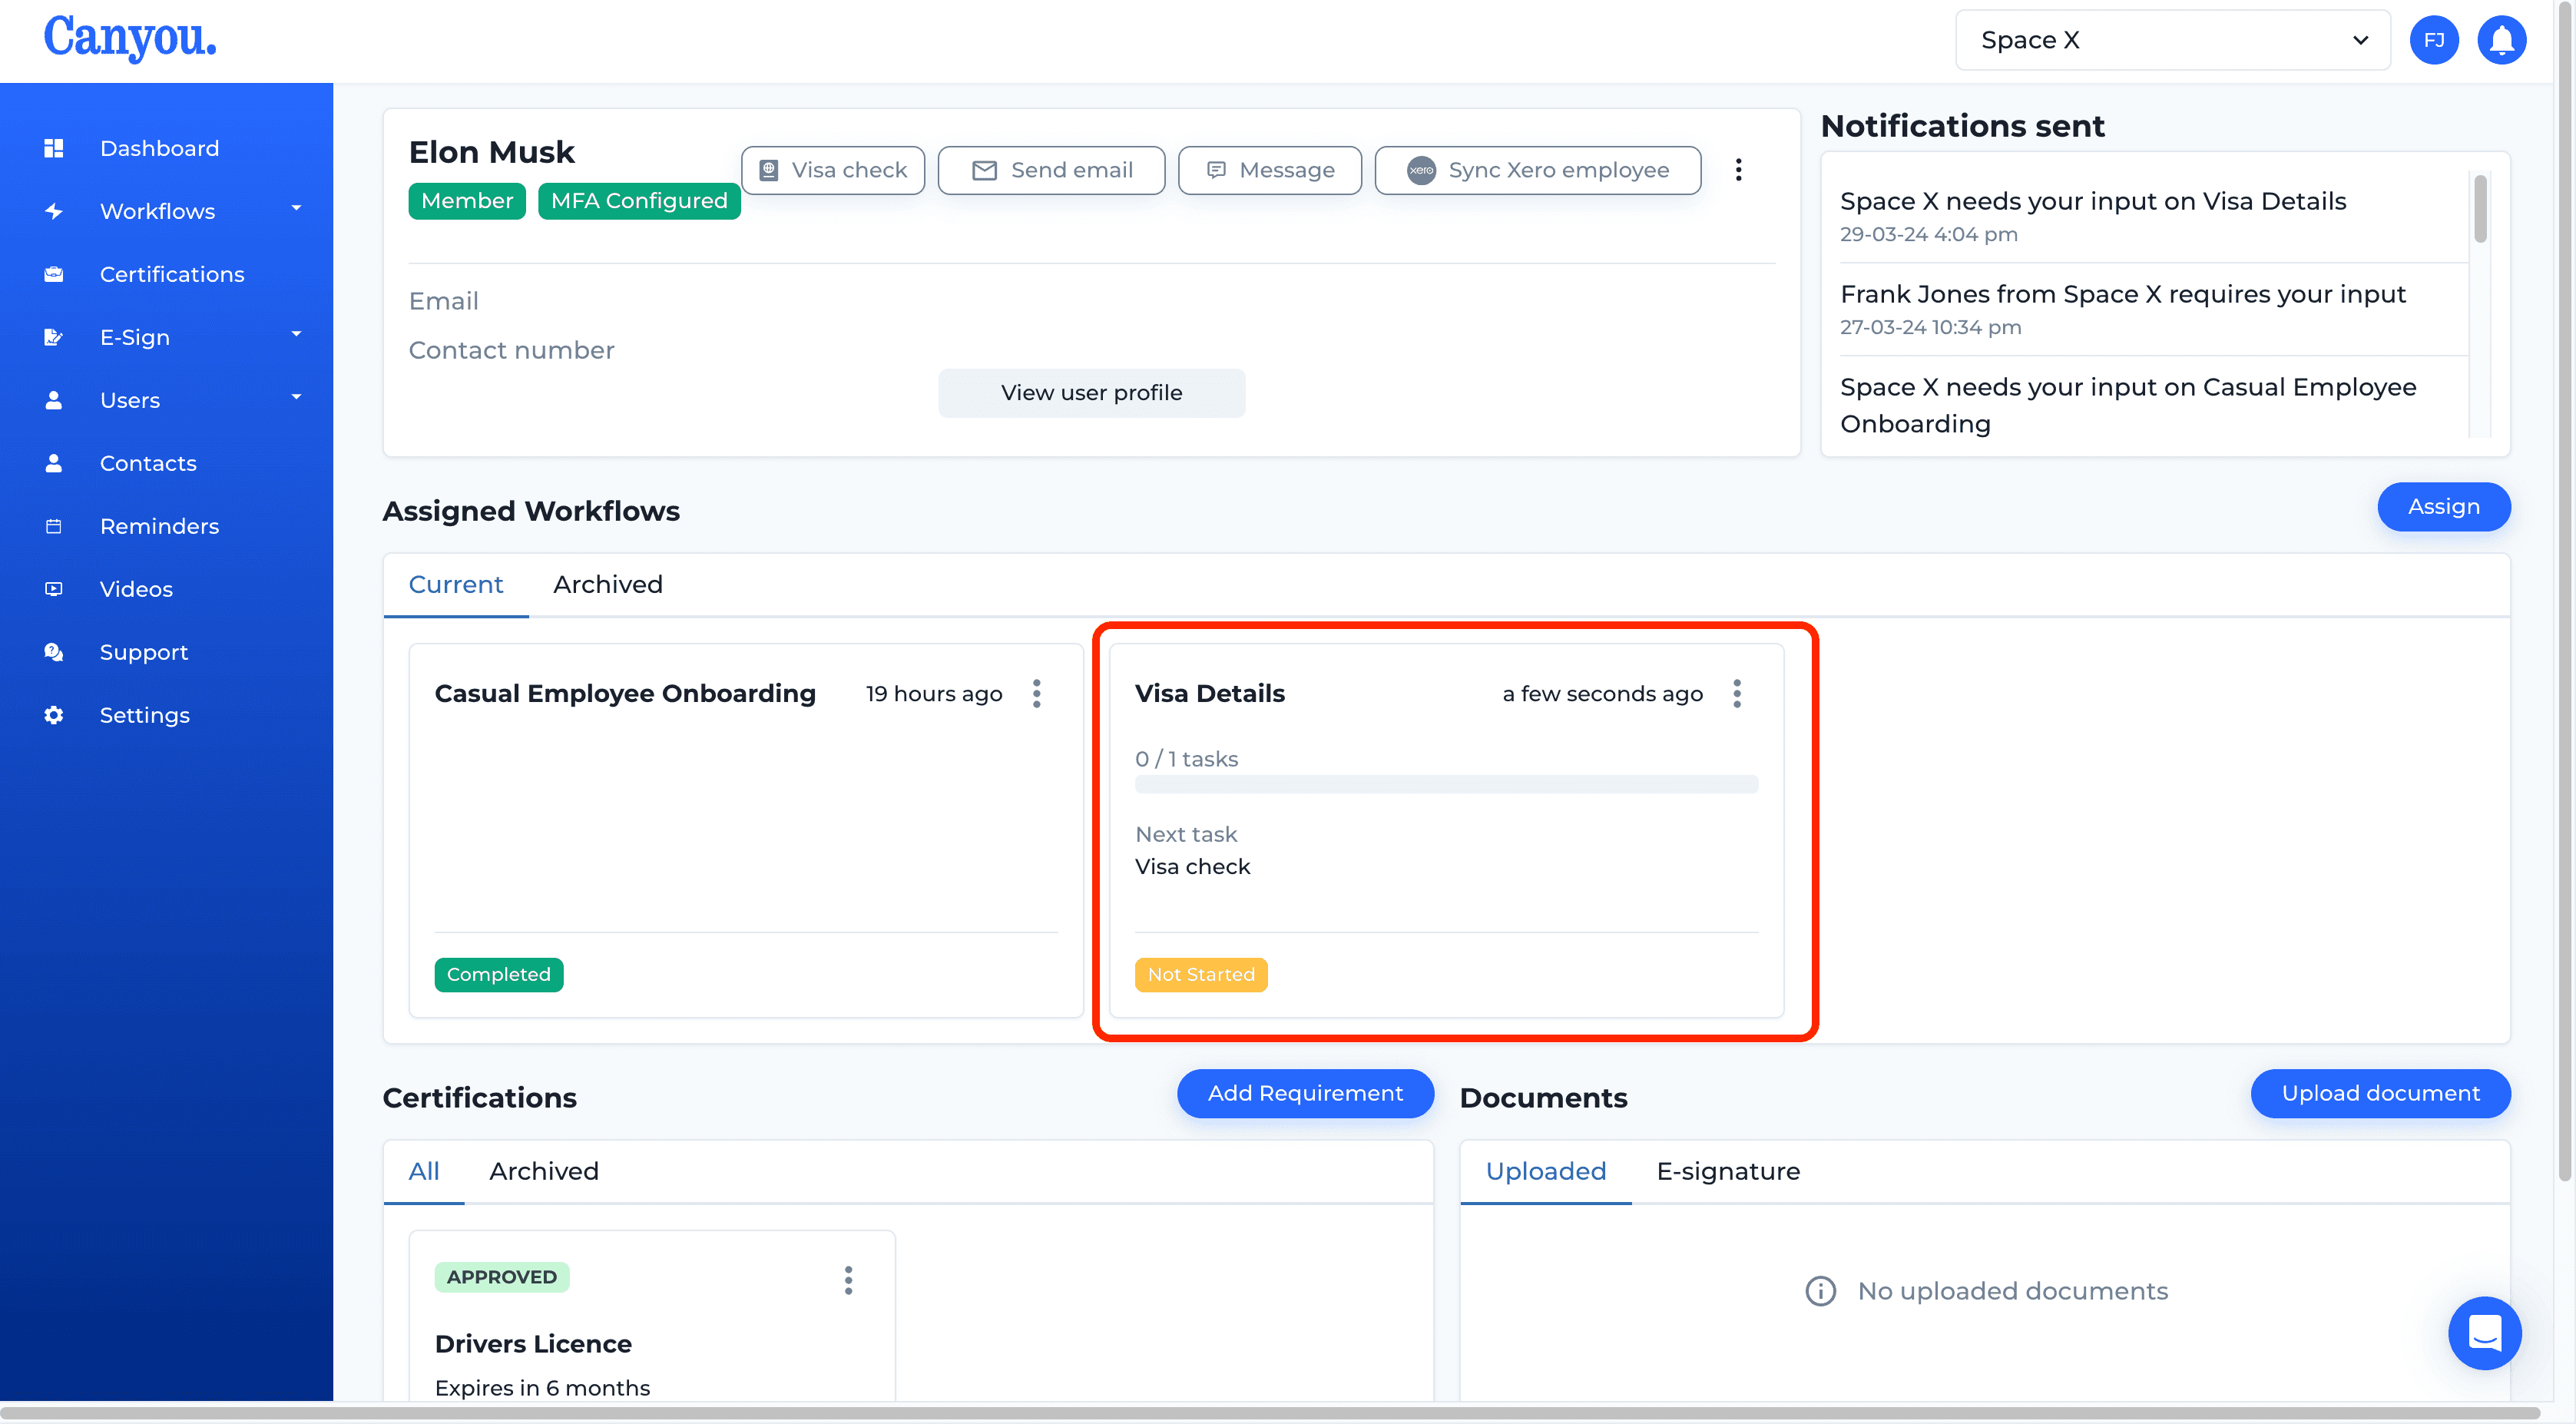
- Click into the workflow that contains the visa details task.
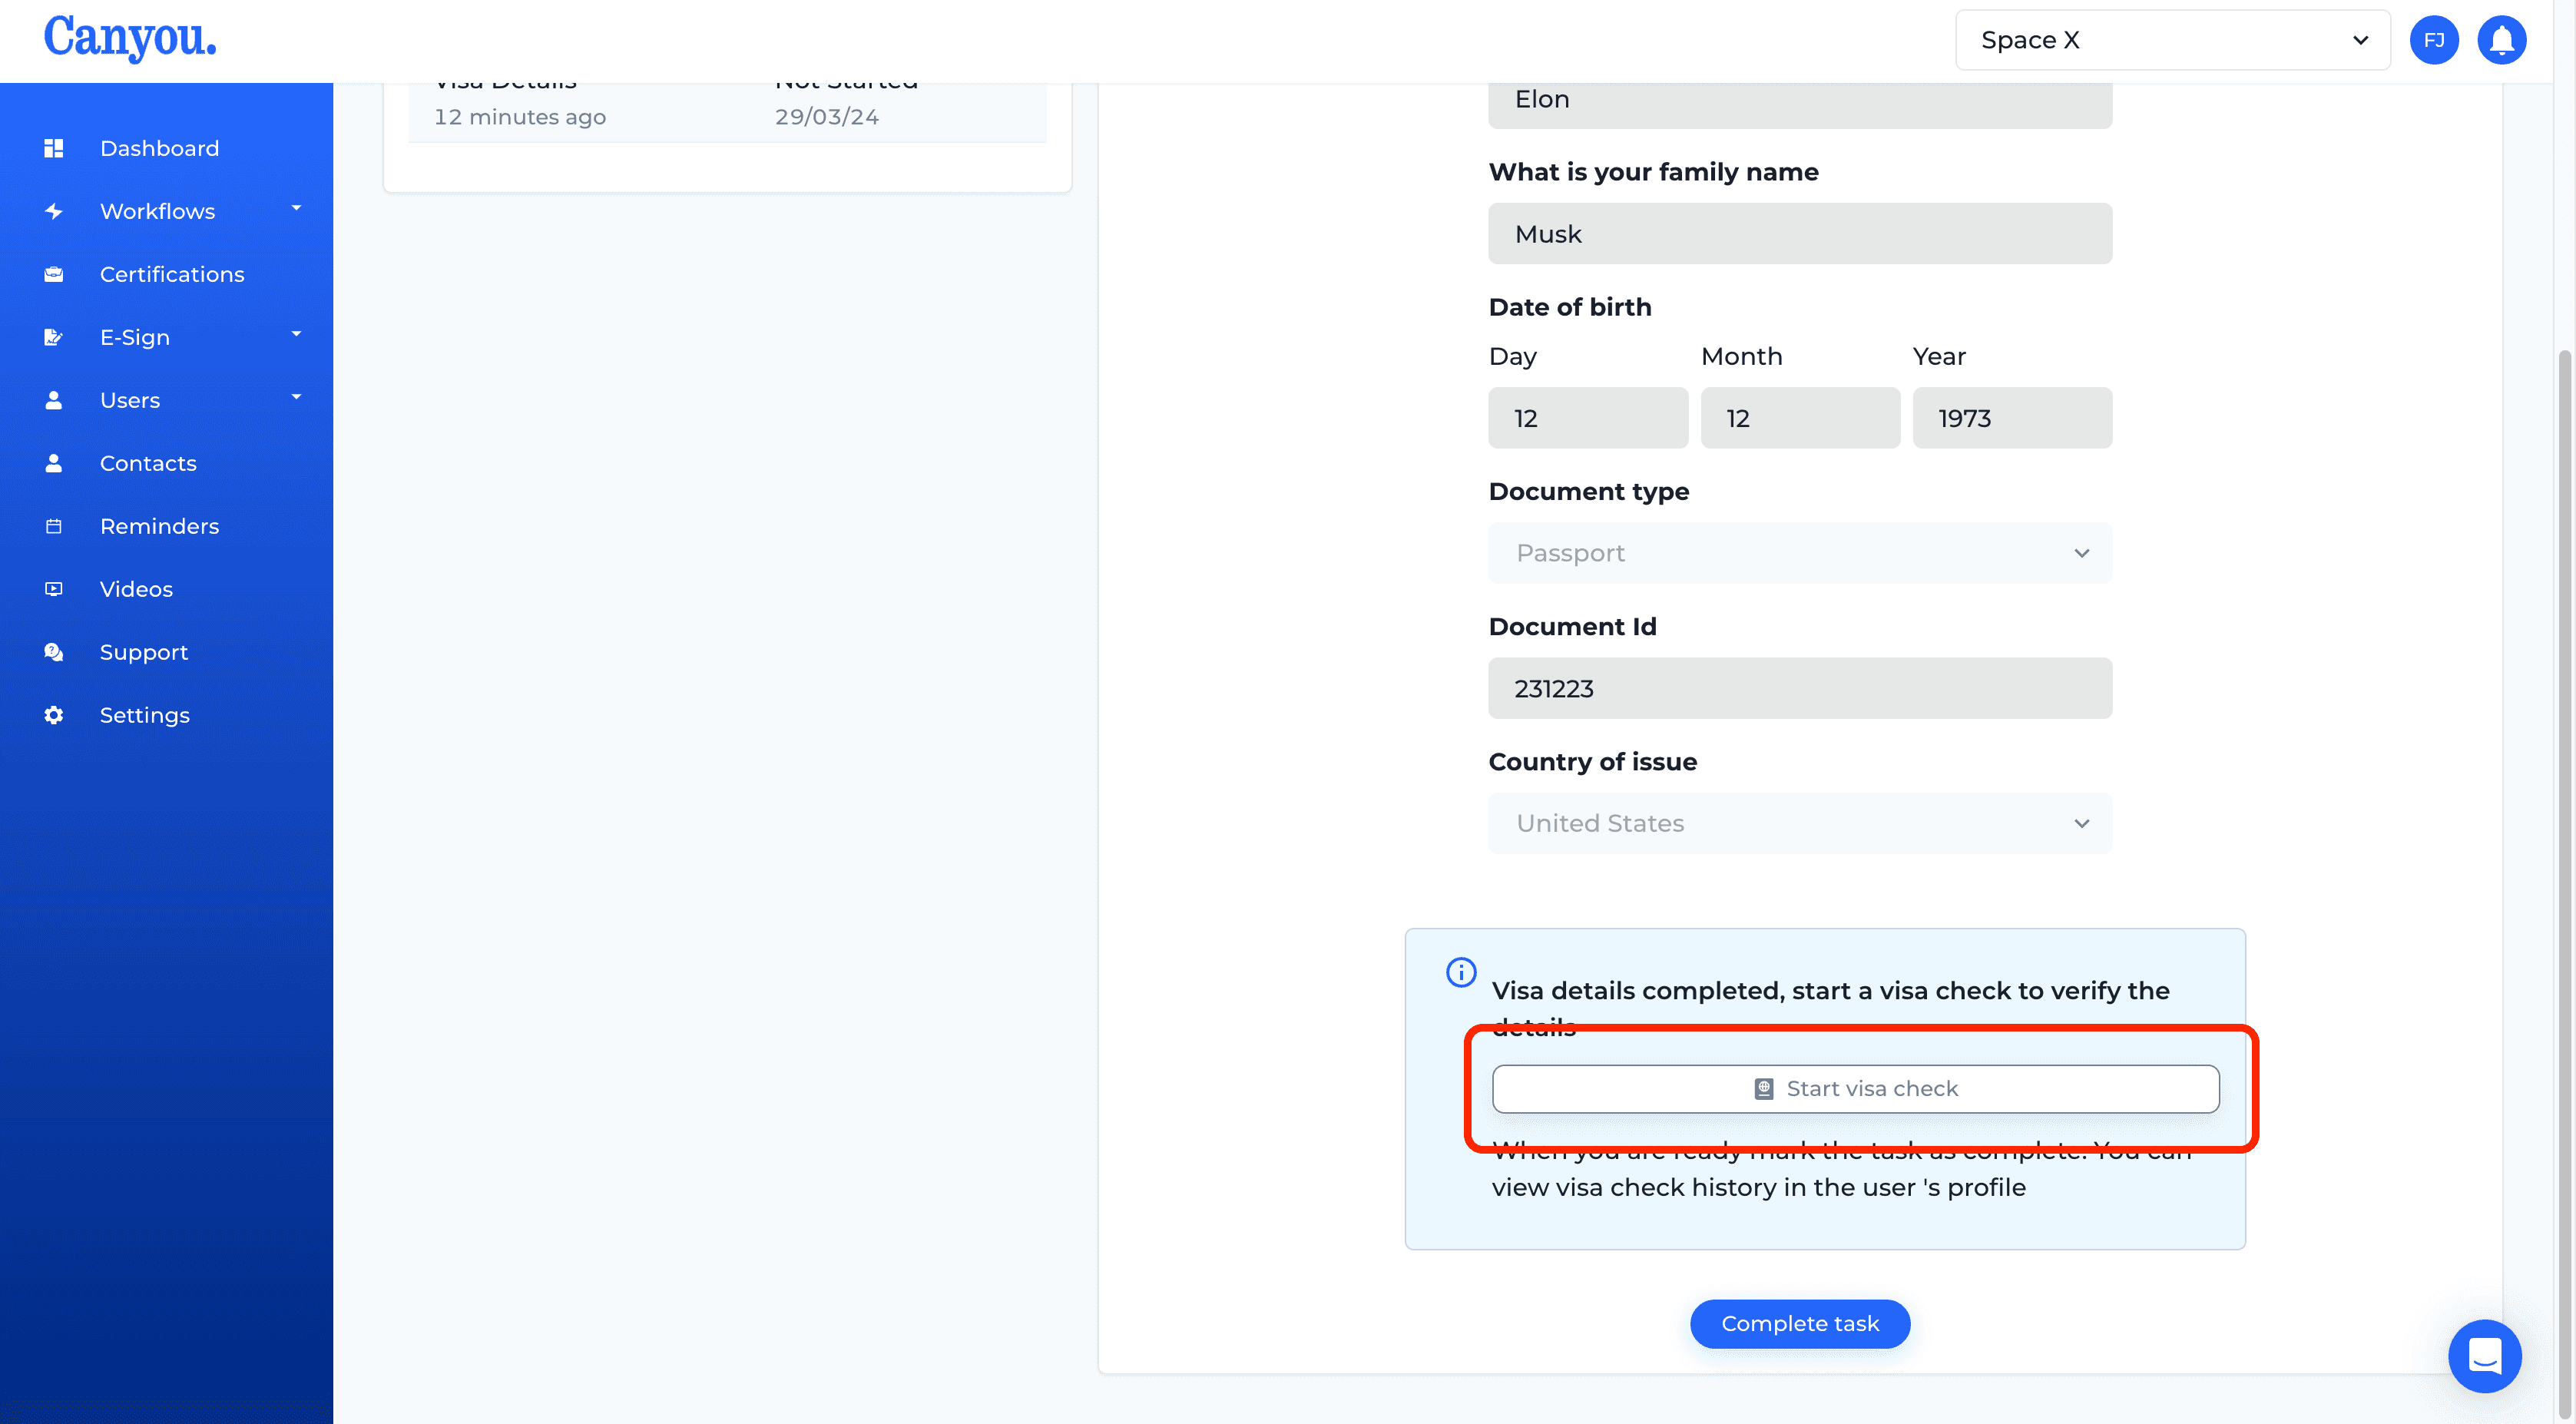
- Scroll to the bottom of the task and click Start visa check
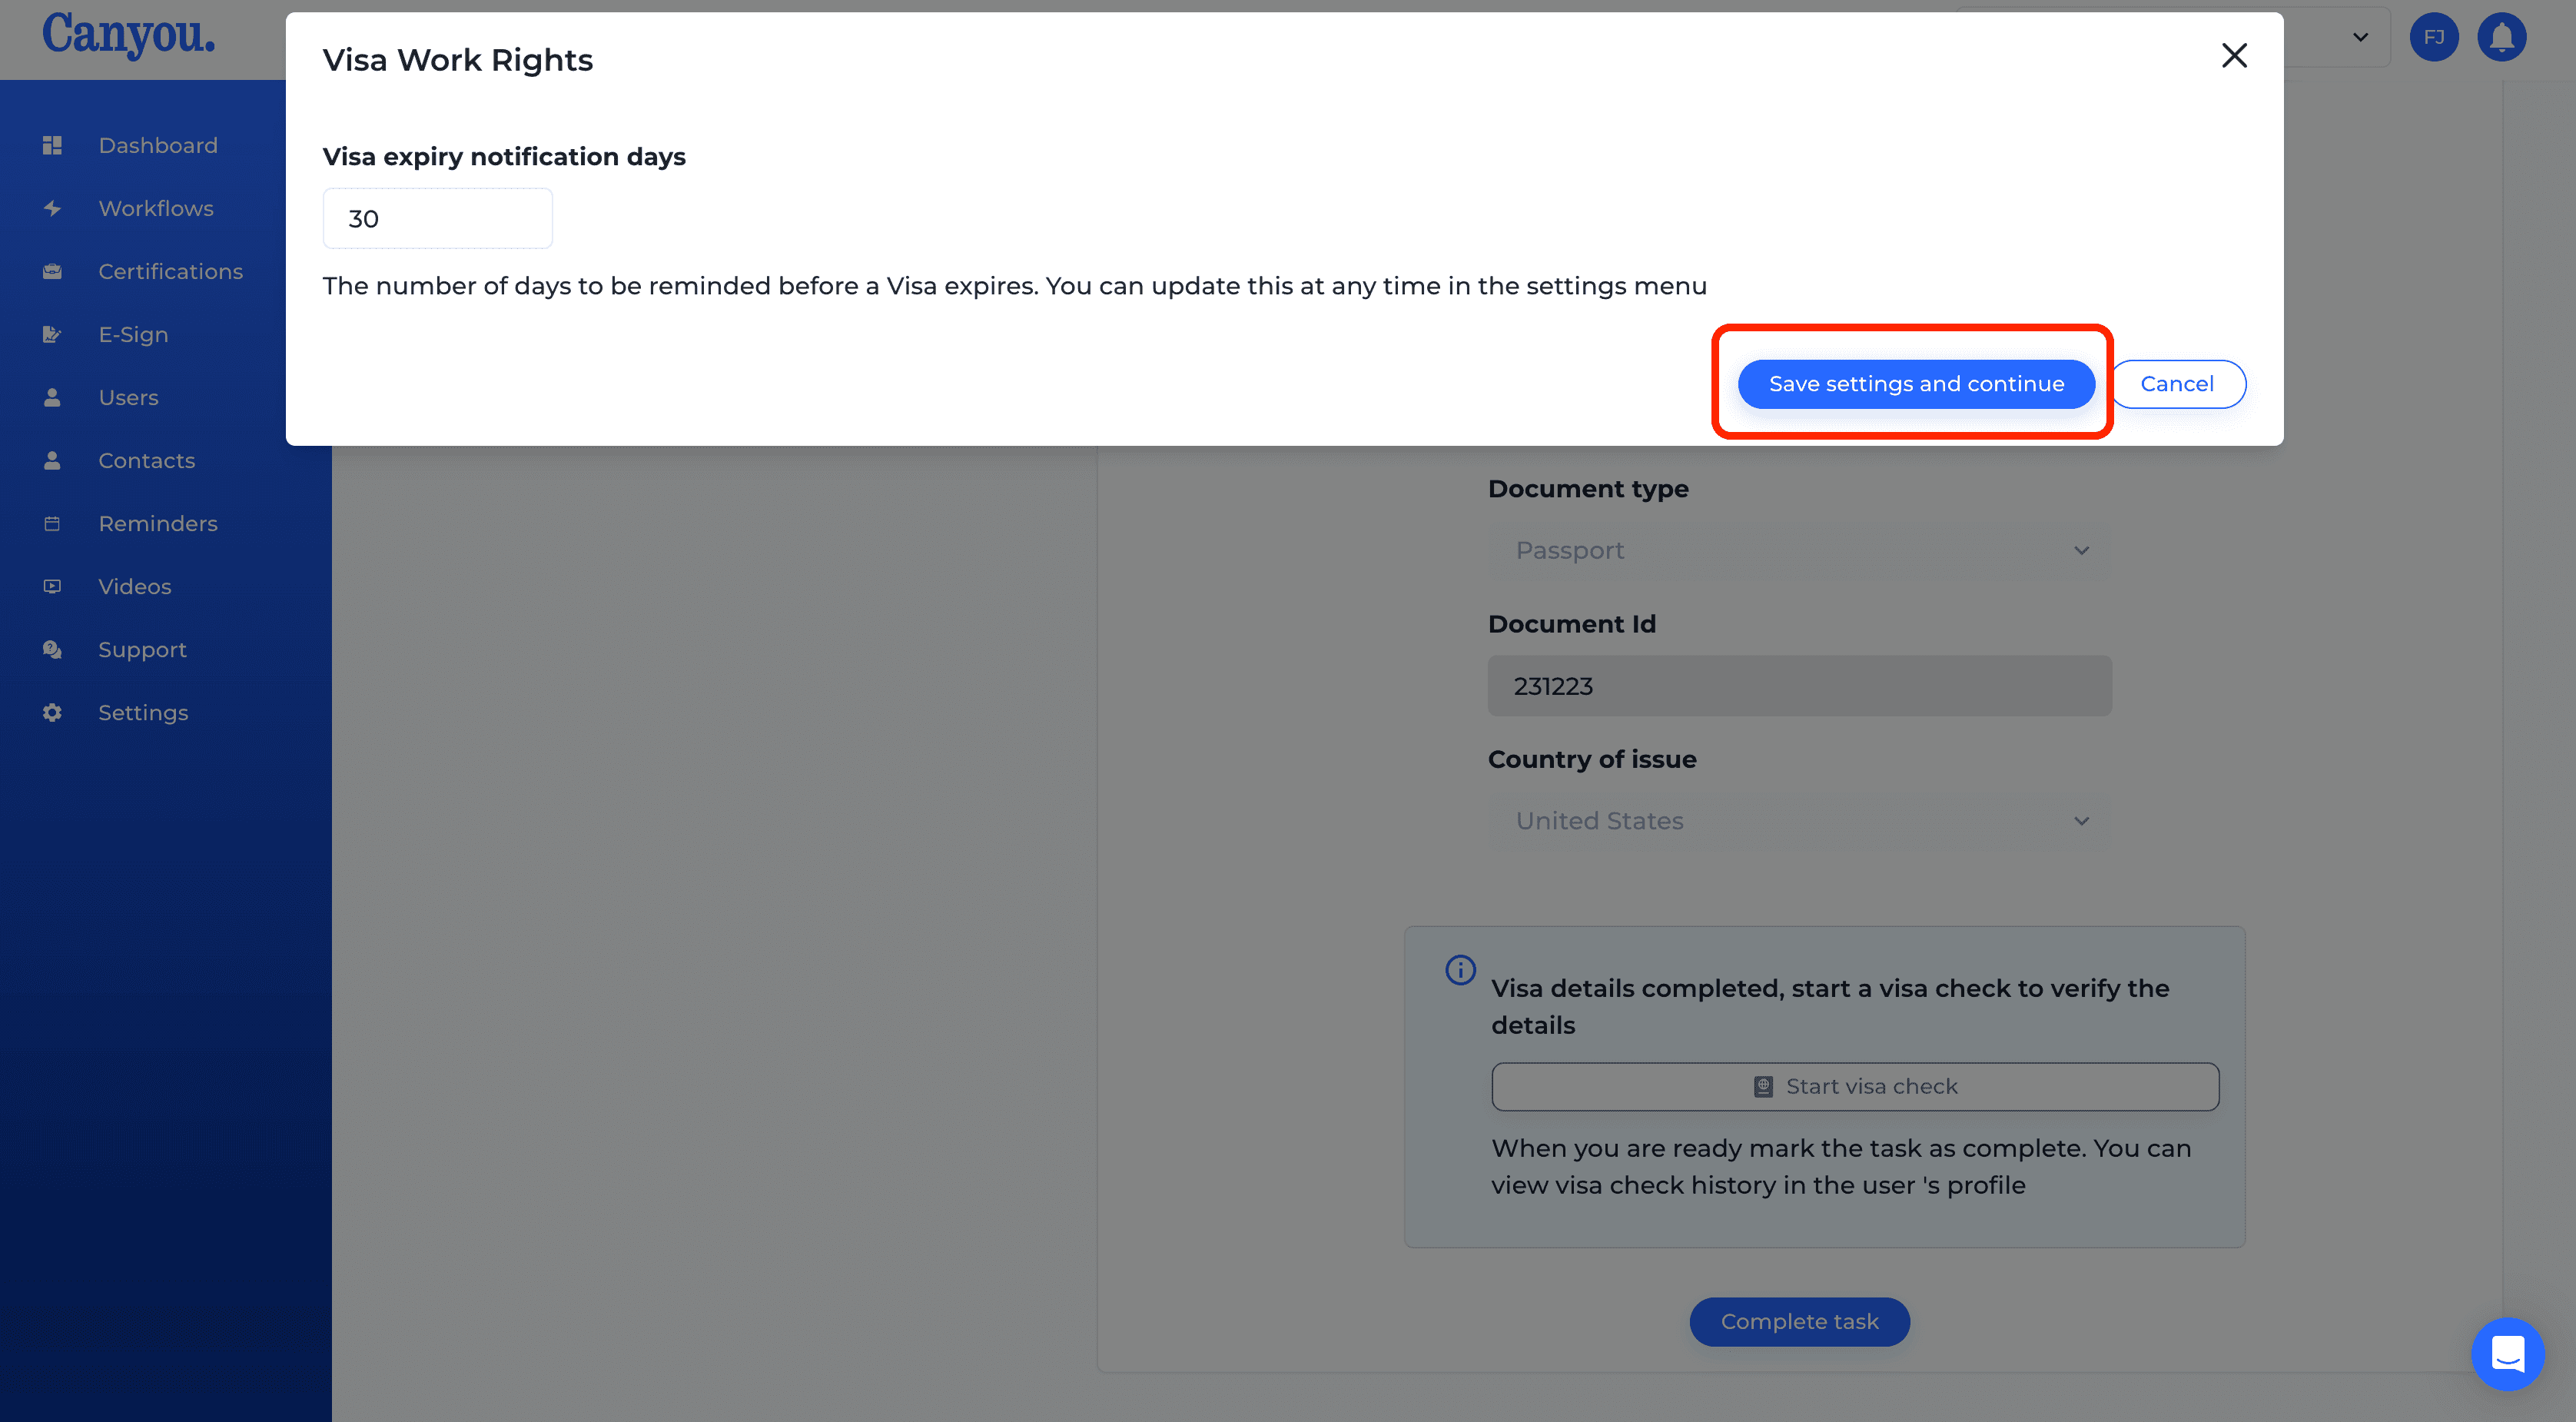
- If this is your first check you will need to set your notification preferences. Set the number of days you would like notice for expiring visa's. Then click Save settings and continue.
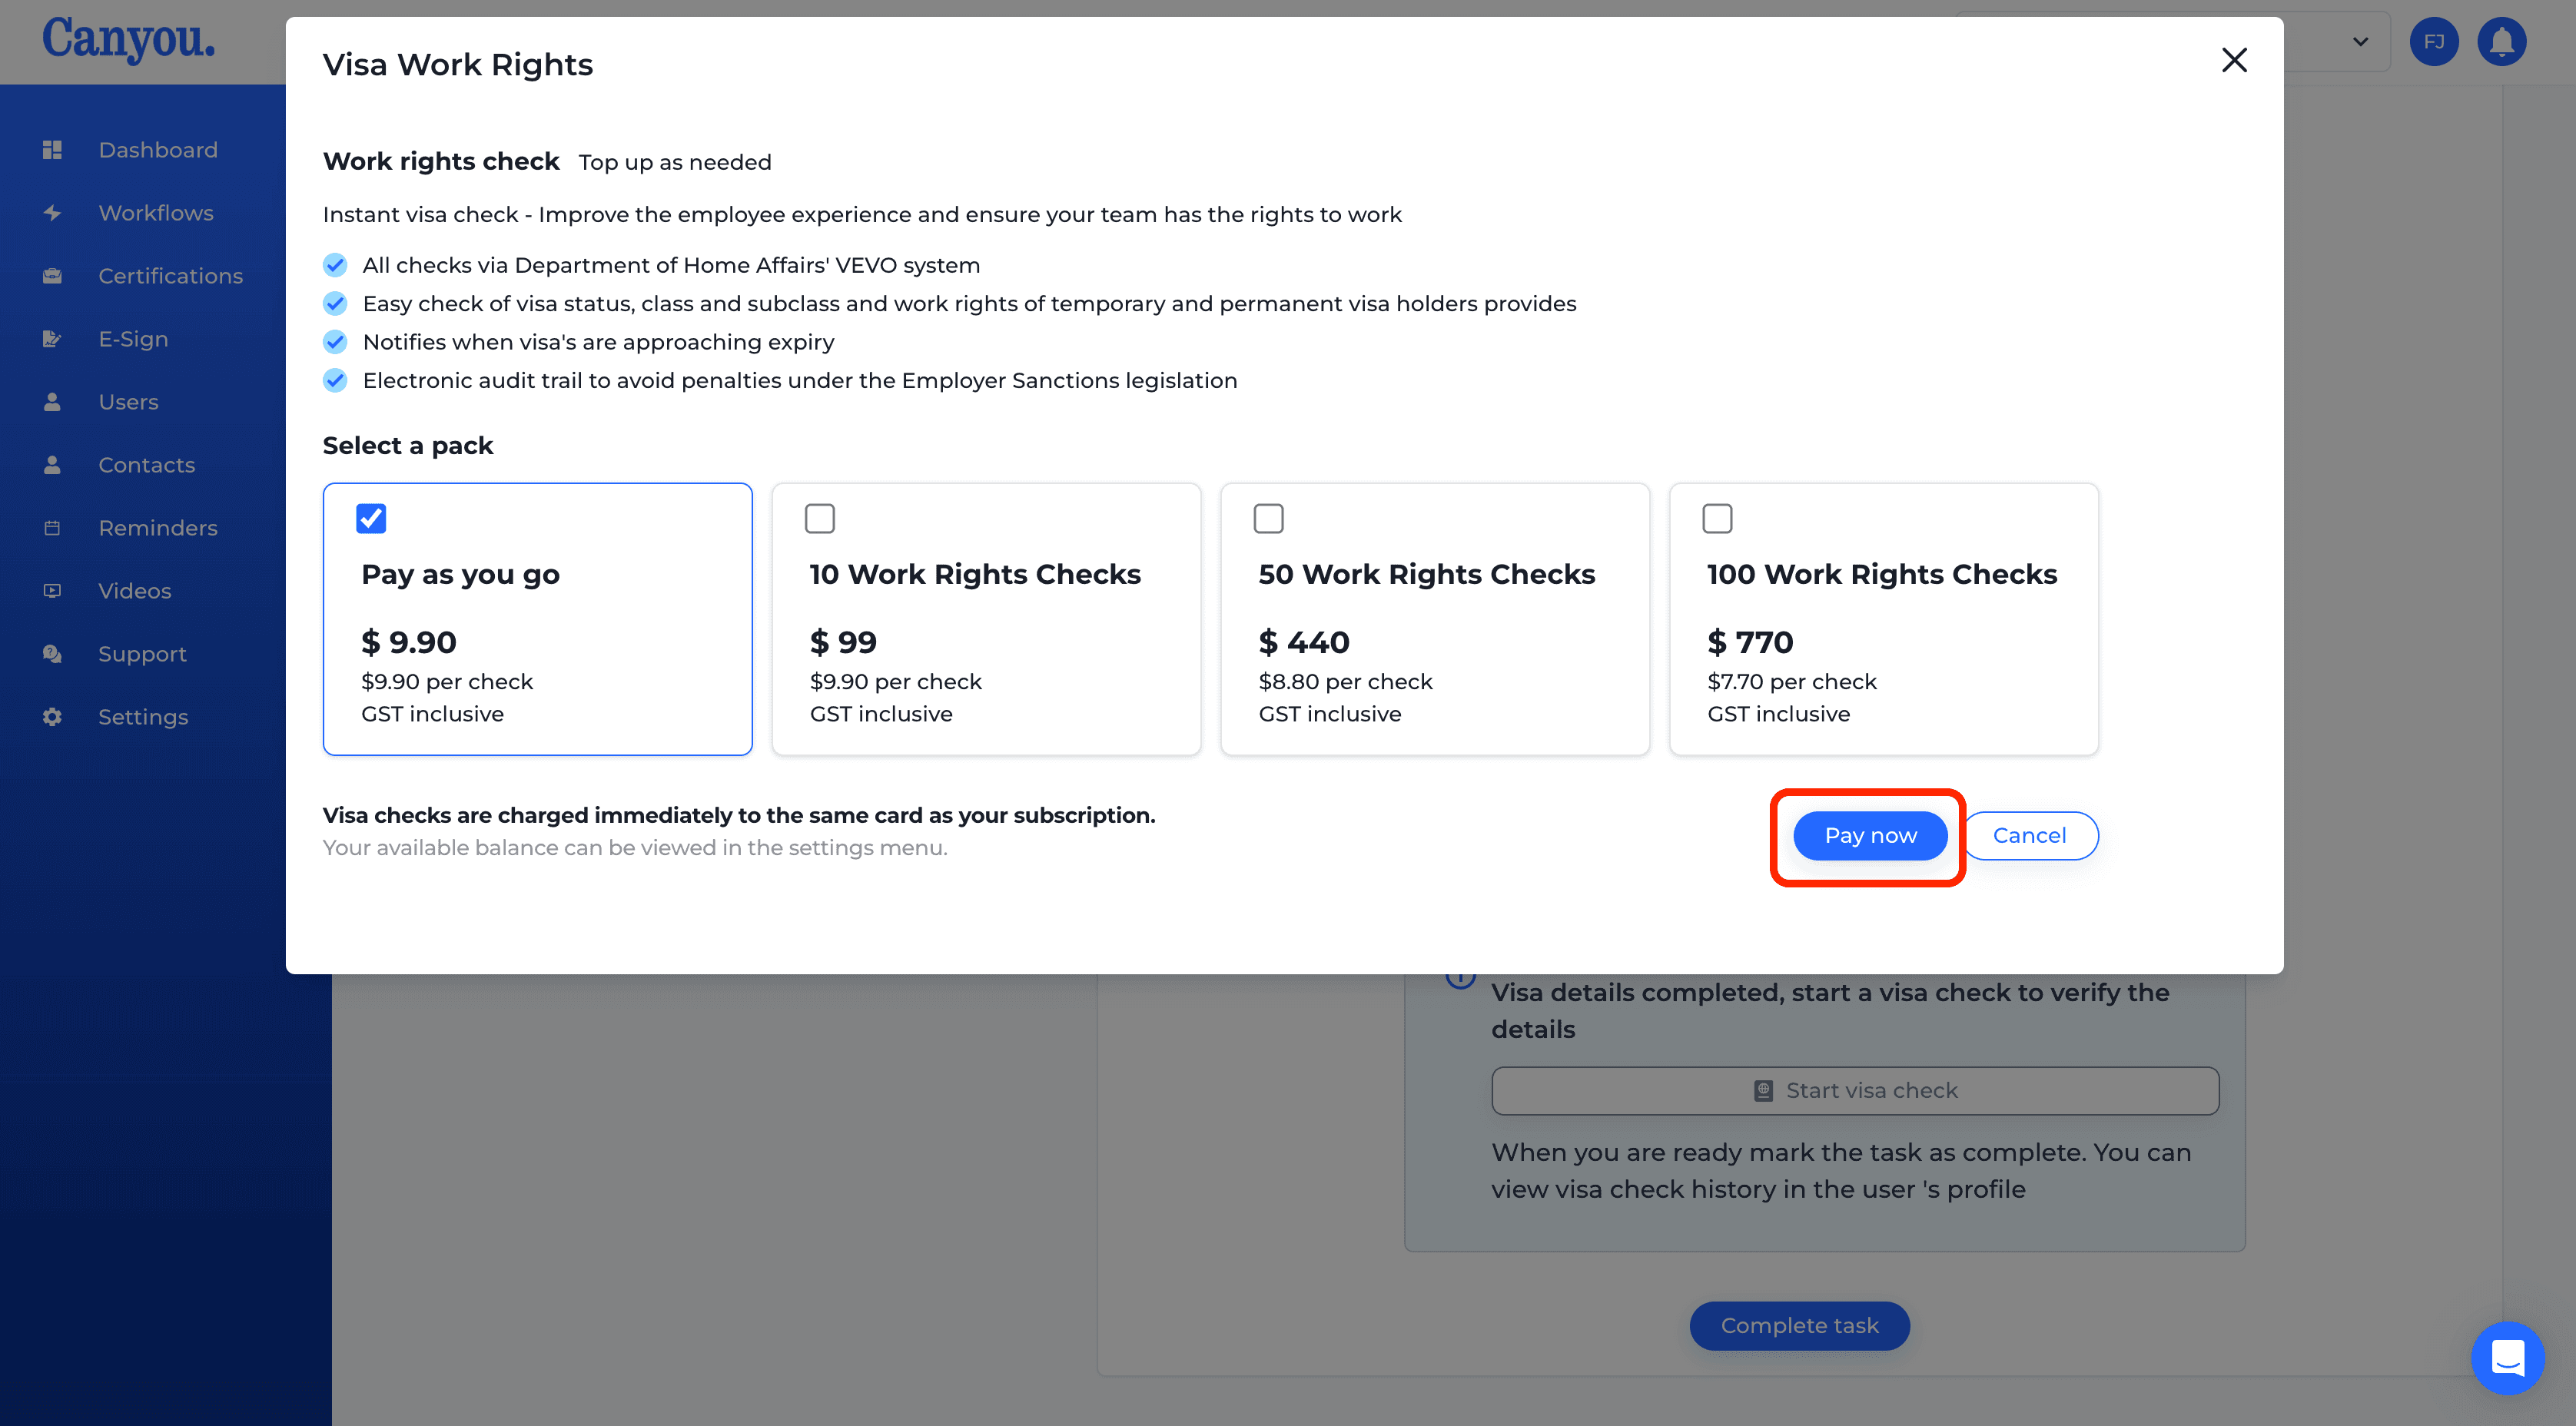
- Select your payment preference and continue. Note - you will have to have a valid subscription and be the subscription owner to proceed.
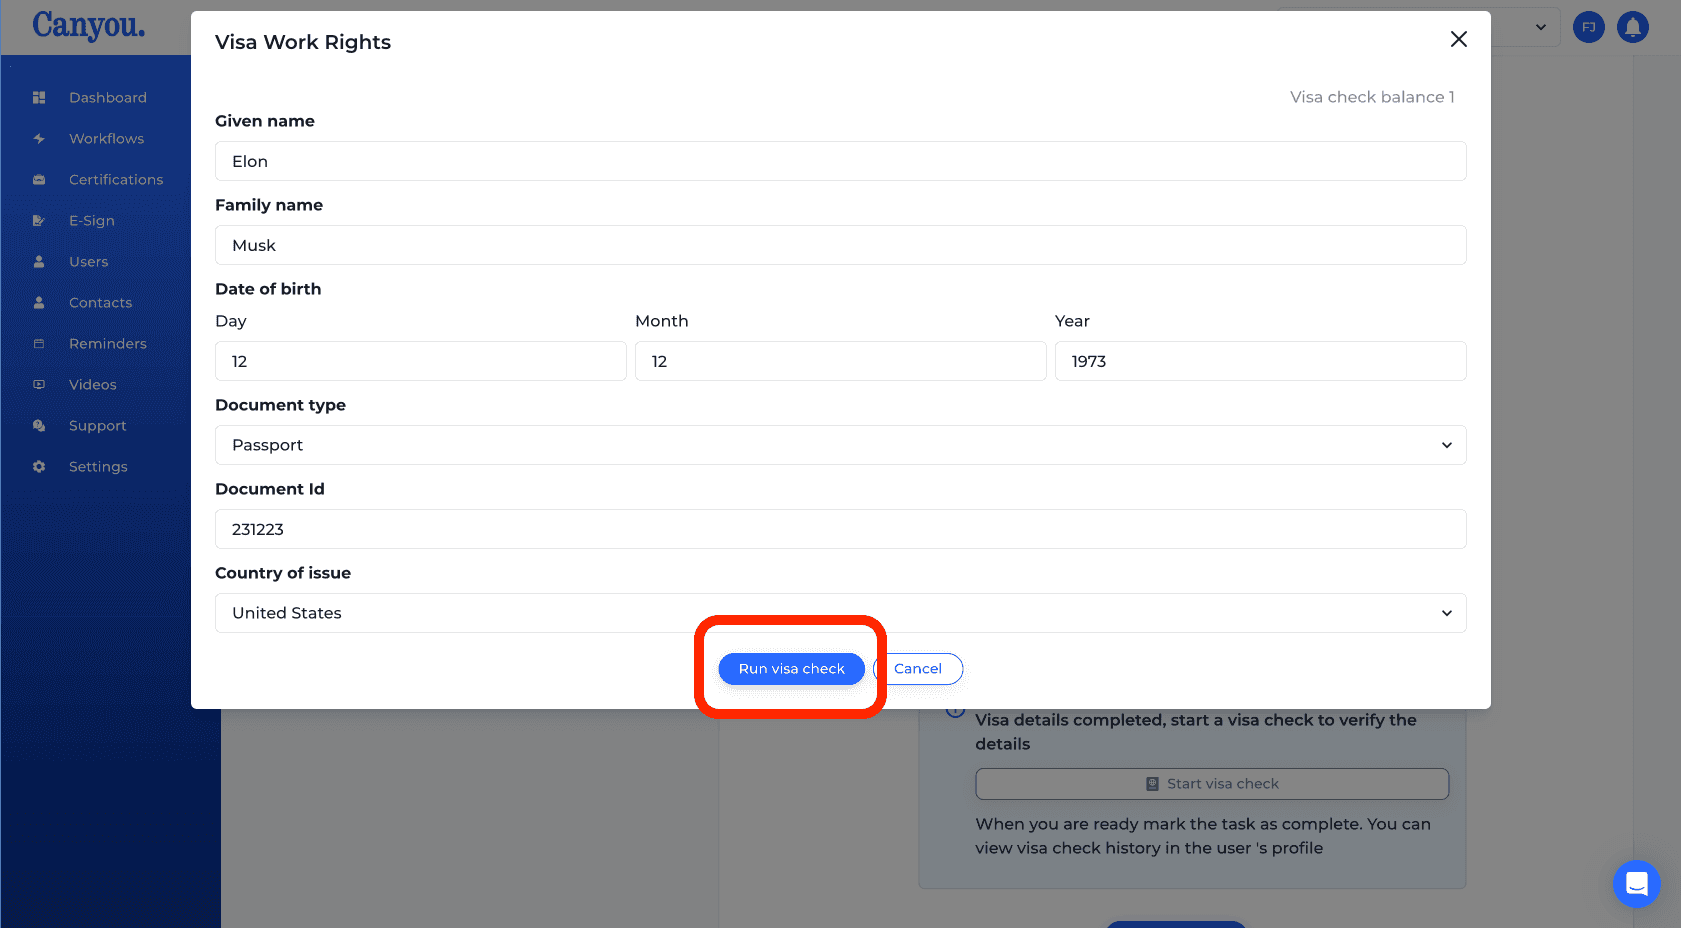
- This form displays the data collected from the employee. These fields can be edited before we run the check. When we are happy with the details and want to run a check click Run visa check.
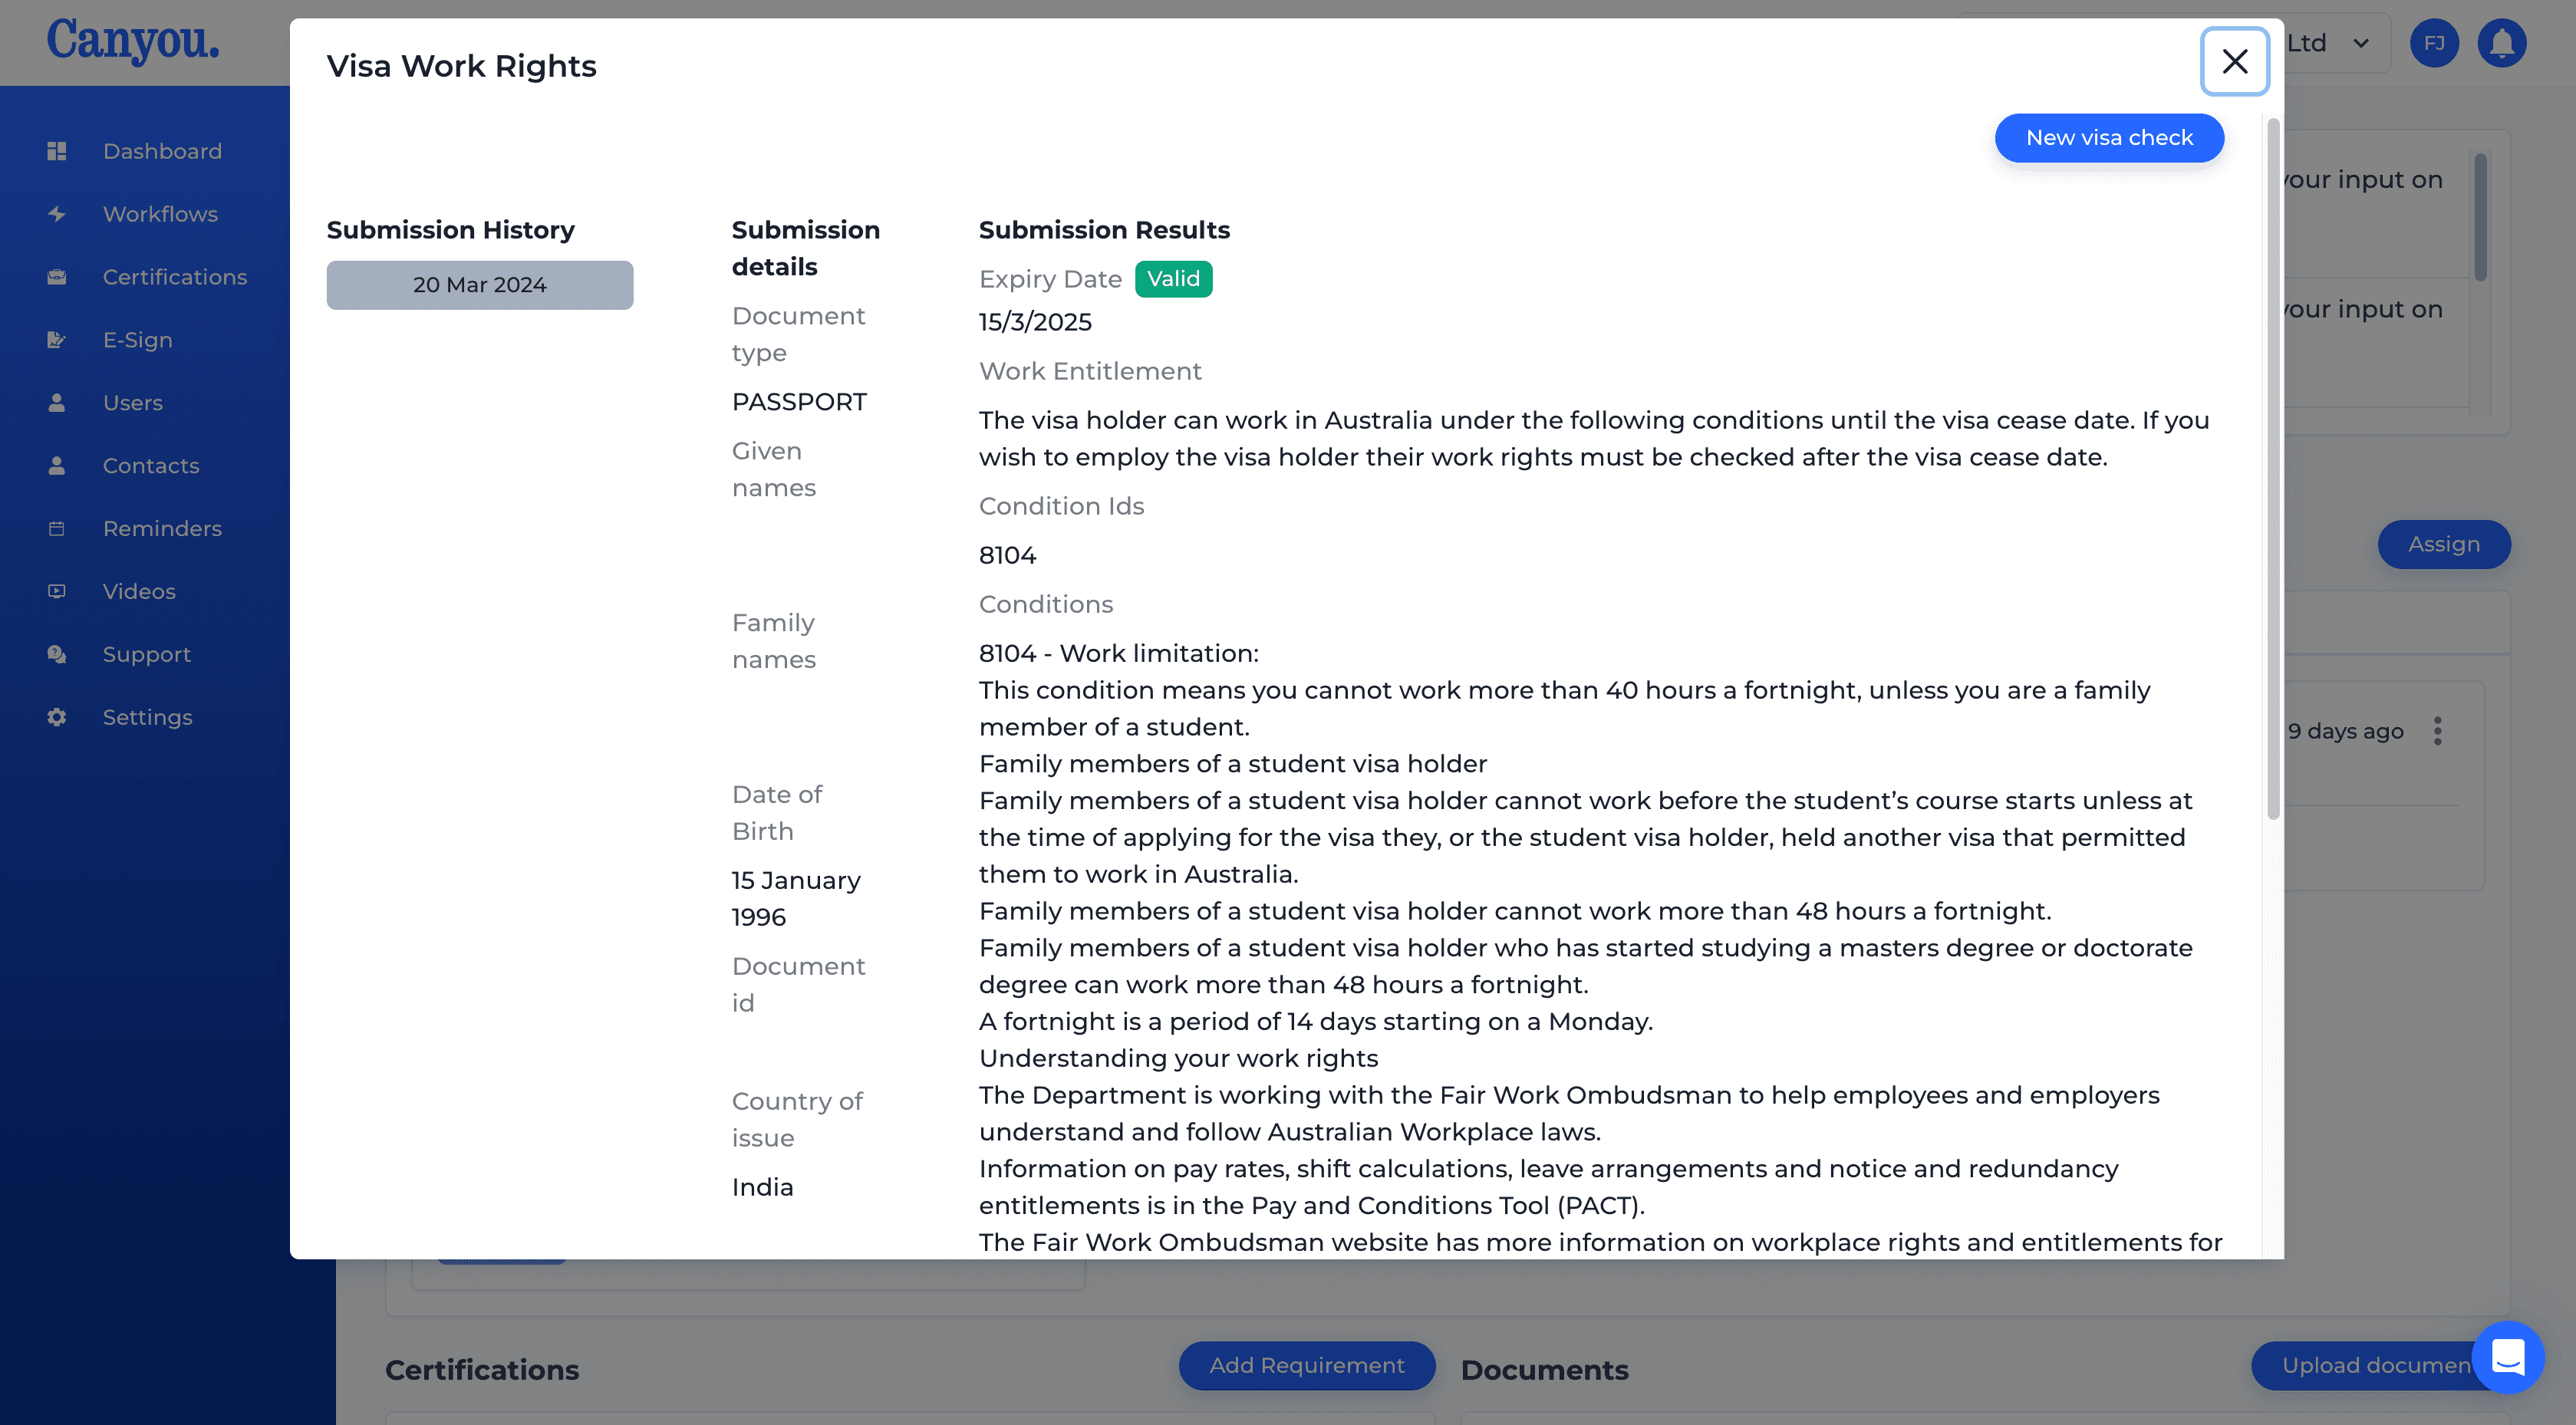
- The screen now displays the visa check history. Details of the employee work rights appear on this screen.
- Once we are done with our visa check we can mark the task as complete.
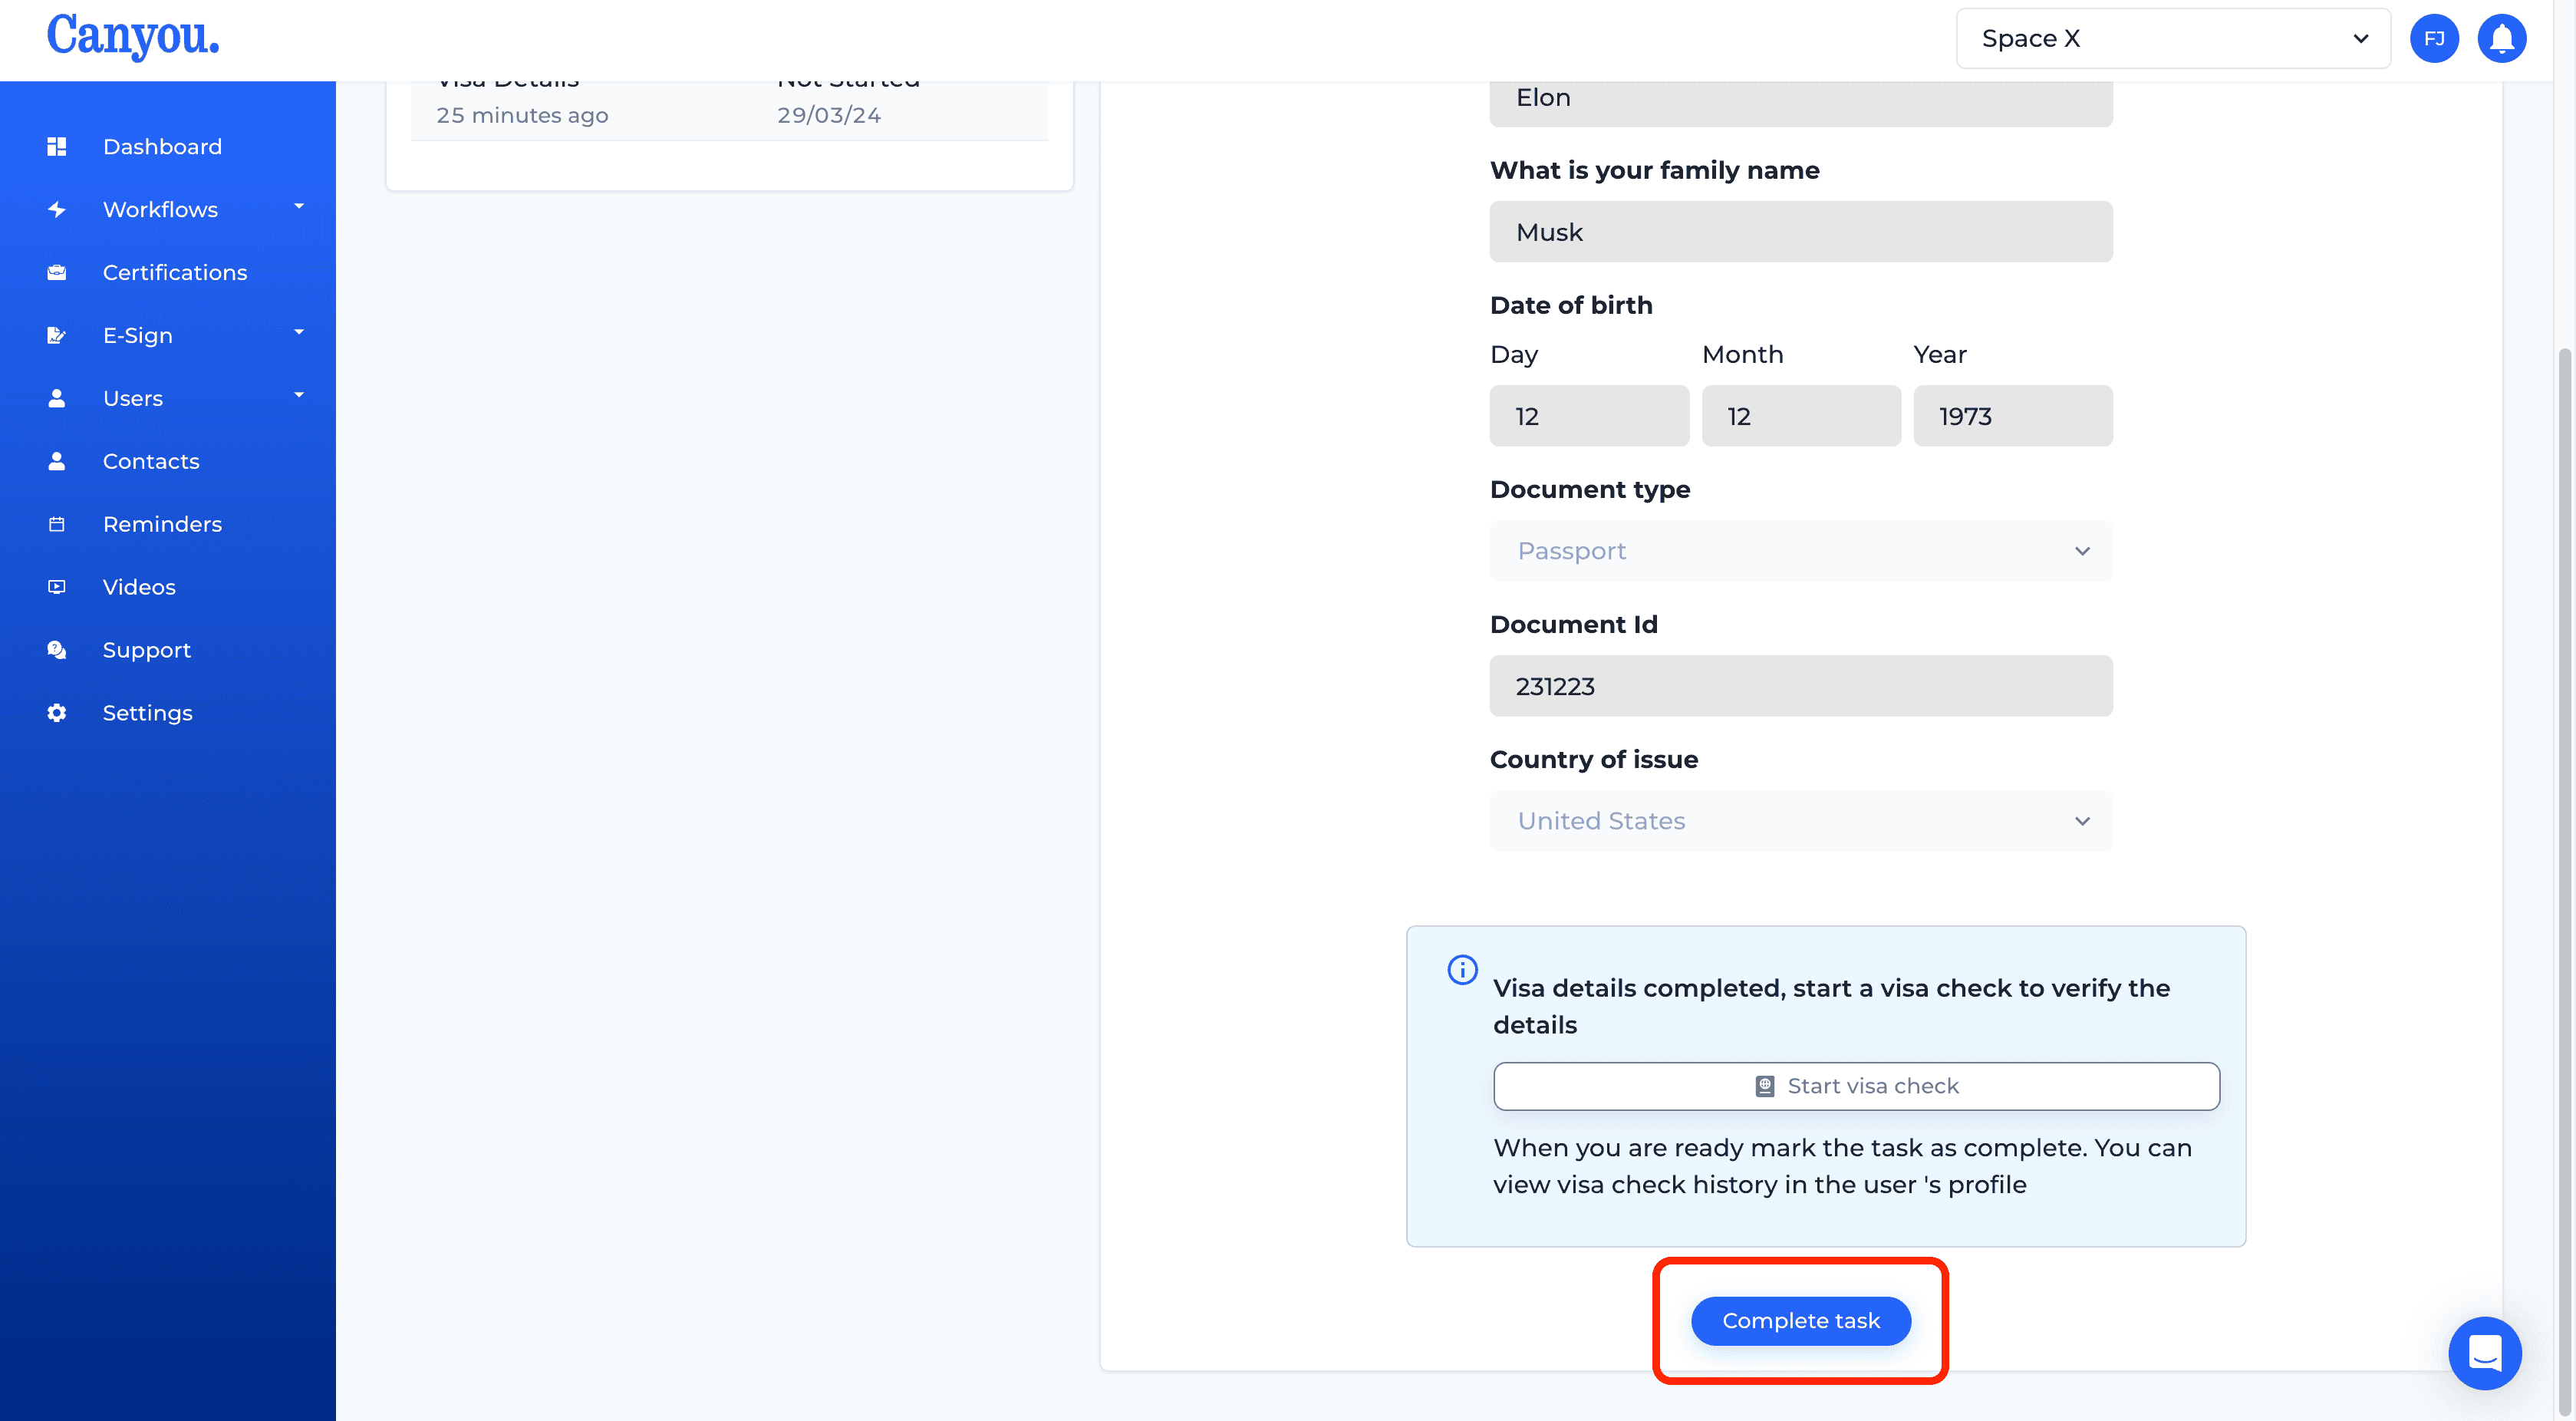
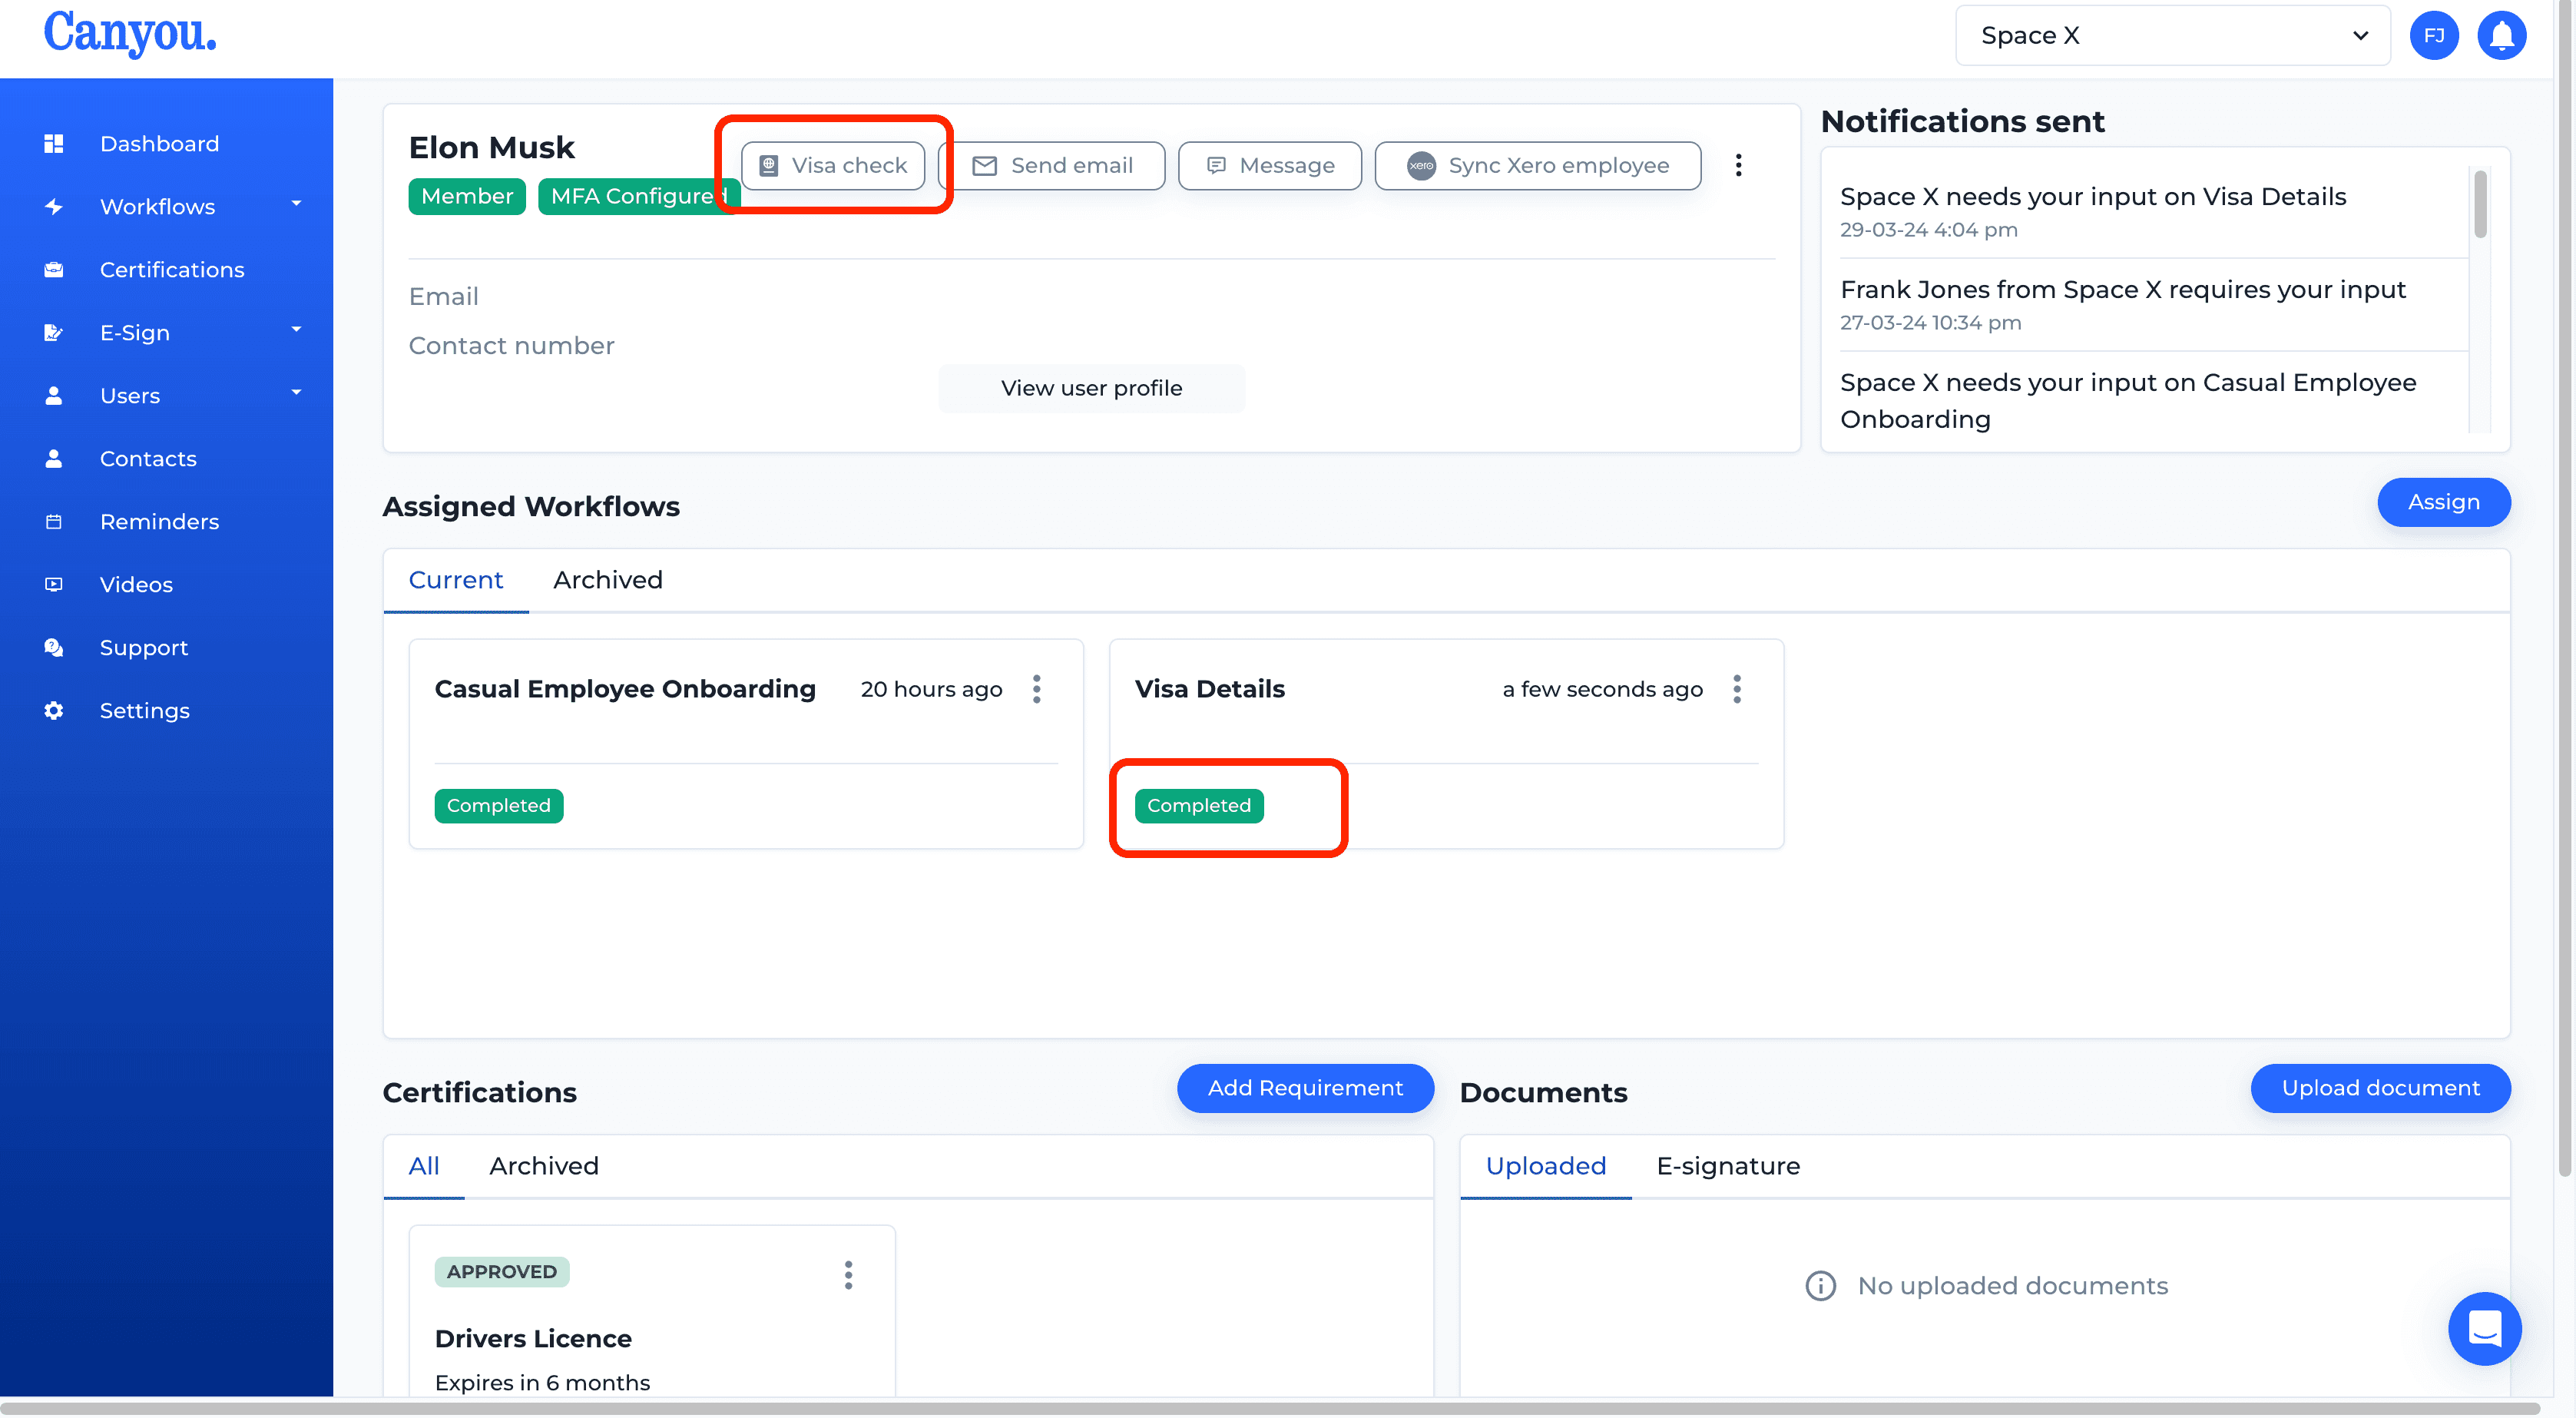
- The workflow is now completed.
Note that we can run a visa check at any time and review history of past visa checks by clicking the Visa check button
Learn how to review visa check history on the next page.